Modern DSLR cameras can produce very sharp images with plenty of detail. However, the chief limiting factor to the sharpness of an image is the quality of the lens being employed. If you use a basic kit lens, you will not obtain the best image possible with your camera, simply because the elements comprising the lens are imperfect. Yet even if your lens is the best there is (and that does not mean the most expensive) there are other factors that can ruin the sharpness of your images. Only if you can control these factors and use your best lens will you get that perfectly sharp image that you are looking for. So, here are five things to do to ensure maximum sharpness in your images:

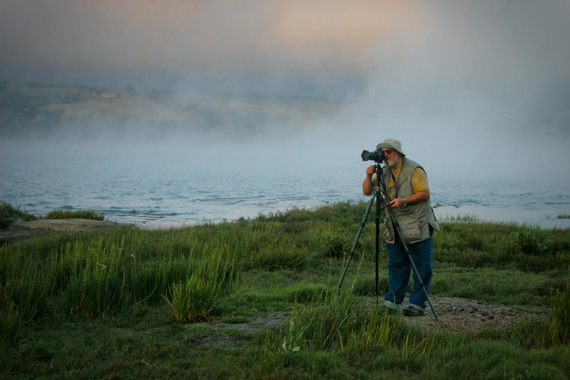
Photo by Zach Dischner; ISO 100, f/5.6, 1/640-second exposure.
1. Use a Tripod at All Times
A general rule is that if you shoot at shutter speeds of less than 1/30 of a second, you should be using a tripod or some other form of stable camera mount, such as a bean bag. This is a good rule, but be aware that even at faster shutter speeds, a tripod will always increase image sharpness. This is because even the slightest bit of motion impacts the sharpness of the image. If you find that it is impossible to use a tripod in a certain situation then by all means use a bean bag or look for the next best thing to give stability to your camera, such as a wall or fence. As long as it takes the weight of the camera off your hands, any support will do.

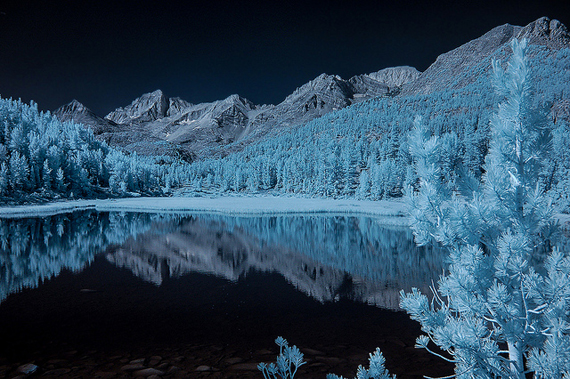
Photo by Orin Zebest; ISO 1600, f/13.0, 1/400-second exposure.
2. Use Your Camera’s Self-Timer or a Remote Control
Even if you are using a tripod, in order to maximize image sharpness you ought to consider using either the camera’s built-in self-timer, or a remote control. You can even use both together. These will stop your shaky hands moving the camera as you take the shot.
3. Use Image Stabilization when Hand-Holding the Camera
Do not use image stabilization if you are using a tripod! This technology attempts to compensate for hand movement, so if it is not there it will still try to compensate and thus blur the image. Only use image stabilization in your lenses or camera body when hand-holding the camera. Image stabilization technology is only good up to a point, but don’t bother with it if you need an extremely sharp images. For that, use a tripod.
4. Use Mid-Range Aperture Settings
Try not to shoot at the extreme end of your camera’s range if you want to acquire ultra-sharp images. Stopping a lens down all the way will produce lens diffraction, which will blur the image. Likewise, by setting the aperture to its minimum size, the image sharpness will suffer due to aberration and other effects. For maximum image quality shoot at middle aperture settings two or three stops below maximum aperture, like f/8 to f/11.

Photo by Bill Gracey; ISO 400, f/8.0, 1/250-second exposure.
5. Use Mirror Lock-Up
If your camera has the ability to lock the mirror, then you should use that setting at all times, especially when shooting long exposures. Every time the mirror flips up and down it introduces small extra vibrations. Locking the mirror when you shoot will prevent this, and consequently, image sharpness will improve.
About the Author:
Chris Smith (photography expert dot com) is a writer for an online photography magazine.
Go to full article: 5 No-Nonsense Ways to Keep Your Photos Sharp
What are your thoughts on this article? Join the discussion on Facebook
PictureCorrect subscribers can also learn more today with our #1 bestseller: The Photography Tutorial eBook
The post 5 No-Nonsense Ways to Keep Your Photos Sharp appeared first on PictureCorrect.