There are times when it’s difficult to decide on what the ideal exposure should be to get the best image of a scene. It may be that you don’t have the time to think about your exposure, or it may be that there are elements of extreme brightness and shadow within the picture that you want to capture, and you’re not sure whether exposing for the highlights or the shadows will give you the better final image. Bracketing for high dynamic range (HDR) could be the solution.

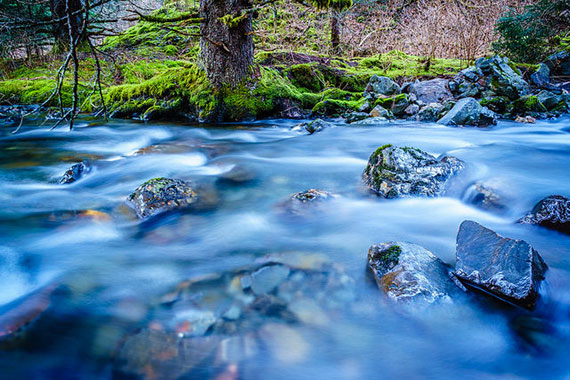
a blend of 5 bracketed exposures, photo by Andrew Petersen
What is bracketing?
Bracketing is the technical term for a sequence of frames of the same image, shot in rapid succession and all at different exposures. Normally, it is a sequence of multiple frames with each exposure differing from the other frames in steps of between 1/3 of a stop up to a full stop or even two stops. Each sequence starts with a central exposure the camera deems to be the ideal exposure for the overall scene. Then another image is shot under-exposed and one image shot over-exposed. Hence the ‘correct’ exposure is bracketed (or sandwiched) between two exposures which are under- or over- exposed by the same amount.
How do I bracket?
While DSLR camera users have the option to manually bracket between exposure settings, many DSLR and compact cameras have a built in feature known as Automatic Exposure Bracketing or AEB. AEB lets you select how much variation you want between frames and then fires off three frames in quick succession once the shutter is depressed. If you do manually bracket, be sure to use Aperture Priority mode so that you’re only changing the shutter speed and not the depth of field.
The sequence is centered around the exposure the camera has determined will be the optimal exposure to produce the best image, so this is the first picture frame taken. It then takes the same picture but with less exposure, and finally the last frame is given more exposure than the first. This will give a series of three images, all of the same subject but with different amounts of shadow and highlight detail in them. The exposure variation that can be set between picture frames can vary between 1/3, 2/3, or a full stop of exposure. Some photographers even bracket up to two full stops between images.
When we expose any image, we’re trading off losses in some of the shadows and highlights to gain the most acceptable exposure overall, regardless of whether we make the exposure decision ourselves or allow the camera to do it for us.

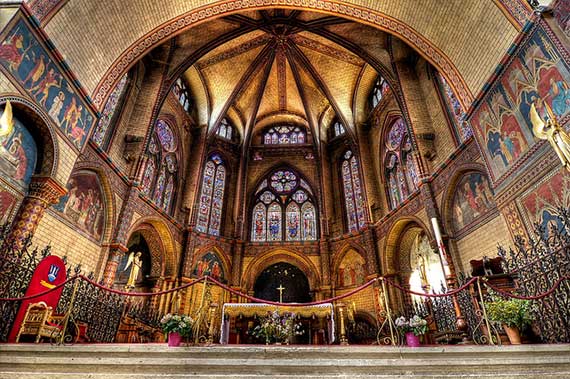
a blend of 3 bracketed exposures, photo by Salva Barbera
What is the point of bracketing?
Bracketing gives photographers leeway to take and combine these multiple images in photo editing programs to produce the ultimate perfectly exposed final image. Photographers are able to replace areas of shadow and highlight detail that could not be recorded with the main tonal range of the subject because the extremes of exposure went beyond the sensor’s dynamic range.
Bracketing can also give you subtle differences of exposures and allow you to choose what exposure compromise you’re happiest with. Some photographers prefer to lose a little detail out of the shadows to keep the highlights from blowing out and becoming featureless white areas. Others prefer to see detail more in the darker tones.
So the next time you’re at a loss about your exposure, try a little bracketing. You never know, you might like it!
About the Author:
Ron Kness is a digital photography specialist from Sunlight Media. You can find his website at Digital Photography by Ron Kness for more digital photography tips and technique articles.
Go to full article: How Exposure Bracketing Works
What are your thoughts on this article? Join the discussion on Facebook
PictureCorrect subscribers can also learn more today with our #1 bestseller: The Photography Tutorial eBook
The post How Exposure Bracketing Works appeared first on PictureCorrect.