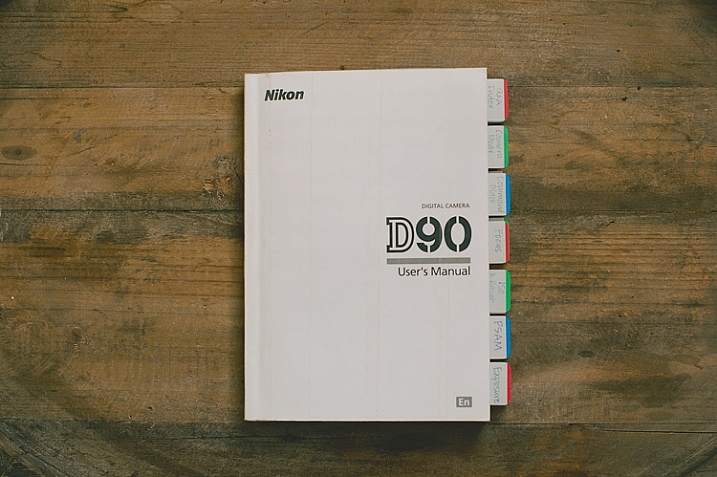
Let me guess; you got a brand new camera, you don’t know how to use it, and you have no idea where to start – about right? Let me introduce you to one of the best ways to get to know your camera inside and out, backward and forward. It’s included with your camera, so there is no extra cost! It’s at your fingertips 24 hours a day. It’s patient, and never gets frustrated if you ask it the same questions over and over again. Welcome to:
Camera User Manual University!
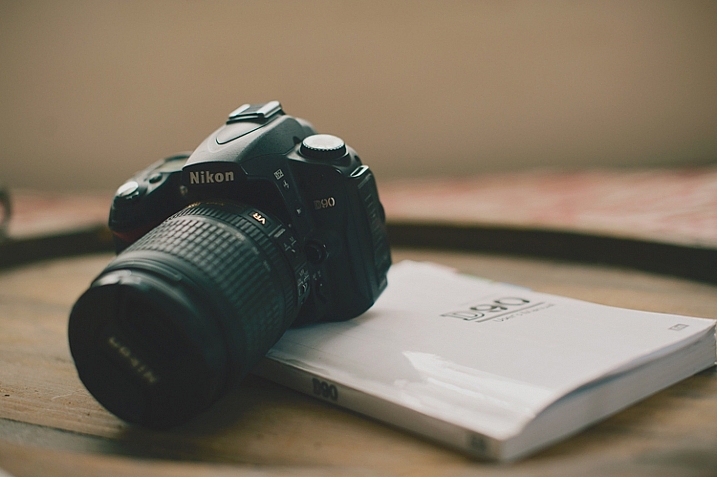
For many of us, getting a brand new camera is beyond exciting. We start trying to use it right away, throwing the manual back in the box, forgotten forever. The problem is, we soon run into frustrations and questions, and end up just putting the camera aside, or searching and asking for the answers one at a time, learning slowly and with difficulty. Or maybe we have even had our camera for ages, and just barely discovered something amazing that it can do.
If I can convince you to actually USE that camera manual, you will start out with much more knowledge than the average camera owner, and you will discover lots of cool stuff that your camera can do, that your seasoned photographer friends may not even know!
I am going to share my first camera manual and how I made it useful for me. These tips might help you transform your boring manual, into something that can actually help you become a better photographer.
Protect Your Manual
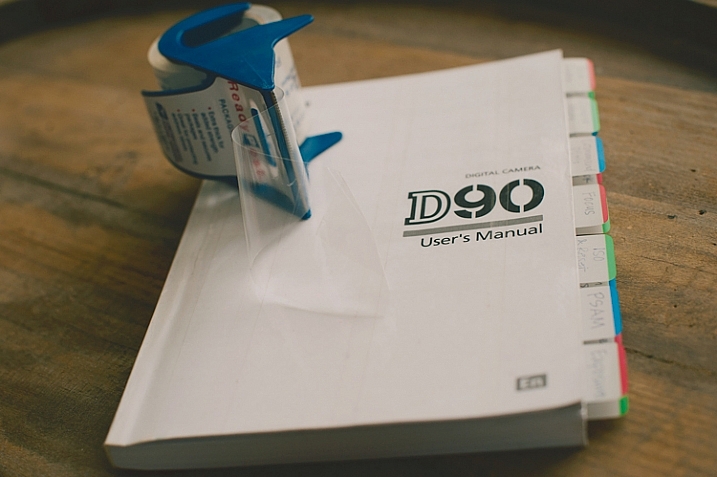
The covers on camera manuals are usually very flimsy, and easily torn or bent. The first thing to do is laminate your cover, so it’s more durable and stays nicer. I did this by simply covering the front and back covers with packaging tape. I made the pieces of tape slightly bigger than the book, and folded them under so the edges were protected also. Take your time with this, and make sure you use a clean surface to avoid bubbles and dirt stuck underneath the tape.
Add Divider Tabs
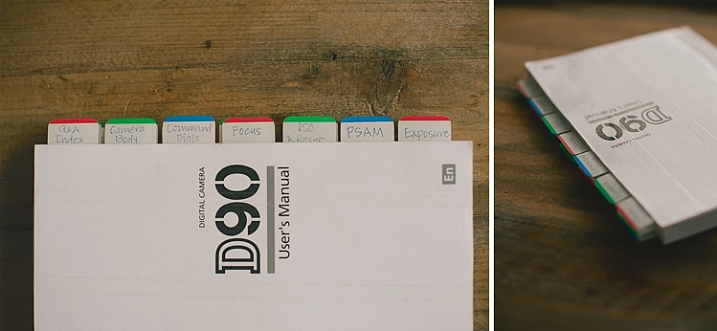
I went through the book and labeled and divided each section, so I could find them at a glance. Not only does this make finding things easier later on, but labelling the tabs and sticking them in each section, gets you familiar with the manual even before you start digging in deeper. You will know what your manual has to offer, and what kind of things you are going to be learning very soon.
I used removable tabs that I bought from an office supply store. They have a slight plastic feel to them, and are very sturdy. I like using removable ones, because you can move them later if you don’t need one of the labels in there.
Start at the Beginning
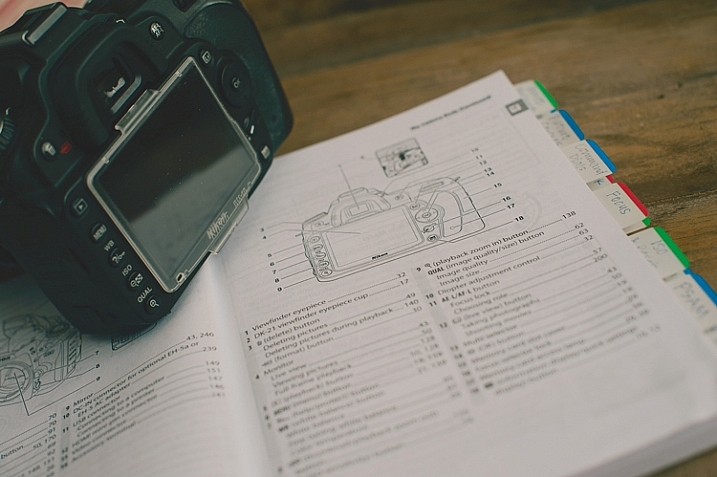
With your camera in your hands, go through the manual from the very beginning. Look at the diagrams, and find each item on your camera body. Even if you don’t understand what something is yet, find it on your camera. Later, as you read more detail, everything will start to come together. Read every page, even if it doesn’t make sense at first. Getting a nice camera is a big investment, so wouldn’t you want to know what it can do?
Camera manuals usually have very basic instructions near the beginning of the manual to get you shooting, almost right out of the box. Feel free to read that part, and begin using your camera right away, but don’t stop there! As you work your way through the manual, you will discover the reason you wanted a DSLR in the first place.
Try Everything
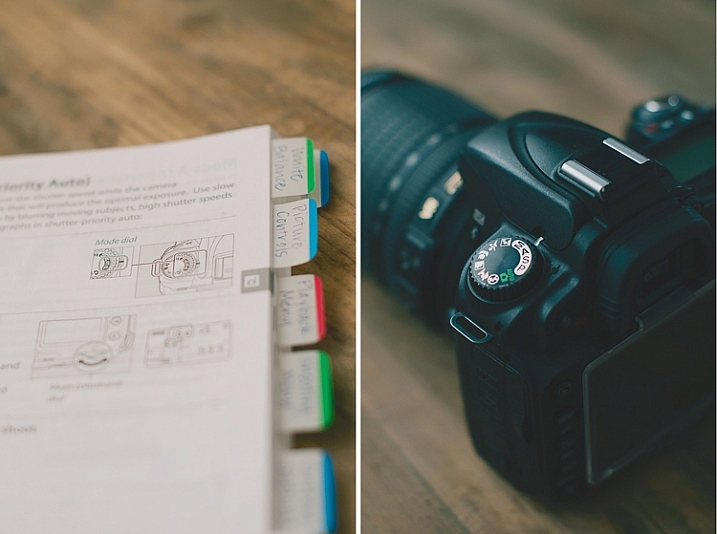
As you read and find each dial, button, and menu item on your own camera, give everything a try. If the manual is talking about different shooting modes, dial your camera in to each one, follow the instructions, and try a few test shots. Reading about things is good, but reading and then getting hands-on experience is infinitely better. You will understand what the manual is talking about with more clarity if you try things out for yourself.
Keep in mind that not everything will make sense the first time through, that’s okay. After you’ve practiced awhile, try going back through the manual page by page again. You’ll find that much of what confused you initially, has now become clear.
Once you’ve tried something, you may realize that it isn’t a feature that you will ever use. If that’s the case, just move on, and know that you at least tried it. You may end up wanting to use that feature in the future, and now you know that it exists.
Underline the Key Words
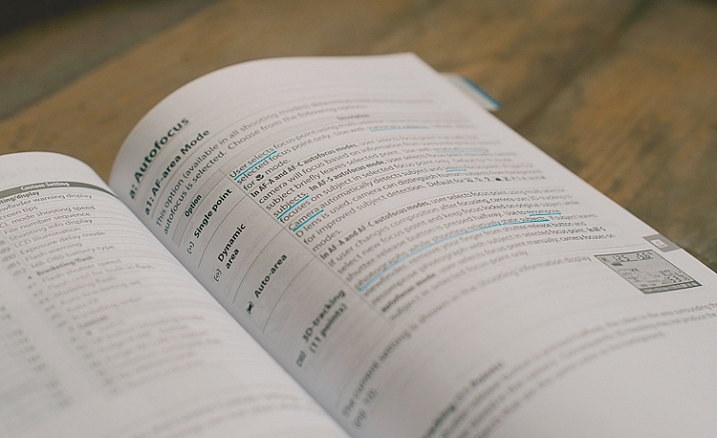
As you are reading through and learning, have a pen handy. Underline (or highlight if that’s your thing) key words that will help you focus on what is most important. Sometimes manuals can be wordy, and hard to understand. If you can zone in on the most important words, it will become more clear. Later, when you are trying to find something, those underlined words will pop out and make it easier to find.
Take notes in the margins if you try something, love it, and know that you will want to remember that in the future. Add an extra tab or sticky note there, or put a star next to it. It’s hard to remember everything you read after one read-through, but if you can quickly go back to your starred items and practice those often, you’ll be well on your way to mastering your camera.

All of this might seem a little obsessive, and maybe it is for some. However, I have taught many photography classes, and had many one-on-one mentoring sessions with new photographers, and almost every question they ask me about their camera can be found in the manual. Some people learn better from a live teacher, but the great thing about the manual is that you can refer back to it as many times as you need to, and you don’t have to pay anything extra to learn.
Have you attended Camera Manual University? Do you have any tips for making your camera user manual easier to use? I’d love to hear them in the comments.
The post How to be a Better Photographer: Camera User Manual University by Melinda Smith appeared first on Digital Photography School.