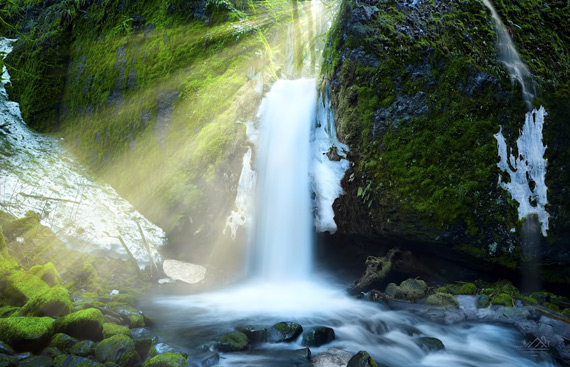
We’ve all seen tons of landscape images with silky smooth water. As our eyes cannot see the flow of water in such a way naturally, the blurry water bodies easily become the main point of attraction in an image. If you’ve been wondering how to blur water when taking landscape photos, Jay P. Morgan from The Slanted Lens and photographer Cheyne Walls have just the video for you:
1. Tripod
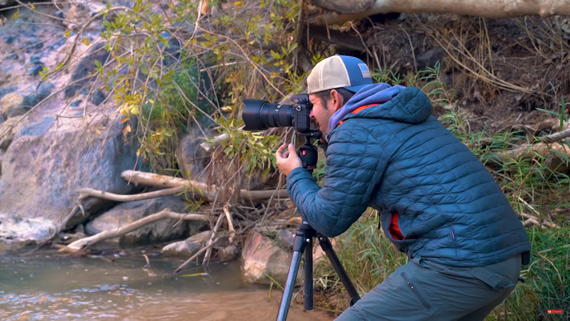
In order to blur flowing water, you essentially need to use a very slow shutter speed. And, as you might have guessed, you cannot move the camera during long exposure. To keep the camera completely stationary, mount it on a sturdy tripod.

2. Longer Shutter Speed
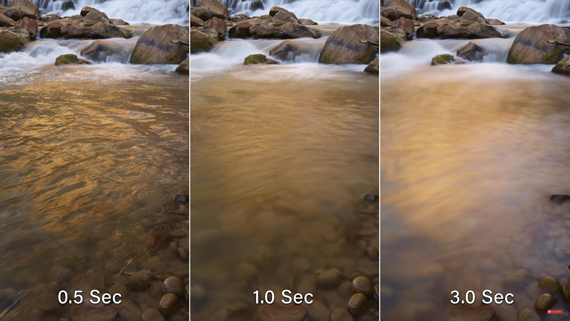
As mentioned earlier, you need to be shooting at a slow shutter speed to blur flowing water. Be sure to have a camera with you that allows you to have control over the shutter speed, and use it at a slow shutter speed. How slow you want to go depends on the speed of the water and your taste.

“You’ll need a second or two, or even more to let that water flow through. The camera’s going to see the water through those few seconds that creates the blur.”
3. Low ISO
Since you’ll be using a long shutter speed, you’ll need to ensure that the camera isn’t too sensitive to light. Otherwise, you’ll run the risk of overexposing your image. Set the camera to its lowest ISO setting. While most cameras go to ISO 100, some cameras even go as low as ISO 64. The lower the ISO, the longer your shutter speed.
4. Filters
Even with the lowest ISO setting, you can struggle with overexposed images during daytime when shooting with a slow shutter speed. This is where filters come in handy. Neutral density (ND) filters or polarizing filters block out some amount of light, allowing you to use slow shutter speeds with ease.
5. Correct Lighting Conditions
“This all has to be done in the right lighting conditions. You can’t just come out in direct sun, and hope to get a nice blurry waterfall.”
Like in other cases of landscape photography, you need the right light to walk away with breathtaking blurry water photos. Soft lighting, open shade, sunrise, and sunsets are some of the best times for this kind of shoot.
Camera Settings for Blurry Water Photography
There are no ideal camera settings for any kind of photography. However, to give you a rough idea of how Wall works, here’s how he sets up his camera to take those silky water images:
- Set the camera to the lowest ISO setting.
- Place the filters on the lens and mount the camera to the tripod.
- Experiment with varying shutter speeds to determine the sweet spot. If the rate of flow of water is high, you can end up with blurry water even at around 1/100 second. But, if the flow rate is low, you will need to go really slow.
“The longer the camera is open, the more motion you’re gonna see.”
Composing for Blurry Water Photos
In order to make your blurry water photo stand out, Walls suggests that you have an interesting foreground that does not move. This way, the sharpness of the surrounding will contrast with the motion of the water and the blurry water will draw more attention.

These are some great pointers to help you take beautiful blurry water photos. Be sure to try them out!
Go to full article: How to Blur Water in Landscape Photos: Essential Tips
What are your thoughts on this article? Join the discussion on Facebook
PictureCorrect subscribers can also learn more today with our #1 bestseller: The Photography Tutorial eBook
The post How to Blur Water in Landscape Photos: Essential Tips appeared first on PictureCorrect.