If your digital camera has manual mode and manual focus, you can learn to take successful night photographs on your first try.

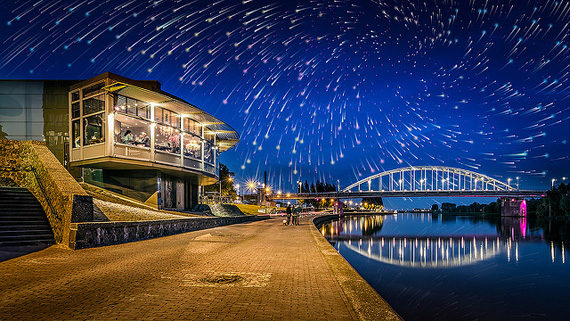
Photo by Michiel Buijse.
Try various control combinations and check your results on your camera’s LCD screen. Start with these settings then alter your shutter speed as needed:
- ISO: Try starting with a low ISO speed to maintain clarity and reduce noise. Only change this to a higher number after trying different shutter speeds. Your camera should be able to have shutter speeds as long as 30 seconds. You will know when you’ve reached seconds when your camera displays the ” mark for your shutter speed. (Example 1″ = 1 second.)
- Focus: You might be able to use automatic focus if there is enough light, but you will probably have to use manual focus. Recently, I was able to use automatic focus during Live View by moving the focus box over the moon then letting automatic focus do its thing. If your camera doesn’t have manual focus, find a light in the scene to focus on. Auto focus will require light. If there isn’t a light, use a flashlight. You can turn it on and put it where you want to focus or use it to illuminate your focal point.
- Aperture: Use f/11 or f/16. This will give you greater depth of field so that more of the subject will be in focus.
- White Balance: Try Daylight. I know that sounds counter-intuitive but it will usually result in different light sources such as tungsten, fluorescent, halogen, neon, etc. looking better.
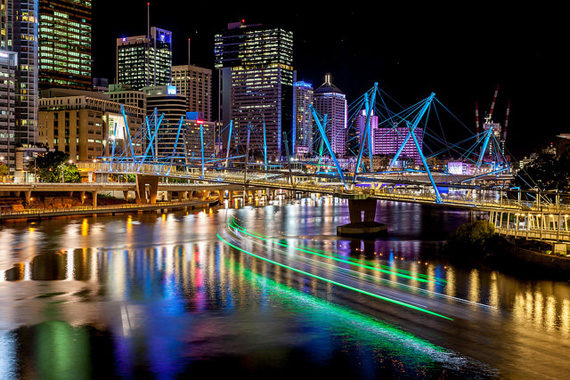
- Speed: Try 1/8 second then use a shorter shutter speed if the photo is too light. Use a longer shutter speed if the photo is too dark.
- Tripod: You must use a tripod or other stable support. You can’t handhold long exposures.
- Cable Release: If you have a cable release, use it. If not, set your timer so that the shutter will release several seconds after you press the shutter button. This helps prevent camera movement.
- File Type: I almost always shoot Camera RAW + JPEG. This gives me a raw file that I can manipulate and a JPEG that I can use immediately.
If your camera doesn’t have a manual setting, you might still be able to successfully take night shots. Look under the Scene (SCN) menu for the following settings:
- Fireworks: This setting should extend your exposure long enough to capture night lights.
- Night Portrait: This setting extends your exposure and causes the flash to go off. This setting is designed to take a picture of someone with city lights behind them. You may have tried to take this kind of picture before and the background didn’t show up at all. Night Portrait fixes that problem.
- Tripod: You still need a tripod to stabilize the camera. If you have a timer, use that, too.
Hopefully, this article has provided you with enough information for you to give night photography a shot. It really is a lot of fun once you get the hang of it.
About the Author:
Gary Ramey (trickphotographyideas.com) is an instructor at three colleges in South Florida teaching graphic design, Photoshop, digital photography techniques, concept development, desktop publishing, website design, application quality assurance, and project management.
Go to full article: Night Photography Tips & Settings
What are your thoughts on this article? Join the discussion on Facebook
PictureCorrect subscribers can also learn more today with our #1 bestseller: The Photography Tutorial eBook
The post Night Photography Tips & Settings appeared first on PictureCorrect.
