Looking for tips to take better photos? Well, you’ll find some of the most valuable ones here. These only cover the basics, but we recommend that you invest in some photography books, because they’re more likely to give you more advice and show you the ropes. For now, start with the first tip and break the rules.
1. Break the Rules
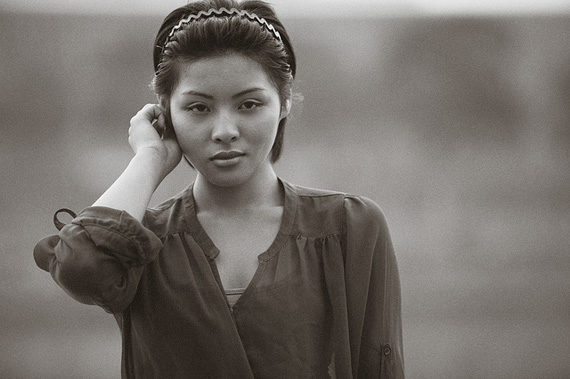
The rule of the thirds implies that the subject can be on either end of the frame but never in middle. Though that does make for a good composition, there are no strict rules in photography. If you think that a photo will look good with the subject in middle, then go for it. Let there be no boundaries to stop you from taking your perfect shot. You’ll be surprised to see that the most striking photos come from bending or breaking the rules.

Photo by Benny W.; ISO 100, f/2.8, 1/80 exposure.
2. Make Eye Contact
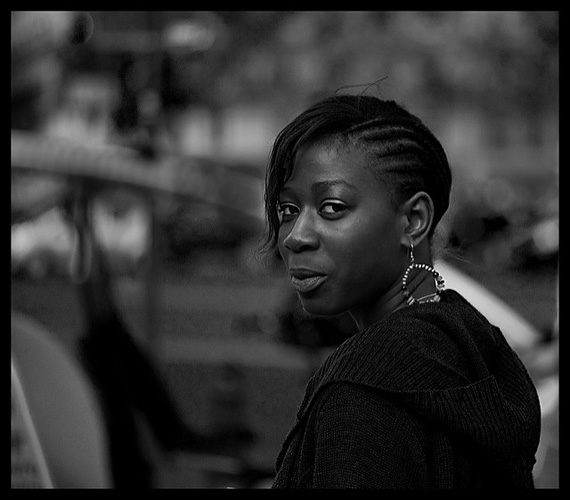
Have the subject make eye contact with the camera while you hold the camera at their eye level. This simple trick can make the subject seem more alive and will get you an engaging photo.
But there are other things you can try to make the shot more alluring. The “off-camera look” has the subject focusing on something outside of the frame. Any emotion from the subject will intrigue the viewer as to what is making the subject look surprised or sad.

Photo by Luigi Morante; ISO 400, f/2.8, 1/2500 exposure.
Another great idea is to have the subject focus on something within the frame of the camera. If there are two subjects, let them face each other or just glance at one another. This will create a story or relationship between the two subjects and a second point of interest for the viewer.
3. Watch the Light
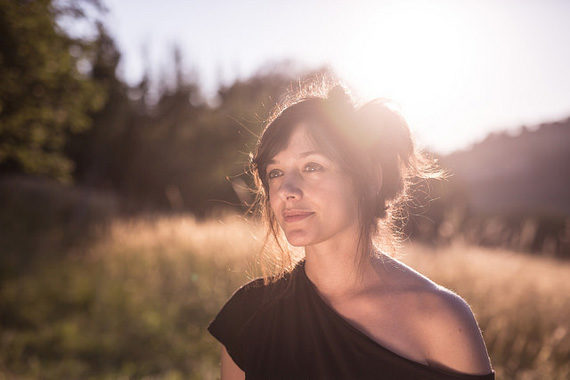
Morning and the time before the sunset are the best times to take photos. The orangey glow makes the subject look better, unlike the midday sun that makes any imperfections on the skin stand out. The light is softer, which makes the colors stand out.
There are numerous ways you can use lighting to your benefit. Side lighting or backlighting obscures the subject but makes their frame more prominent. Silhouetting also hides your subject’s features and looks extremely attractive.

Photo by Roberto Taddeo; ISO 100, f/2, 1/8000 exposure.
Use flash even during the day. This forced extra light will fill in the shadows of the midday sun.
4. Use Props
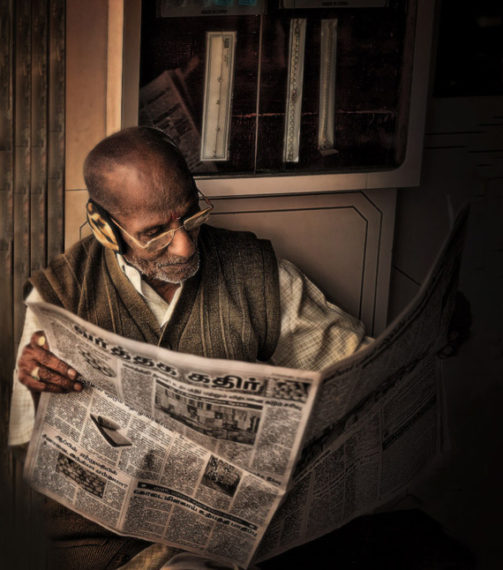
The right props can enhance the shot and give it more meaning. Focus might shift from the subject, but the prop will add depth. The prop can be something personal or anything that might add fun to the shot. Personal props make the best kinds of props; the hidden meaning is only evident to the subject, but the right photographer can make the viewer also feel its importance. Make the shots timeless so that they won’t seem outdated on the mantelpiece 10 years from now. A chair in the middle of anywhere makes for a very good shot.

Photo by Vineet Radhakrishnan; ISO 400, f/4, 1/320 exposure.
5. Be Mindful of Limbs
Arms straight down the sides makes arms look larger and gives a dull look. The static appearance doesn’t add much to the photo, so it’s better to position arms in a way that shows movement. Similarly, when the subject is sitting with their legs showing, show more fluidity in the pose. With male subjects, be careful of poses that might seem feminine if that’s not the look you’re going for.
About the Author:
Written by Irfan Akhbarwala. If your photos don’t turn out so well, don’t worry. The flattering photos will come with some experience, so keep up the practice until then. Also check out melodyrobbinsphotography.com for some great photos. Keep clicking.
Go to full article: Top 5 Tips for Flattering Portrait Photography
What are your thoughts on this article? Join the discussion on Facebook
PictureCorrect subscribers can also learn more today with our #1 bestseller: The Photography Tutorial eBook
The post Top 5 Tips for Flattering Portrait Photography appeared first on PictureCorrect.