There are many things involved in post-processing an image, that might seem a little bit daunting at first. That doesn’t mean that they are difficult to learn, or hard to understand. The HSL panel in Adobe Lightroom (or similar editing software that uses Adobe Camera Raw), tends to bring about feelings of anxiety, when it comes to making sense of all those sliders. Some photographers choose to pretend it doesn’t even exist, just because it looks a little complicated. Nothing could be further from the truth!
Simply put, those three little letters stand for Hue-Saturation-Luminance. What makes the HSL panel so powerful, is that it allows you to control different colors independently. HSL adjustments will enable you to brighten, or emphasize specific saturations, and control the hue of only certain colors. Like working with black and white? Then you should definitely make use of the HSL panel, and take your black and white conversions to a whole new level. Let’s get started!
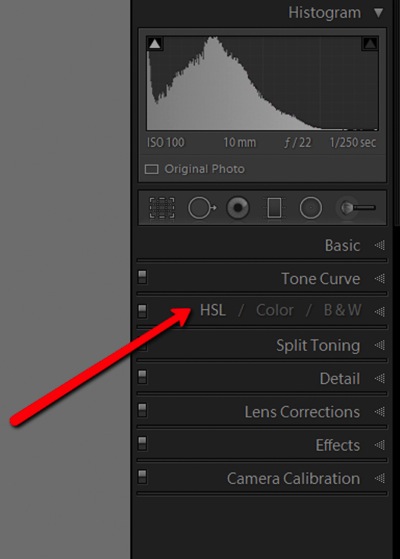
We’ve already talked about what the letter HSL stand for, so now let’s break it down, so that you will really understand how each one affects your image.
H – What is hue?
Admittedly, trying to discern the functional difference between the words hue and color, can form a little bit of a gray area (haha color humor). But generally, we think of hue in terms of the shade of a color on a gradient and is dependant on the wavelength of the light reflected. Don’t worry, that’s about as scientific as we will get.
Let’s say that I see a flower out in a field. The flower has beautiful yellow petals. What shade of yellow are the petals? Are they actually yellow, or are they maybe a dark yellow with a little bit of orange? Maybe a brighter, more greenish yellow? This subtle gradient of color is what we might describe as hue, and it varies infinitely across the color wheel. Controlling the hue of the colors in your image is a great way to bring realism to your photo, or even depart from it using psychedelic alternatives to the actual colors within the scene.
S – What is saturation?
Saturation is much simpler to comprehend. When we talk about saturation, we are referring to the intensity of a color. Saturation can play a central role in controlling the mood of a photograph. Highly saturated colors generally convey brighter emotions, whereas muted, desaturated color can lend a sense of brooding or sadness. What the HSL panel allows you to do is control the saturation of only the colors you choose, which will really expand your creative range.
L – What is luminance?
This may very well be the most easy part about HSL to understand, and requires the least amount of explaining. Luminance is simply the reflective brightness of colors. It is extremely useful when there are certain colors within the image that you feel should be either darker, or brighter. This comes in handy, especially when working with black and white images (converted from color), but more on that in just a moment.
There are a couple of ways to configure the HSL panel, but I prefer to leave each adjustment section open while I work. True, it takes up a fair amount of space in the develop module, but it also let’s me make quick adjustments as I go without switching back and forth between the dedicated hue, saturation, and luminance panels.
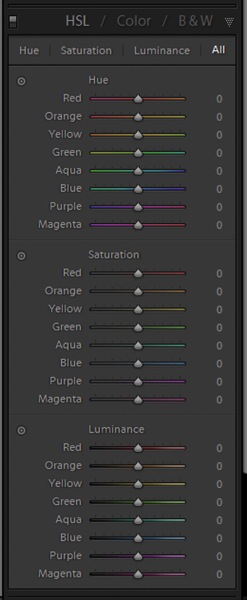
Adjusting specific saturations
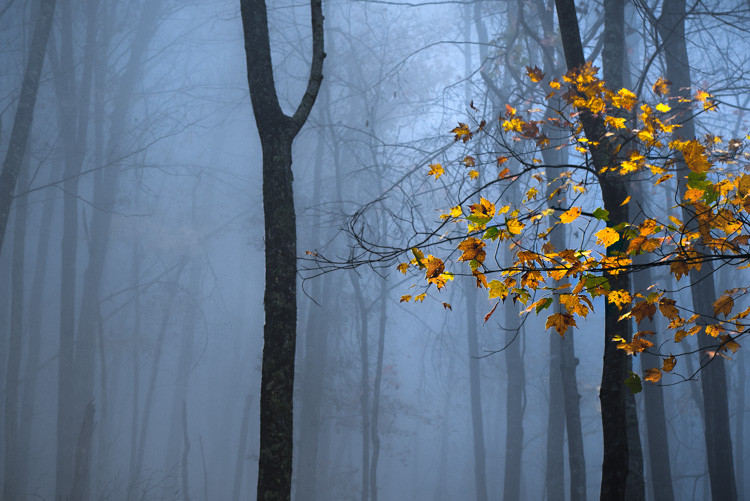
Let’s say you have an image that you want to bring out only certain colors. You can do this by using the saturation slider. An easy way to select the color you want to adjust, is by using the color picker. It eliminates the guesswork of deciding what color is actually which. In this case I want to increase the saturation, brightness, and hue of the leaves, without affecting the blues of the background.
Find the saturation section of the HSL panel, and select the picker tool (see red arrow below to locate it).
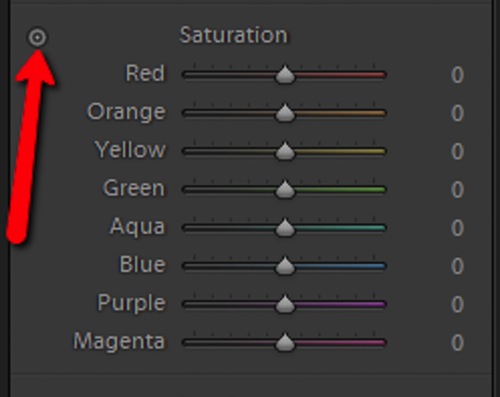
Hover over the color you want to saturate or desaturate. Notice that this will subtly highlight the corresponding color values in the saturation section of the HSL panel. Then simply click and hold while you drag up or down.
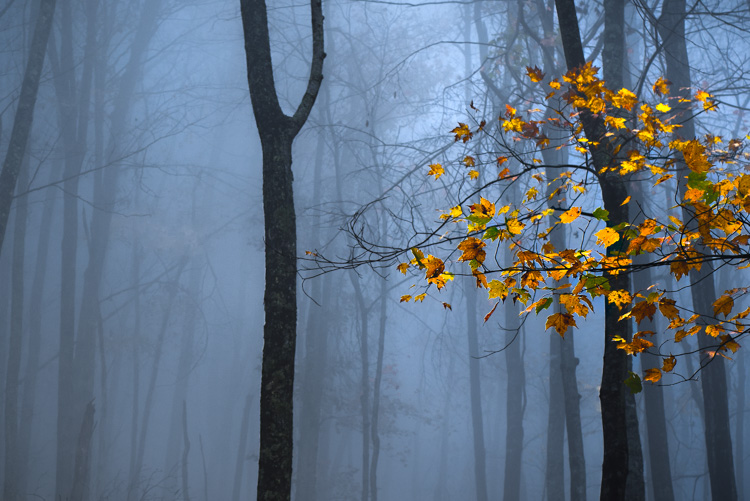
The change here is barely perceptible for the time being, but after some more adjustments, it will be obvious.
Adjusting specific luminance
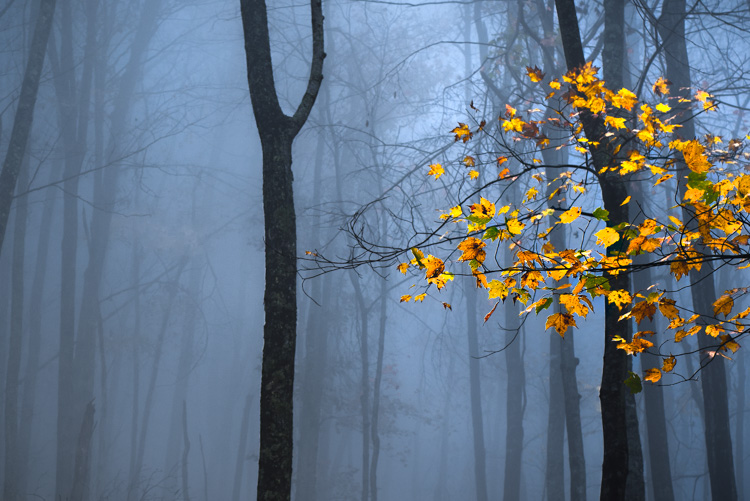
Next, we will make the leaves a little bit brighter, so that they stand out from the blue background even more. They mainly consist of oranges and yellows. Go to the luminance section, and again select the color picker tool. This time it will control the brightness of the selected color.
Click and drag (up to lighten, down to darken).
Adjusting specific hues
I like saving the hue adjustments for last, because it’s easier (for me at least) to decide the final color tone, after it has reached the desired brightness and saturation. For this picture, I want to make the leaves more orange than yellow in hue. As above, locate the hue adjustment section and the color picker and then…you guessed it, click and drag.
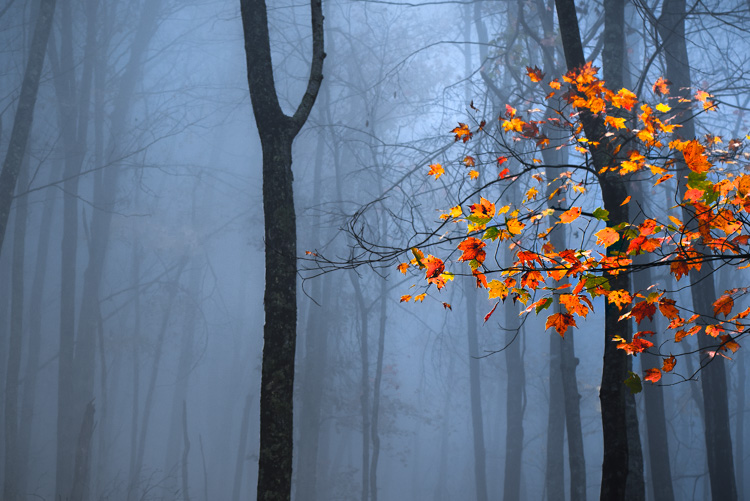
After you finish, make sure to go back and perform any fine tuning using the sliders, in order to get everything just right.
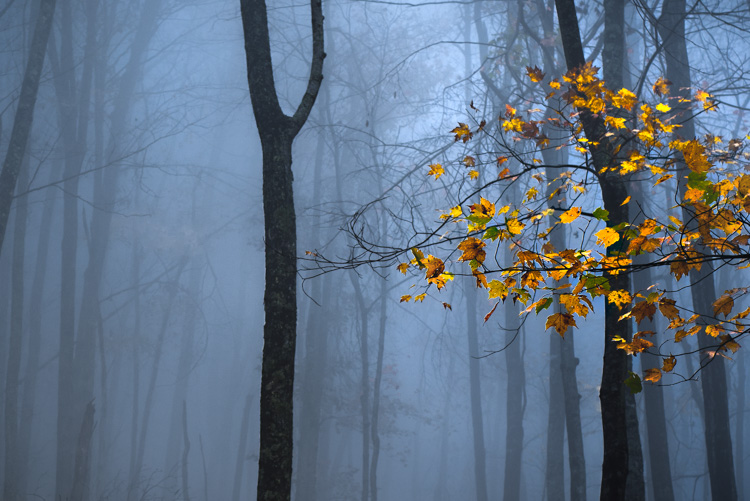
Before adjustments
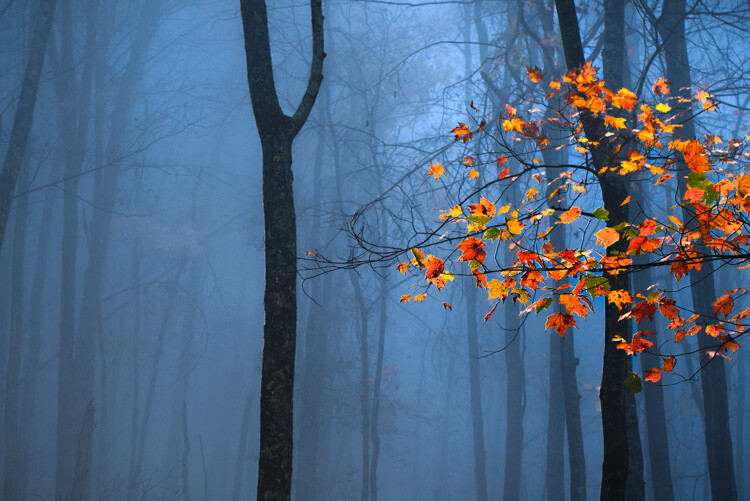
After – final image
HSL with Black and White
When it comes to black and white, the HSL panel can work wonders. Of course, seeing as the image is black and white, there won’t be any effect on the hue or saturation of the colors. Rather, Lightroom gives you a completely different set of controls, which is virtually a stand-alone luminance adjustment panel.
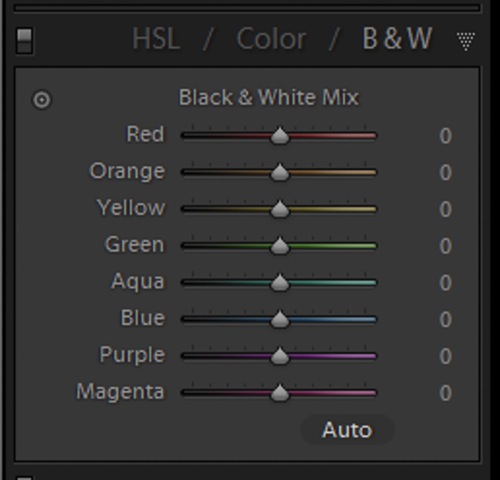
Even though you are working with a monochromatic image, the color information is still stored, so the program knows what color was there, before the conversion to black and white. Keep in mind, this does not apply to images shot in non-RAW format (like JPG) using your camera’s black and white setting, or images which you previously converted to grayscale in Photoshop. Doing so removes all the color information from the image file, making the option for working with individual color luminance in Lightroom unavailable.
By being able to selectively adjust the brightness of each color, you will now be possible to adjust the luminance of your black and whites very creatively. This way, you can really control the contrast and mood of your image much better and easier. Adjusting the luminance of certain colors, within a converted black and white image, can drastically change the way the photo appears to the viewer. Here is color image after being converted to black and white.
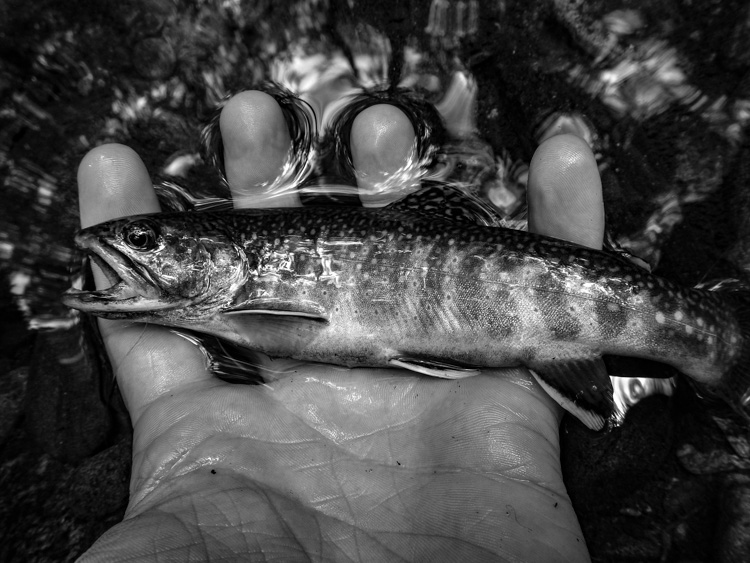
Here you see the same image, after some selective adjustments in the black and white section of the HSL panel.
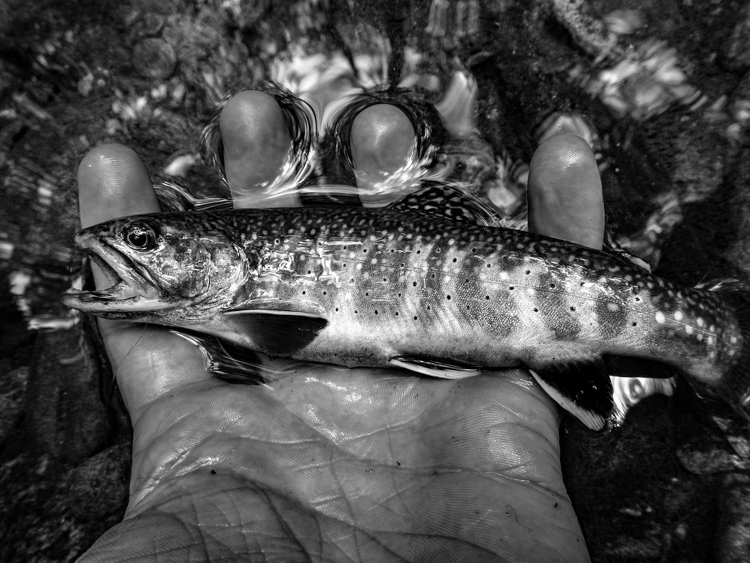
Working with the HSL panel may look overwhelming, but once you understand how each adjustment affects your photo, it becomes a lot less scary. By being able to adjust the hue, saturation, and luminance of colors, independently of one another, will allow to take a huge amount of creative control over your post-processing. Don’t be reluctant to experiment with HSL and have fun with your photography!
Have you used the HSL panel before? What other tips or tricks to you have for using it? Please share in the comments below.
The post Understanding the HSL Panel in Lightroom for Beginners by Adeel Gondal appeared first on Digital Photography School.