Improvement in any area requires a plan and some action. If you would like to improve the results that you get from your own photography there are any number of different things that you can do to enhance your skills. Here we’ll take a look at 10 things anyone can do, at virtually no cost, that can help to make a noticeable difference in your photography over the next 30 days.
1. Learn the Functions and Features of Your Camera
Regardless of what type of camera you are using you will need to know how it works and how to use it in order to get the best results. It doesn’t matter if you’re using a DSLR, a point and shoot, or a smartphone camera; having a better understanding of how it works and what you can do will open up new possibilities and allow you to use it more effectively.
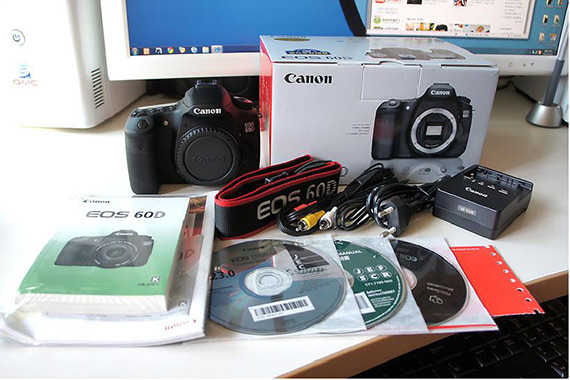
The best place to start is, of course, the camera’s manual. Manuals aren’t the most exciting reading material, so many people ignore them, but you can pick up a lot of valuable information from the manual. You don’t necessarily need to read it cover-to-cover, but skim through it and look for things that are new to you. You can also find some helpful information from various websites and blogs. Do a Google search for your camera model and you’re likely to find tutorials and guides that may teach things that aren’t in the manual.
2. Read a Tutorial Every Day
In your quest to improve your skills over the next 30 days, you can also make a commitment to read and follow along with a tutorial each day. There are hundreds—probably thousands—of photography blogs that publish guides and tutorials that will teach you new things.
With the help of tutorials you can learn things about any area of photography, and there are also plenty of tutorials for processing your photos in Lightroom and Photoshop. You can find tutorials on just about any aspect of photography, but if you want to save some time you can find great lists of tutorials here:
- 101 Photography Tutorials to Elevate Your Skills
- 100 Helpful Photography Tutorials for Beginners and Professionals
- Digital Photography Tips for Beginners
3. Hold a Still Life Photo Session in Your House
It’s very common to fall into the rut of thinking that you need to be at an interesting location or have a specific model or subject in order to take great photos. I know as someone who enjoys travel photography I tend to forget about all of the opportunities that exist right around me in everyday life.
One great way to work on your skills and to help with learning about the opportunities that exist everywhere is to simply take some time and work on shooting still life images in your own house or apartment. You can photograph things like flowers, food, jewelry, toys, or really any household item. You can work on things like composition and lighting, and you’ll start to see that you don’t need to travel anywhere specific in order to find photo opportunities.
4. Go on a Photo Walk in Your City or Town
Along the same lines as the previous point, you can also find plenty of great opportunities simply by going for a walk in your own city or town. You’ve probably passed certain places a thousand times and never thought about making it the subject for a photograph. This is another great way to work on training yourself to find subjects for photos where you previously would not have found them. Whether you live in a big city or a rural area, there will be plenty of possibilities.
5. Get Out at Dawn and Dusk
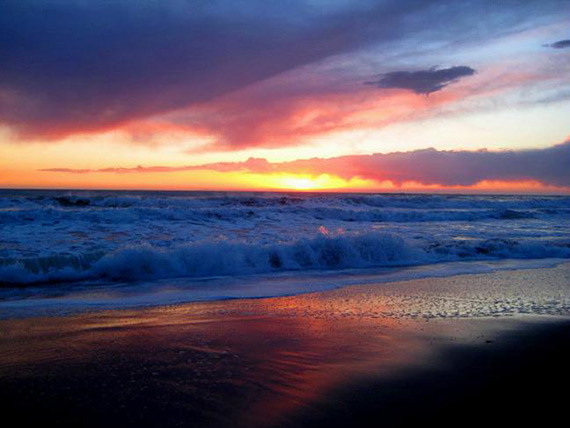
Since the best time for photography is generally the hours just after sunrise and just before sunset, make an effort to get out and shoot at these times. Pick a day and get up early and go out to take some photos before work, or set aside some time in the evening.
If photography is just a hobby, you may find that shooting during the golden hours requires a little bit of forethought as opposed to just taking photos while you are out with your family during the middle of the day. You may also want to scout some locations or do a little bit of planning so you’re in the right place at the right time. Try using a compass app on your smartphone so you can see at any time which direction is east or west. This way when you’re somewhere that you think might be a good location you can anticipate where the light will be coming from at sunrise or sunset.
You can also do a Google search to find the best places for sunrise or sunset photography in a specific location. There are a lot of forum threads on this subject for many locations any you can usually find them pretty easily with a simple search. Another thing I like to do is to search Flickr for sunrise or sunset photos at a particular location. For example, I live near the Gettysburg battlefield in Pennsylvania, so I’ll do a search on Flickr for “Gettysburg sunrise” and I can use the photos that it finds as inspiration, and I can tell what locations are the best for great shots at sunrise.
6. Have Patience
Especially when you’re dealing with landscape or travel photography, you need to have patience in order to get the best shot. You may need to wait for the weather to be just right or for the sun to be at a specific height. Many of the best landscape photos required the photographer to wait for a while in order to get the amazing shot. If you’re like me you tend to struggle with patience, so this is another area for improvement for most of us.
7. Find Unique Perspectives
Sometimes the most original and most interesting photos benefit from an interesting perspective. Even the most clichéd subjects can be a lot more interesting from a unique angle or with a creative touch. Work on finding some ways to get shots with a different perspective. It could mean shooting at ground level instead of eye level, standing on a step ladder or stool to take a portrait, getting to someplace higher in elevation to shoot a familiar subject, or finding creative ways to use vanishing points, lines, and patterns.
8. Start Using a Tripod
If you’re not already using a tripod it can be a great way to work on improving your photography. Of course, the main purpose of the tripod is to hold the camera steady and to improve the sharpness of the photo, but there are some other hidden benefits as well. You’ll probably find that using a tripod forces you to slow down a little and think more about the shot rather than quickly firing away. You’ll have to take a minute to get the composition right, so you’ll likely give it more thought than you would without the tripod. Using a tripod can also help you to experiment with long exposures and HDR. If you don’t already have a tripod you can buy one fairly inexpensively. Of course, tripods can get pretty pricey, but if you’re just getting started you don’t need a professional model and you can also buy used to save some money.
9. Intentionally Break Your Own Habits
Most of us tend to fall into certain habits in our photography. It could be the subjects that you typically shoot, the time of day, the locations, the compositions, and even the type of editing that is done in Photoshop or Lightroom. If you want to work on improving, try to identify any habits that you have and work on intentionally breaking them. You don’t need to give up on the things that you like photographing, but temporarily stepping outside your comfort zone can help to get you to try new things and improve in your weaker areas.
10. Get Constructive Feedback
A key part to improving is to get constructive feedback from others. You can do this by asking friends and family to tell you what they like or don’t like about your photos, or you can take advantage of the opportunities to get feedback online.
About the Author:
Marc Andre is the editor of PhotographyPla.net, a website that offers downloadable products like Photoshop actions, Lightroom presets, photo overlays, textures, and print templates.
Go to full article: 10 Ways to Improve Your Photography in 30 Days
What are your thoughts on this article? Join the discussion on Facebook
PictureCorrect subscribers can also learn more today with our #1 bestseller: The Photography Tutorial eBook
The post 10 Ways to Improve Your Photography in 30 Days appeared first on PictureCorrect.


