Snapdeals Sale: If you’d like to learn more about how David and Patrick photograph weddings you may want to check out their 14 hour tutorial on all things wedding photography. It’s currently $ 100 off at SnapnDeals.
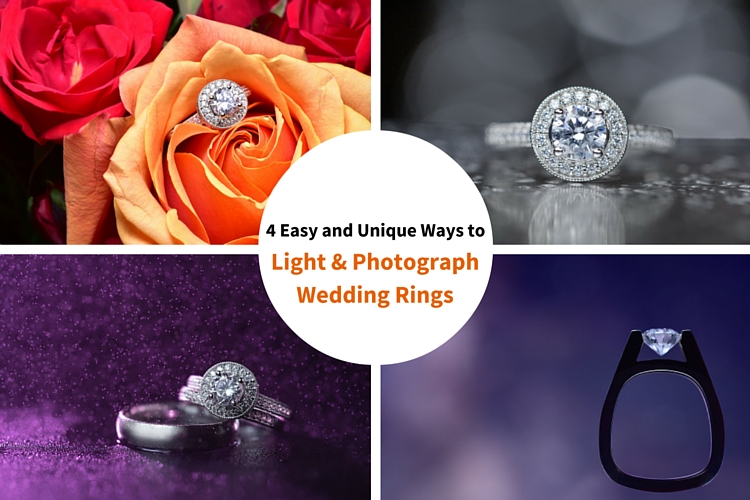
Wedding photographers are expected to capture every aspect of a wedding day and in many cases we only have a couple minutes to work. The wedding rings are an important detail that many photographers either overlook completely or over think. Over the years I’ve taught some practical ways to improve your wedding business and shooting skills. Let me show you four quick and unique ways to photograph the wedding rings.
You’ll Need a Macro Lens
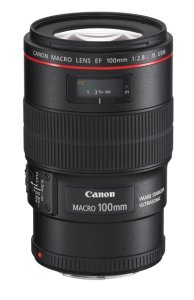
To capture wedding rings properly you’re going to need a macro lens. Without one, you simply won’t be able to zoom in and focus close enough. Yes, you could shoot wider and crop in but you will be losing tons of resolution. Luckily basic macro lenses are not that expensive.
If you’re shooting Nikon I would suggest the Nikon Micro 55mm f/2.8 or the Micro 60mm f/2.8. These lenses are very small and will easily fit in your bag. If you’re shooting Canon I would suggest the 100mm f/2.8L IS USM Macro. This one actually does have auto focus.
If you’re anything like me, you’re not going to use a macro lens very often, so you won’t want to spend a ton of money on extra features like vibration reduction (image stabilization). If you want to save even more money, buy the lens used. Amazon is actually great for used lenses. Simply click used at the bottom of any description on Amazon. You can get them cheap and they will hold their value for years to come.
Technique #1 Wedding Rings in Flowers
The absolute easiest shot to capture, and one that I’m sure to get at every single wedding I photograph, is one or more of the wedding rings placed inside, or on top of flowers. I don’t think I’ve been to a single wedding where flowers weren’t easily available. This shot is overdone and boring to a lot of photographers, but keep in mind that your clients will (hopefully) only get married once. So, to them, this shot is unique. It shows off the wedding rings, and it also captures the flowers, which they spent a lot of time and money picking out.
Sometimes I will use the bouquet of flowers and lay them down on the table, but I usually find it easier to work with flowers that are standing up. For this I will often use a vase of flowers, usually found in center of the tables at the reception.
For lighting this first shot I’m going to use a speedlight, any type will work. If you don’t have enough money to buy a name brand-name speedlight, then I would highly suggest checking out Yongnuo flashes, the base version is only 70 bucks. If you shoot Canon, you may want to spend a bit more, and buy the YN600EX-RT, that will communicate with radio signals for $ 129.
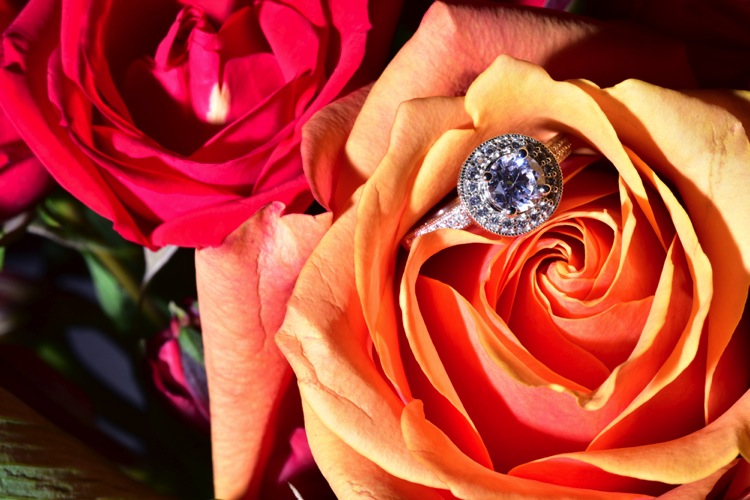
Holding the camera in one hand and the flash in the other, you can see that we can get a decent result (image above), but it would be much better if we could soften the light.
If you didn’t bring a modifier with you, you can use anything nearby that’s white. I’ve used a white plate, paper napkin, white t-shirt, and a tablecloth in the past. For this shot we will use a white paper towel. By bouncing the light off of, or through the paper towel, we can get much larger, softer light.
Having my assistant move the flash with each picture I take, ensures that we will get a lot of variety, without wasting time looking at each shot individually. Remember, this is all taking place during a wedding, so I really don’t want to spend more than a minute or two on these shots. After taking 10-20 shots in rapid succession, I can quickly review them and confirm that I have a keeper.
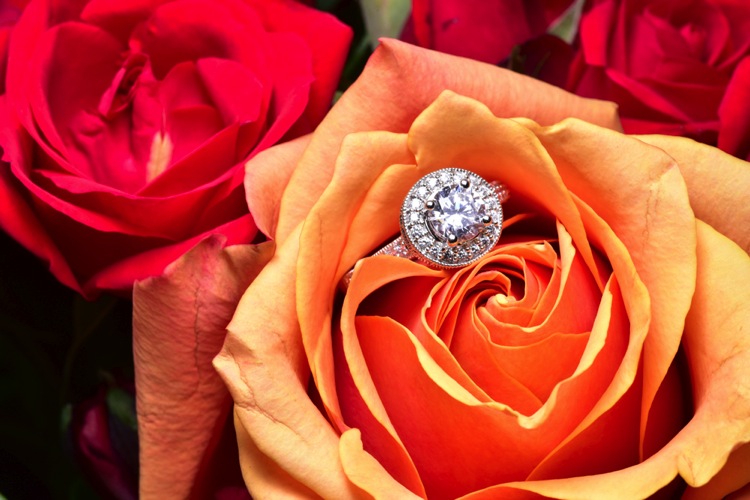
I consider this to be my safety shot because I can get it in under two minutes at every wedding I do, and the client always loves it. After I knock it out, if I have time, I’ll try some more complicated and creative shots.
Adding Multiple Lights and Water
For this next shot we are going to complicate things a bit in terms of gear, but we are also going to be able to do it without the help of an assistant.
First, find an interesting surface to place the rings. It could be a tablecloth, wood grain, granite, or anything you find around the reception site. We took our picture on a black, glass-top table.
First I setup the camera up on a tripod so that I could keep my hands free. From behind the ring, I added the first speedlight, to create a rim light on the back of the subject. To add a bit of interest I used a purple gel, and to confine the light, the Magmod grid.
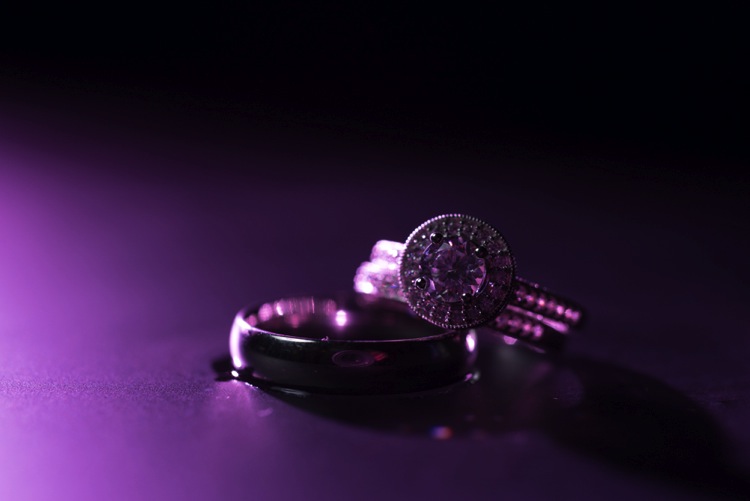
Now it’s time to light the rings from the front. Instead of using a paper towel, I decided to use the Fstoppers FlashDisc. It’s basically a collapsible softbox that can used with just one hand. When it’s collapsed down, it’s small enough to fit in your pocket, which makes it extremely convenient at weddings.
Read: Review: Flash Disc Lighting Modifier by Fstoppers for more information on this product.
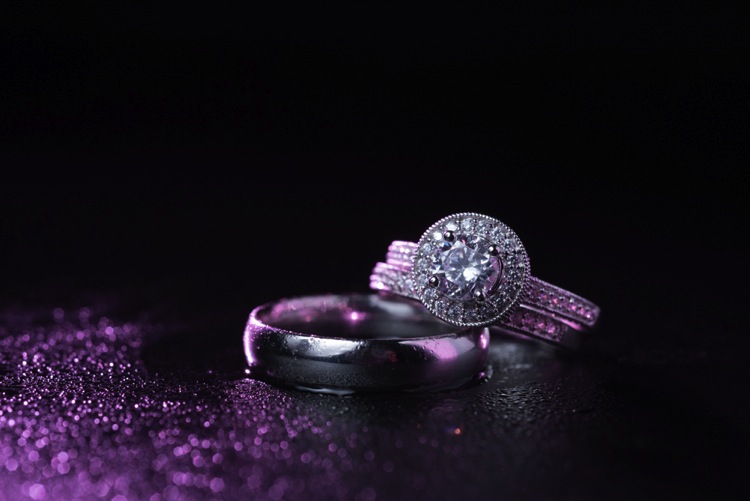
To add one more interesting aspect to this shot, I used a miniature spray bottle to add mist behind the rings. The purple light coming from the back, lights up the water, and takes this shot to the next level.
Building Your Own Set and Using Continuous Lighting
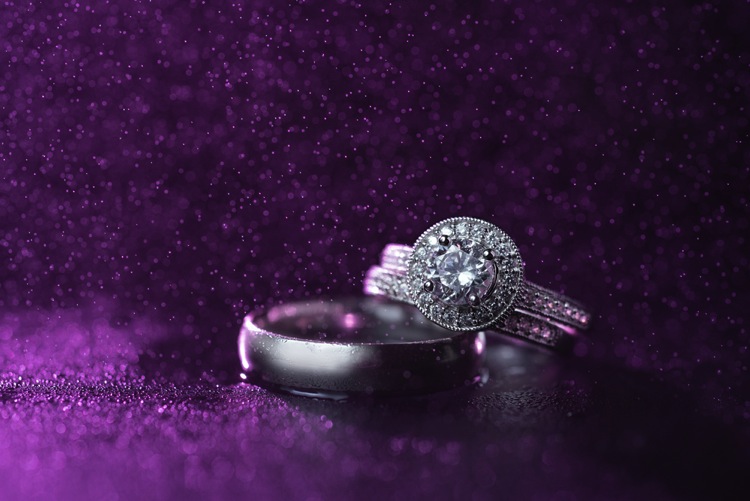
If you like to be prepared for any situation, you’re going to want to travel with a few props that you know you can work with, if the items around a wedding aren’t cutting it as a background. I travel with a pack of metallic foils that can be used to place the rings on. I also brings along cheap reflective jewelry that I can use to create bokeh effects.
Instead of using a strobe for this shot, a cheap LED panel was used as a continuous light source. These panels can be extremely handy, but keep in mind that you will probably want to use a tripod if you are going to use them to light the rings so that you can keep everything sharp (the shutter speed may be slow). If you want extremely blurry bokeh, you’re also going to want to shoot at a wider aperture than you normally might.
Using a Screen to Create Your Own Background
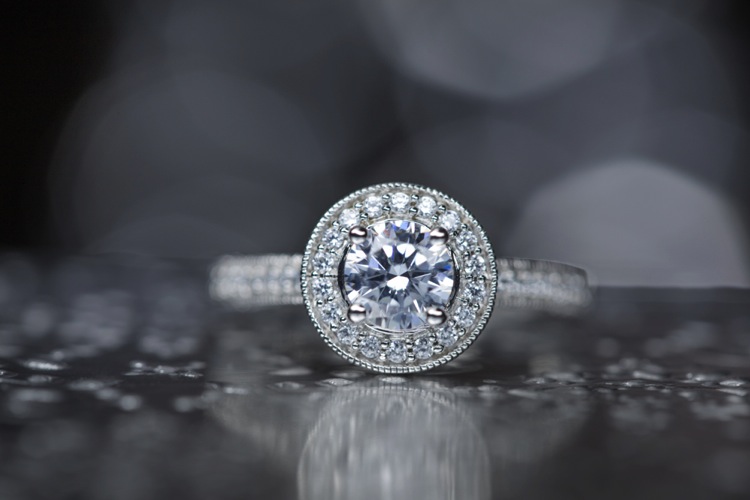
For this final shot, we are going to use a computer screen to create our own background. If you don’t travel with a laptop, you could use an iPad, or maybe even a smartphone screen instead.
I would suggest practicing this shot at home before you ever get to a wedding. You don’t want to be fiddling around with your setup, or searching for different backgrounds while the wedding is going on. If you are prepared though, this shot can be extremely easy to pull off.
First I placed the ring on bit of putty to get it to stand up. I then set my computer screen to its brightest setting, and exposed for the screen itself. At this point the shot is a silhouette of the ring.
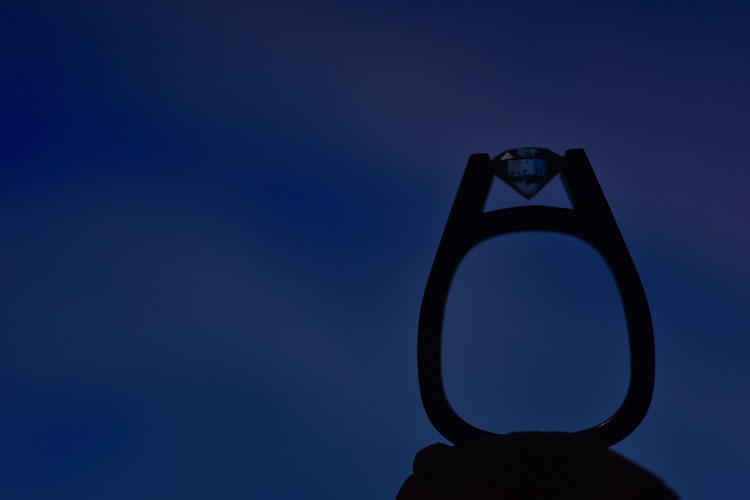
To light the ring itself you could use your smartphone’s flashlight, or you could use any cheap LED flashlight. If your flashlight doesn’t dim, you can simply move it closer or farther away from the ring to get a correct balance of light, with the screen in the background.
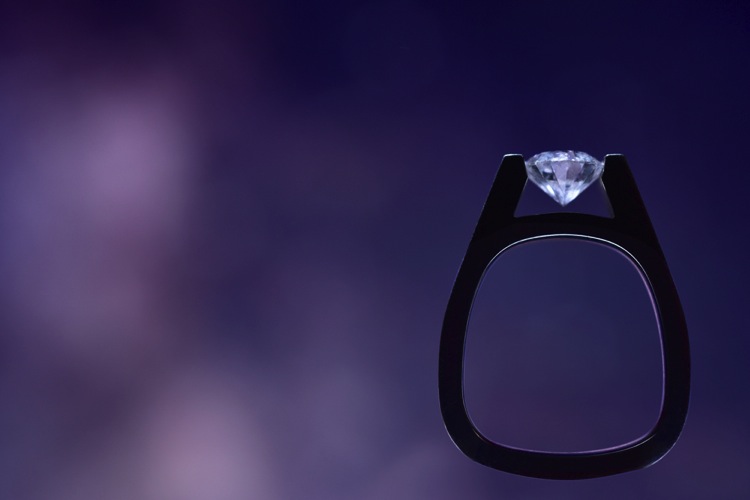
Because your background will be so blurry, it really doesn’t matter what is on the screen in the background, you are basically looking for certain colors, and large shapes that will create an interesting mood.
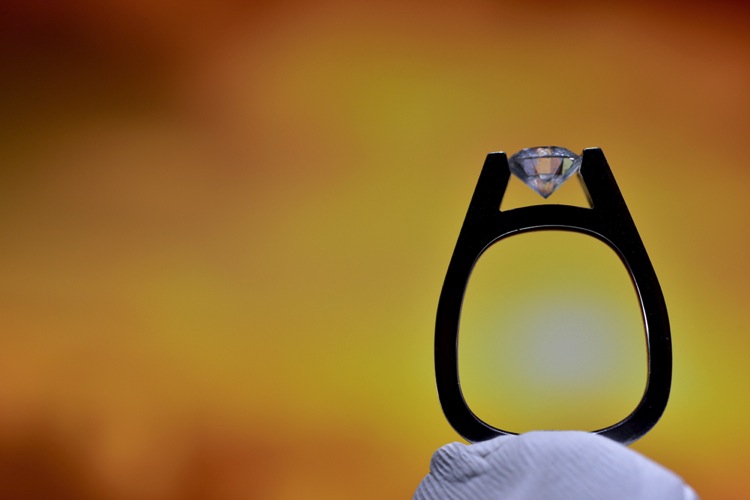
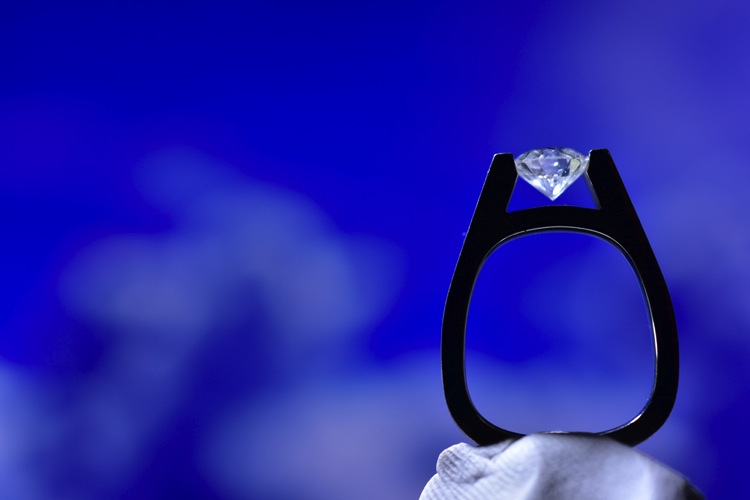
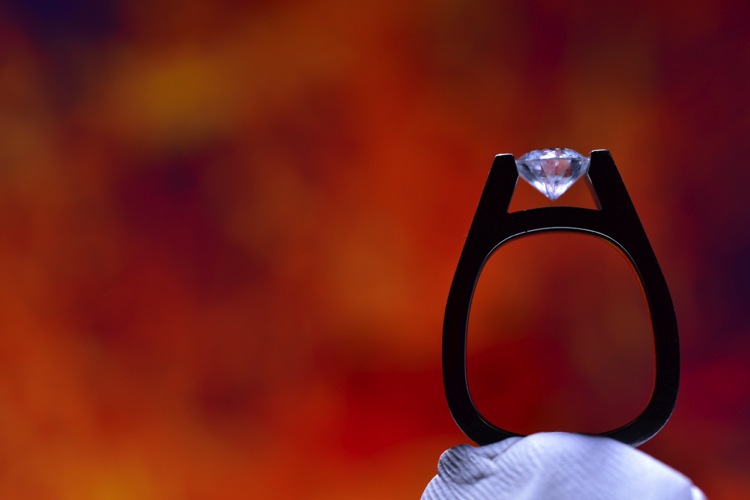
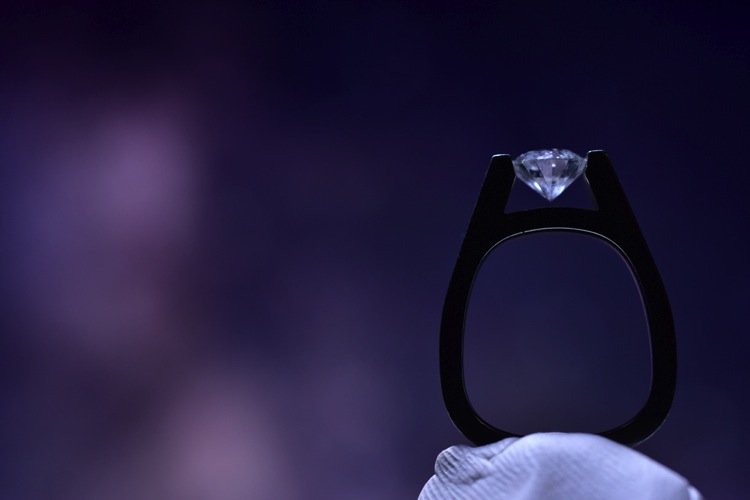
In the post-production you can either zoom-in past the putty (crop it out) or you can Photoshop the putty out and have a floating ring effect.
You can also watch us go through these techniques in the following video:
Snapdeals Sale: If you’d like to learn more about how David and Patrick photograph weddings you may want to check out their 14 hour tutorial on all things wedding photography. It’s currently $ 100 off at SnapnDeals.
The post 4 Easy and Unique Ways to Light and Photograph Wedding Rings by Lee Morris appeared first on Digital Photography School.