1. Three legs are better than two
A tripod is absolutely essential, but rather than running out and purchasing any old tripod, I strongly suggest saving up for a well-built model from a reputable tripod manufacturer. Gitzo and Manfrotto are two that spring to mind. A tripod that is poorly built or overly light weight for your camera will be next to useless, as it will shake with any light breeze or even under the vibration of your camera’s shutter.
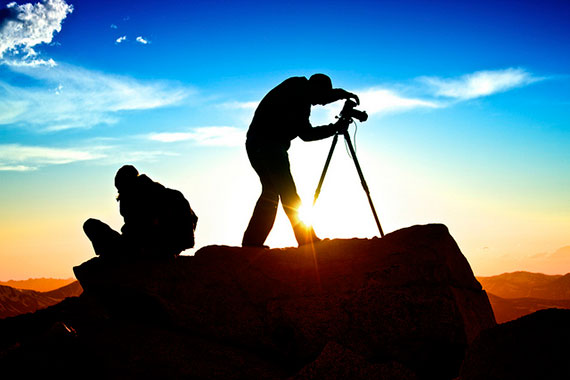
Photo by Zach Dischner; ISO 200, f/4.5, 1/1250-second exposure.
2. Use a low ISO
You may first think, “OK, low light. Let’s increase the ISO.” The unfortunate side effect of increased ISO is increased noise. Noise becomes a real issue when photographing with long exposure times, so keeping the ISO down is of great importance. Simply use a longer shutter speed instead, knowing that the camera is supported well on your solid tripod.
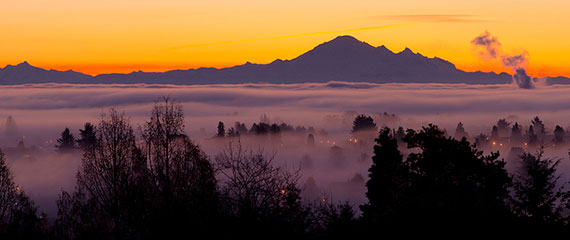
Photo by Gord McKenna; ISO 100, f/8.0, 1/150-second exposure.
3. Ever heard of a neutral density filter?
Available in a myriad of strengths and rated by how much light they cut, neutral density (ND) filters decrease the amount of light hitting your sensor whilst imparting no other changes in color temperature or visual quality. In practic,e they often change the color temperature slightly; however, it’s nothing that can’t be fixed with white balance. Now let’s assume we are photographing a waterfall and we wish to render the water as a soft mist. First, you would select a low ISO and a small aperture in order to obtain the slowest shutter speed possible — yet the shutter speed may still be faster than you wish. Just pop on an ND filter to slow things down even more.
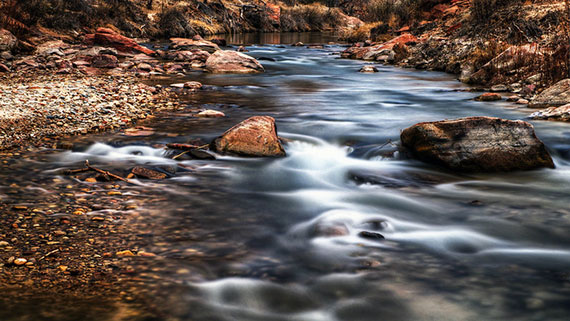
Photo by wbeem; ISO 200, f/11.0, 10-second exposure.
4. Film is not dead!
Well, for long exposure photography, it’s not. Unlike digital sensors, which develop unpleasant noise during long exposures, film handles long exposures nicely. One issue of note when using film for long exposure work is a bugger known as reciprocity failure. Basically, film loses sensitivity to light over the length of the exposure, and this must be compensated for. Find a reciprocity chart for the specific brand and type of film you’re using, make your exposure corrections, and Bob is your uncle, assuming you have an uncle named Bob, that is.
5. Guiding light
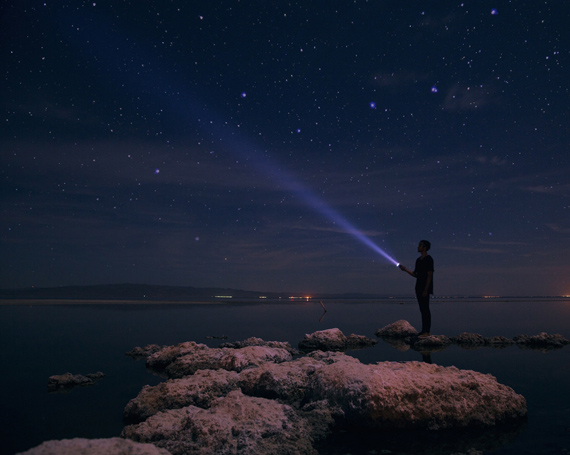
No, I’m not referring to a golden light emanating from the sky and leading you toward the path of forgiveness — that’s called acid and was big in the ’70s. What I’m referring to is a cheap, battery operated torch. Trust me when I say it’s an essential piece of kit. As you start shooting long exposure photos, you’ll start finding yourself in situations of fading light; a torch is a great asset to help you change camera settings and find your way out of locations in the dark.
About the Author:
Samuel Burns is an award-winning fine art, landscape, and Sydney wedding photographer. Pop by his website for more tips and tricks.
For Further Training on Long Shutter Speeds:
Knowing how to control your camera and paint with light can produce some of the most head-turning images in photography. This new comprehensive 56 page guide takes you through the most useful light painting techniques in detail and let’s you really study the craft at your own leisure. We were able to negotiate a 72% discount for our readers (plus 18 bonus reference cards and more) all of which ends soon.
Ever wanted a fast way to produce an artistically creative photograph like these without having to spend thousands on pro gear or sit through another academic tome? The truth is that you don’t need the latest gear or to sit through hours of theoretical lectures on the nature of light to produce appealing light painting photographs like this.
Deal found here: The Secrets of Light Painting Photography at 72% Off
Go to full article: 5 Long Exposure Landscape Photography Tips
What are your thoughts on this article? Join the discussion on Facebook
PictureCorrect subscribers can also learn more today with our #1 bestseller: The Photography Tutorial eBook
The post 5 Long Exposure Landscape Photography Tips appeared first on PictureCorrect.
