It’s time to have some fun with your camera, and pop you out of the realistic rut you may not even know you’re in. It’s time to create some images based on color, light, emotion, and a lack of concern for sharpness or details.
It’s time to play around with abstract photography!
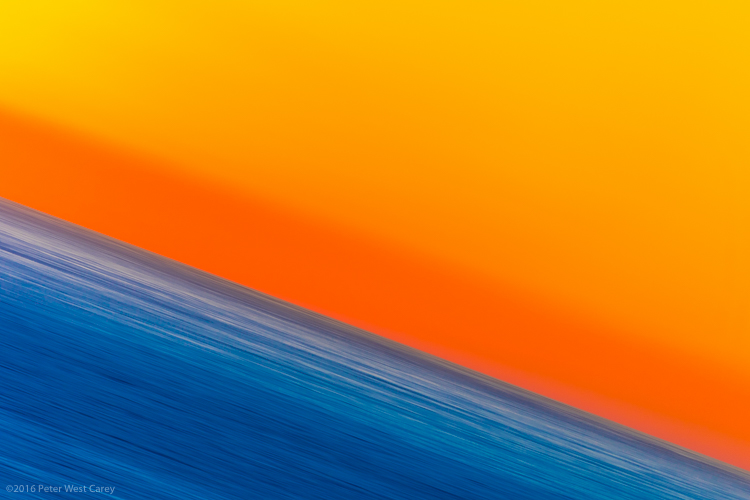
Abstract | ab-stract | adjective | of art : Expressing ideas and emotions by using elements such as colors and lines without attempting to create a realistic picture.
You already have all the tools you need (a camera or even a smartphone), so let’s take a look at some methods of creating emotive and abstracted images.
Techniques
1 – Move Your Camera
The simplest method for creating images filled with color and lines, is to blur the snot out of everything. This is a liberating concept for most of us. “I get to move my camera and not worry about staying super steady? Heaven!” I can hear you shout.
All of these techniques are paths of self discovery, but I can give some tips on where to start.
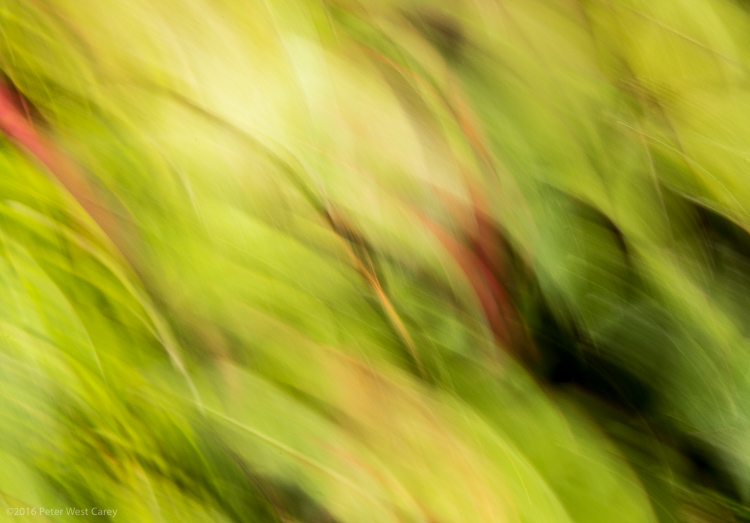
First, slow your shutter speed down to 1/10th of a second or slower. As with panning blur, this is where things get interesting. You can do this in Shutter Priority mode, or if you know how to adjust your camera in Aperture or Program modes, you can use those to get the same shutter speed. You’ll also be helped with a low ISO, such as 100 or lower.
Second, look for things in the shade. That slow shutter speed needs a lack of light to work well, otherwise your shots will be blown out (overexposed).
Third, take some sample shots moving your camera in one direction, then another. I know, this sounds like lame advice, and is simplistic, but it starts out that way. You have to start seeing what the scene in front of you does when you move one way or the other. Then start moving in circles or random wiggles.
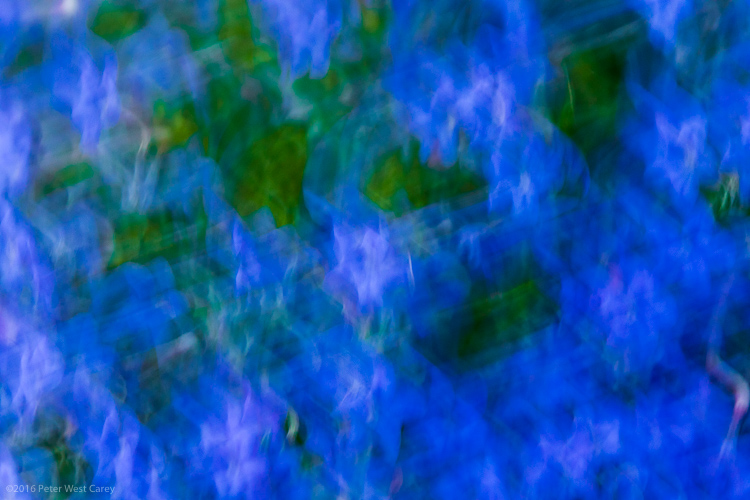
Sometimes straight lined objects look best when you go with their grain and direction. Sometimes circular items (flowers being an easy target) look best with some random wiggle. This is your official “Get out of photography-jail free card” to experiment and make some ugly images. But you may also make some that pique your interest.
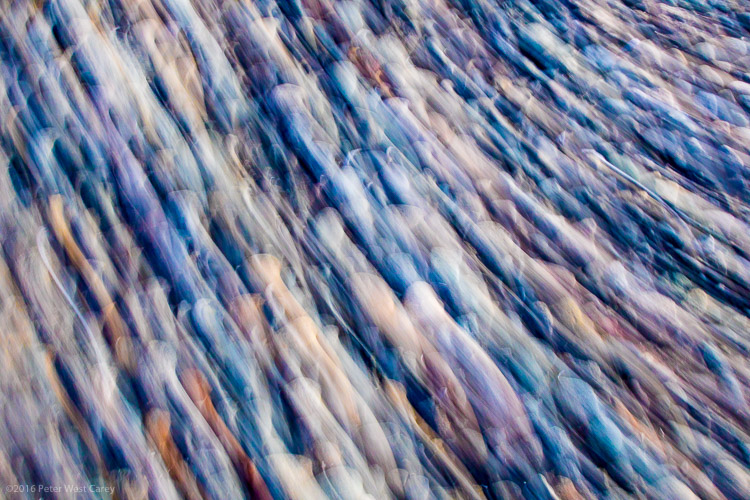
2 – Move the Subject
I used to hate see tags on train cars, until I realized the magic of all those random colors screaming by at 40 miles per hour (65 km/h).
Now I often look for all kinds of colorful items, just for their color alone. The shape, subject, or intent may not be what I want, but if I can use that color and get it to move just the way I want…I can capture the colorful essence.
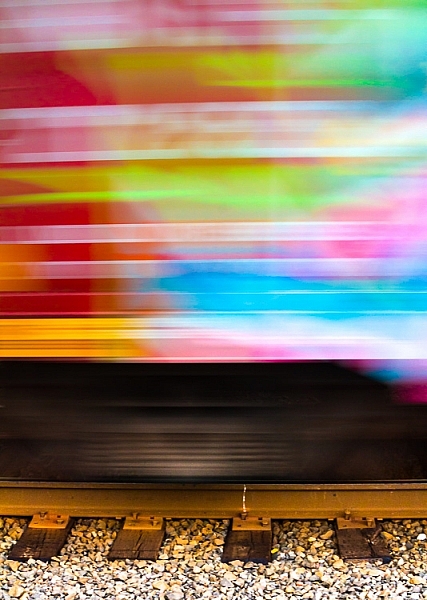
This can be a lot like light painting, but without the subject emitting the light. Think of other things that can be moved around, and go for bold colors.
WARNING: Watch out for white, yellow and other super bright colors. Their properties mean they will fill your sensor with too much data too fast, and they will washout/cover over any other colors you may have in your shot.
3 – Remove Reference
A zoom lens will be your best friend here. Wide angle shots, even with ample blur, often allow us to ground ourselves in the scene, not the colors or emotion. It’s breaking out of what we can recognize, and can relate to, that helps the abstract images.
Let me show you an example. What do you see here (below)?
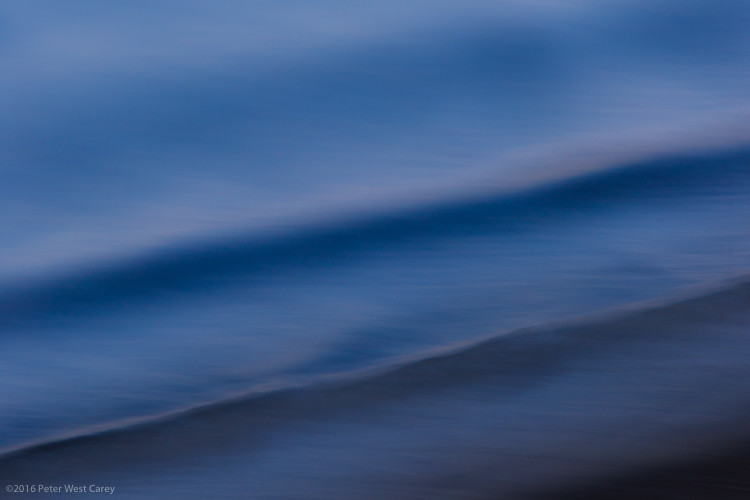
Now let me show you the larger context.
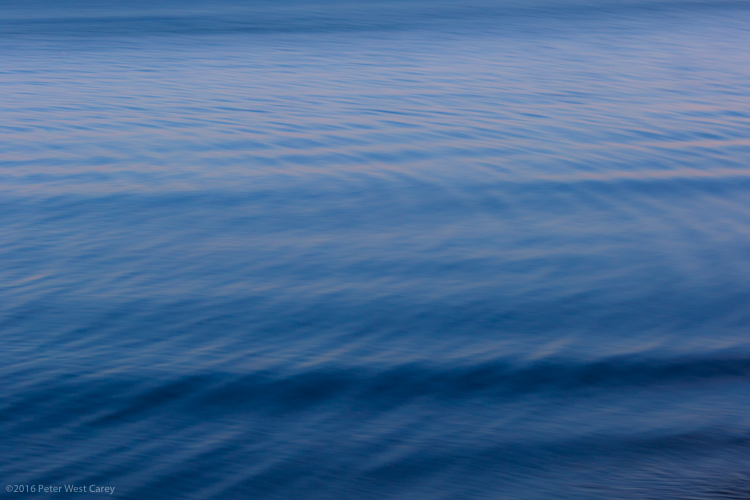
The more you zoom in and pick apart details, the more you can play with abstraction.
4 – Shoot Through Things
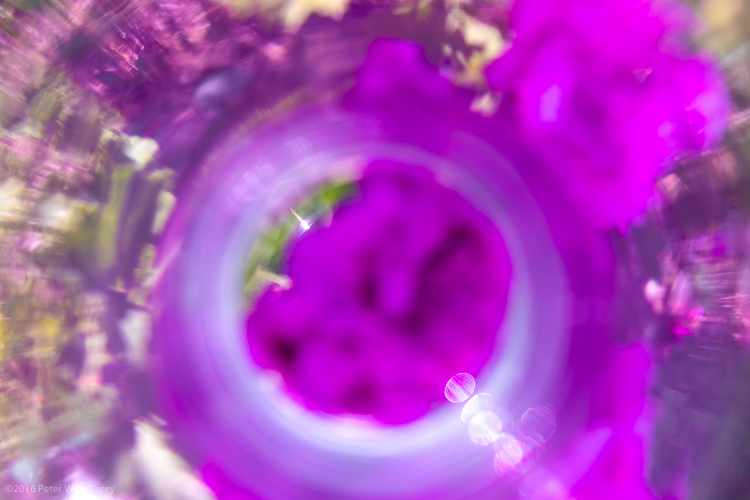
I have yet to experiment heavily with shooting through objects, but there is much fun to be had here too. Having a way to hold the object helps, and a clamp on a light stand would be handy. Otherwise, start with everyday objects and work your way through colored glass, a glass block, or even smear various gels and liquids (Vaseline, olive oil, etc.) on a clear sheet of glass or plexiglass.
5 – Multiple Exposure
Using in-camera multiple exposure techniques can sometimes leave too much of the original, recognizable subject, for some photographers’ tastes. I have found the Average setting on my Canon to work well in combining shots. If you want to get funky, go for the Dark setting, and prepare to shoot a lot of tests.
My method is to take one shot, mostly in focus. Then I shoot two more in varying degrees of out of focus. This sometimes ends up with more of a soft focus look, and that’s where the argument can be made that these images are not abstract enough. That’s why I’ll choose to zoom way in, to hopefully make the subject a little more out of context.
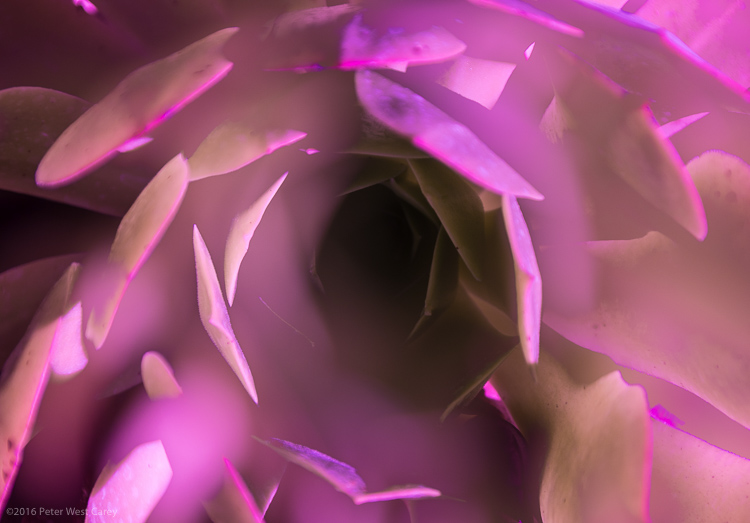
6 – Post-Processing as a Playground
You know how people tend to complain about too much post-processing of some artists’ work? Now’s the time to cast off those bonds and have some fun. You can soften scenes to make them even more ethereal.
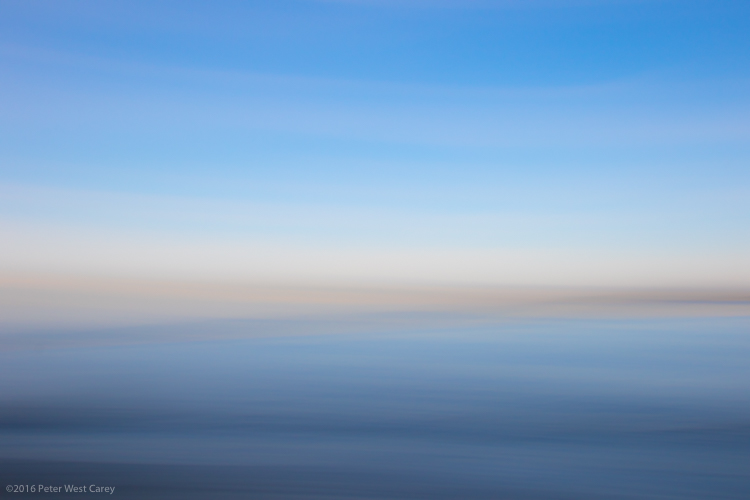
Or you can try on different versions of the same image, but with vastly different color renditions (in this case, I simple moved the White Balance Temperature and Tint sliders in Lightroom).
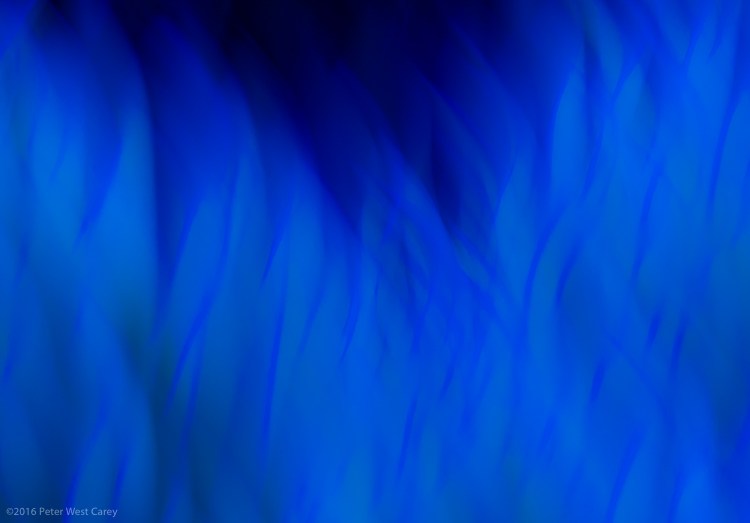
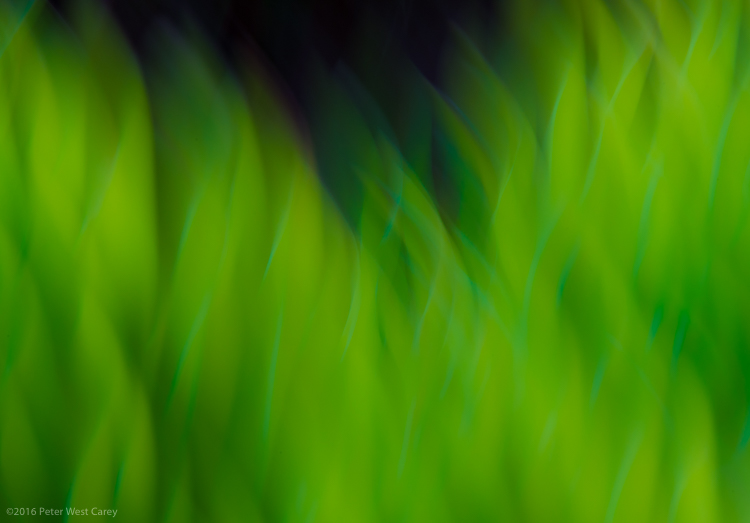
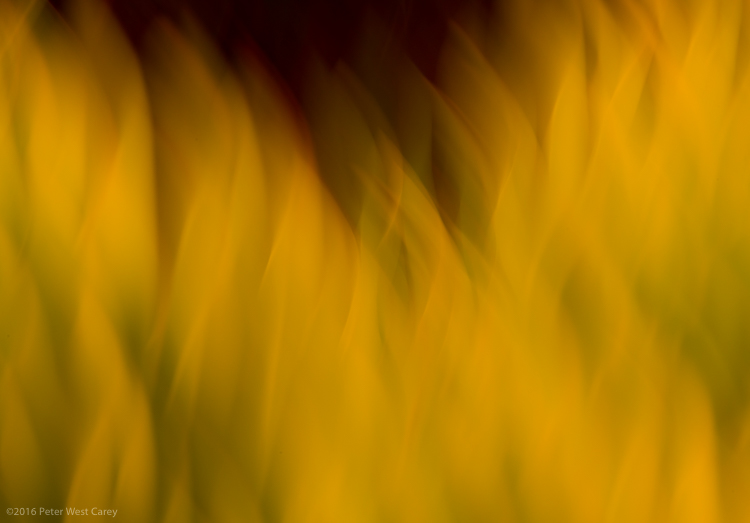
Once your images are in the computer, let your impulses go wild!
Conclusion
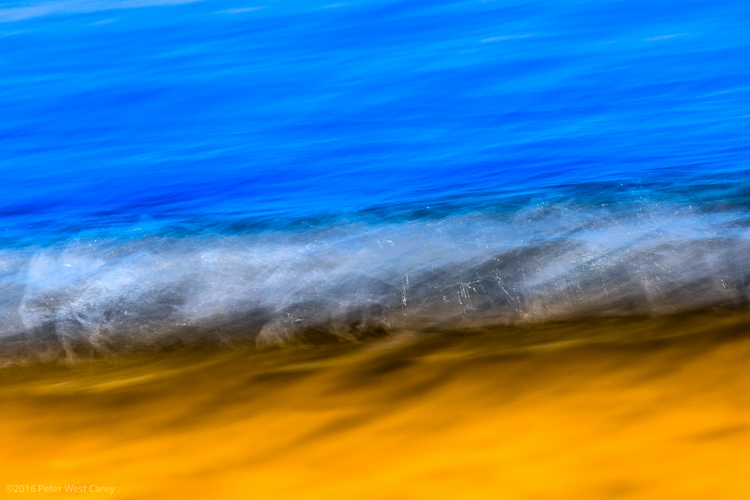
The thing I like most about abstract photography is that it plays on the “This is something I really like, but I’m not sure why” nerve inside all of us. I can possibly breakdown each of these images and tell you why I picked them, but in the end, it doesn’t really matter. It’s about creating art for art’s sake. It’s about getting back to the basics of attraction to art. It’s about being surprised by what you see on your LCD while breaking a few of the rules you used to hold so dear.
Now go experiment and show me what you can create!
The post 6 Tips on How to Create Abstract Photos by Peter West Carey appeared first on Digital Photography School.