Photography, as an art form, is simply the capture of light on either a sensitive physical medium or, in more recent times, an electronic sensor.
What makes a photograph unique and attractive to the eyes is the distribution of that light. Shadows, highlights, and varying levels of warmth and tone evoke emotion when viewing them, emotionally investing you to the picture you’re viewing.
One of the most dramatic instances of light that can occur in a photo is flare, and more specifically, a sun flare. You’ve no doubt seen spectacular images with beams of light radiating through the photo, giving you a wonderful sense of warmth and brilliance.
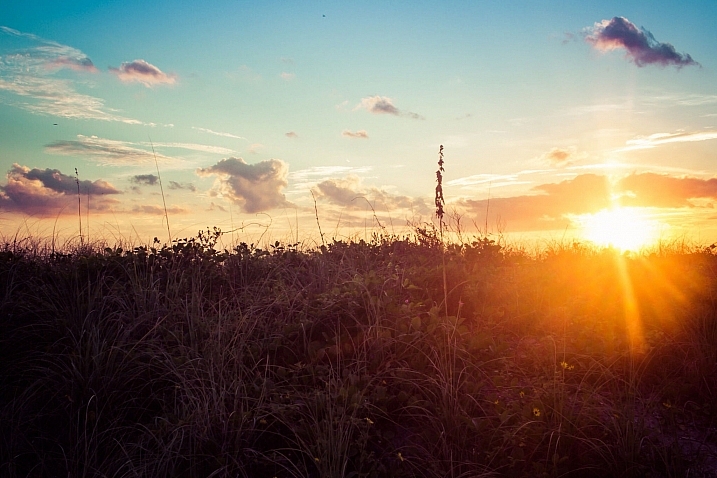
I remember about three years back, a friend asked me to how to produce the warm flares that were visible in many of my photographs. I tried to explain, but realized I really didn’t know the exact combination of properties that worked. I just knew the sunlight coming through a camera lens at the right angle created a beautiful artifact, and that I was able to achieve it pretty consistently in my beach, landscape, and nature shots taken at sunset.
Over time, I learned the details of what it takes to incorporate this effect, and how to use it to my advantage to get a warm, dreamy feel that amps up the viewer’s connection with the photo. This is what I’d like to share with you, as it’s one of the easiest ways to inject emotion into your photography.
In this article, we’ll cover what flare is, what artistic and aesthetic benefits you can derive from it, and finally, how to produce and use it effectively in your photography.
What is sun flare?
Lens flare, as described in its most basic form, is the result of a bright light source entering the lens and producing artifacts, shapes, and effects in the resulting image.
Technically, lens flare and sun flare are different entities, but for the purpose of this article, we’ll treat them the same. We will be talking about the effect created in-camera by having bright sun as a light source in, or near, the edge of the frame.
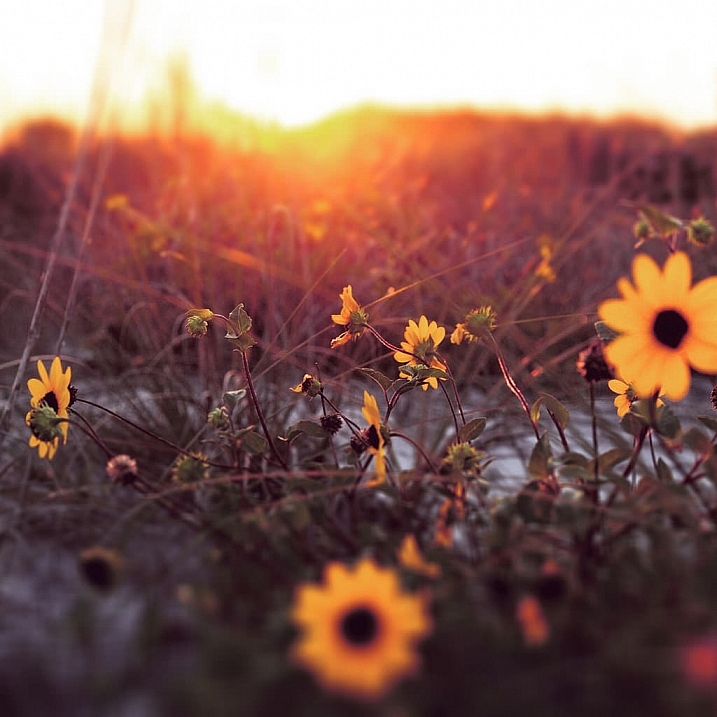
On many occasions this is an unwanted effect. For this reason a lens hood is often used to prevent flare, when bright light shines on the lens opening from outside the frame. Flare often reduces cleanliness and clarity in a scene that requires it, such as with architectural or commercial photography.
But flaring has a beautiful side as well, as you know. Some of us strive for the warmth and haziness that flared light from the sun can provide. Environmental portraiture is an example of an area that utilizes this effect. So how can we create and use flare to our advantage?
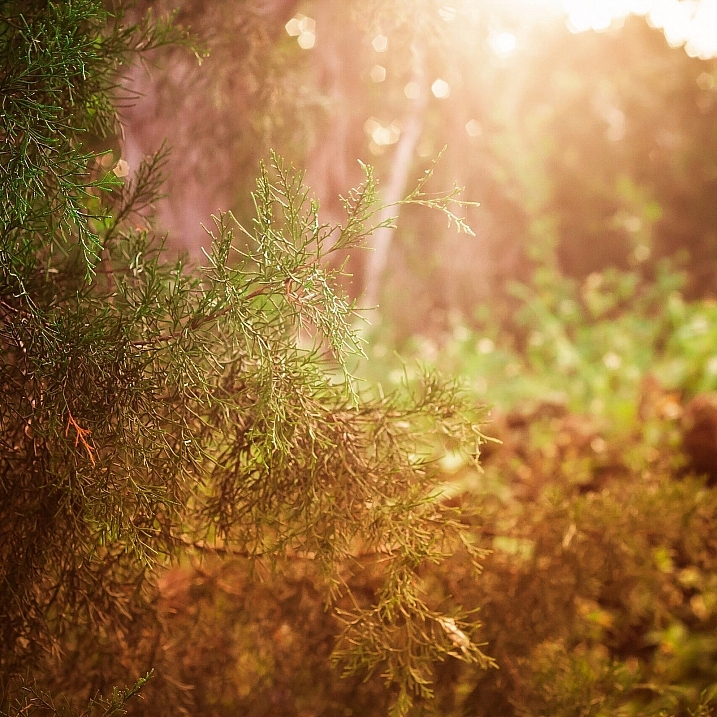
Creating the flare
1. Don’t try this on a cloudy day
The main requirement to create flare is of course, the sun. If you’re shooting on an overcast day and there isn’t any sun poking through, you won’t be able to create a flare.
2. A low angle is best
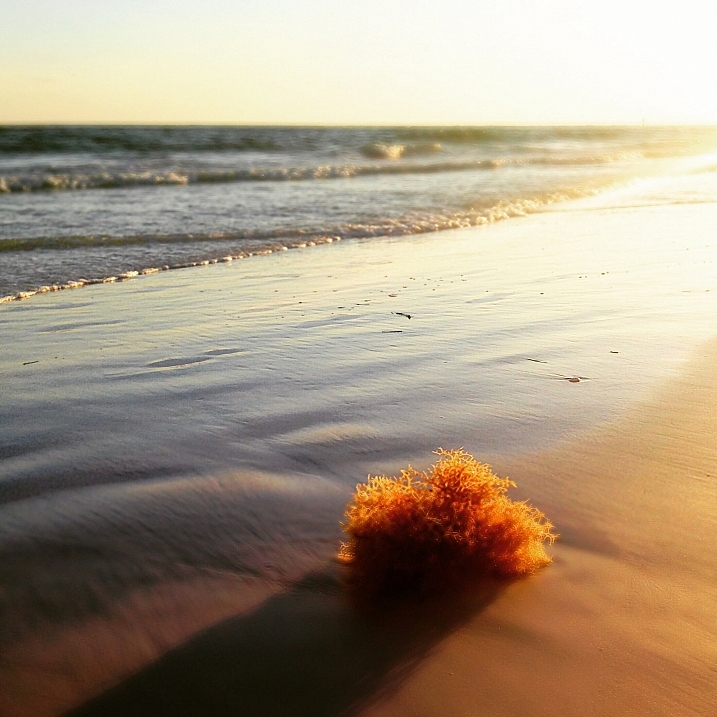
Although you can create flare at any time during the day, it’s much easier, and much more dramatic, to shoot the sun when its low on the horizon – in other words, at sunrise or sunset, during the golden hours.
This is because you’ll need the sun in the frame, or just outside the frame, and this will usually coincide with your subject positioning.
3. Drop the lens hood and pick your lens
If you’re using a lens hood, remove it. Lens hoods are intended to reduce glare and flare from light sources outside the frame, which is exactly opposite of what you’re looking for in this case..
To amplify the chances of getting a good flare, try using a zoom lens, as opposed to a prime. The additional spaces and mechanical parts inside the zoom give the sunlight more room to bounce around and do its thing.
4. Shoot in Manual Mode
This particular discipline is based on the principle that the slightest change in orientation, composition, or aperture can make a pretty big difference in the end result. Shooting manually will allow you to have finer control over these factors and make things much easier for you.
Shooting with Live View can help even more, as you’ll be able to monitor changes in your scene in real time.
5. Settings: Aperture and more
You can use any aperture you wish when creating flare effects, but the look will differ depending on what setting you choose. At smaller apertures (f/11 and smaller), any visible part of the light source will create more of a starburst effect, while a larger aperture (f/8 and larger) will diffuse and disperse the effect, and you’ll end up with a much smoother distribution of the light.
Shutter speed also affects the final result, as more light streams into the lens when using slower speeds; therefore, you’ll have more of a flaring effect.
6. Focus first
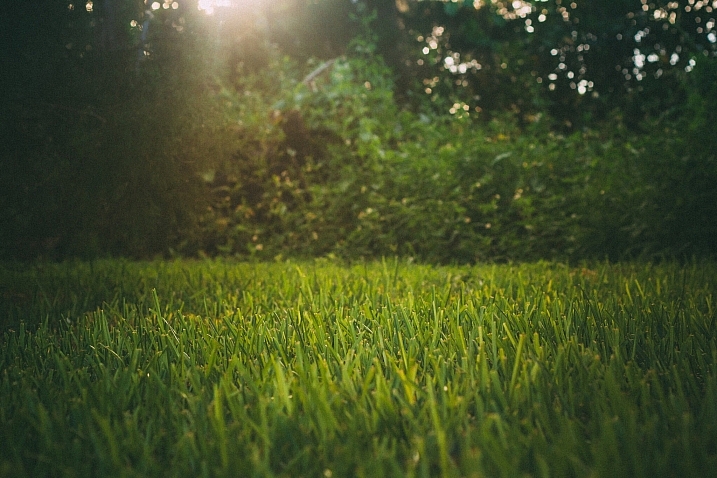
The large amount of light coming into your sensor will affect the autofocus on your camera if you’re using it. So, focus on your subject first by blocking the sun somehow, whether it be your hand, a reflector or a piece of cardboard. Then, once you’ve focused (and lock it or use back button focus), you can shoot normally knowing you are focused correctly for the given distance.
7. Don’t forget to light your subject
If you’re photographing a portrait, don’t forget the negative effect the flare can have on the proper lighting of the face and body. If you find the subject’s face, or other important areas, are washed out too much from the high light levels, use a reflector or other methods of fill light to compensate, and ensure your subject is well illuminated.
Alright, let’s get to shooting!
8. Method one: In the frame
There are two primary methods of creating the flare effect. The first is by having the sun actually within the frame of the image. Naturally, just having it centered and completely uncovered will result in a washed out photo. You’ll want to have something to partially block the light, so that a flare can be achieved without washing out the subject of your photo. Trees, a distant treeline or building, and your subject can all provide enough cover to produce the desired effect.
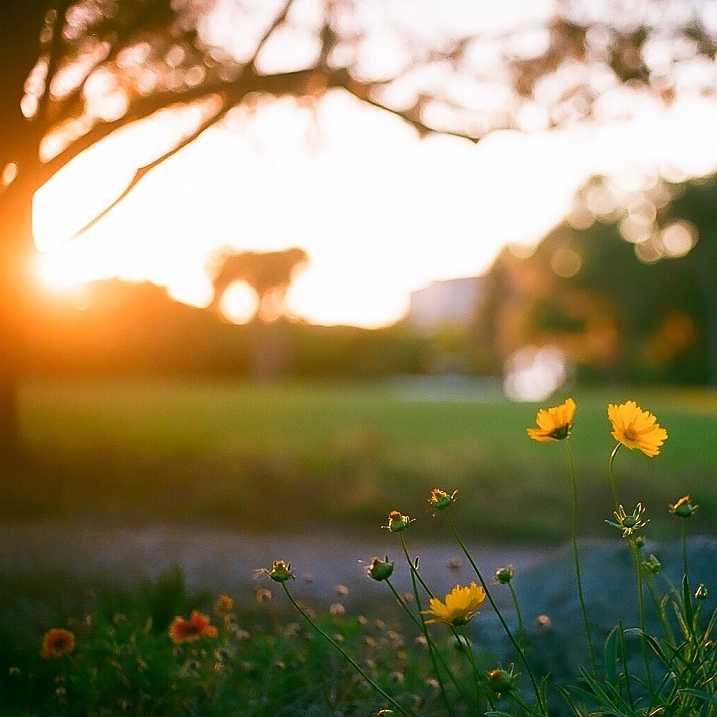
Take care not to capture too much light. Sometimes the resulting flare can be so pronounced that your image is completely washed out. Shoot several frames, and check the amount of flare you’re getting. If it’s too much, compose the sun a little more out of frame (or more hidden) to reduce the effect.
9. Method two: out of the frame
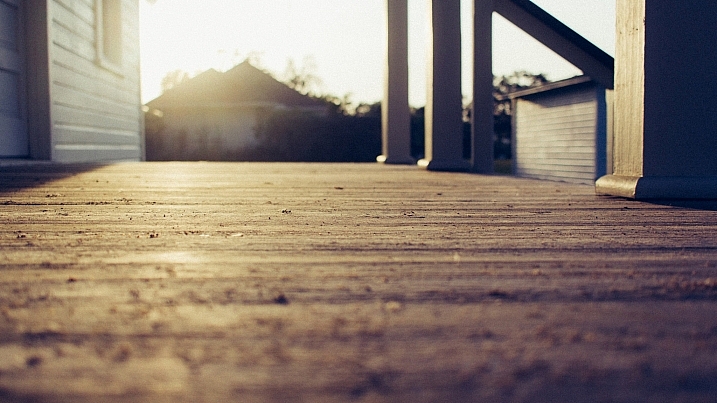
For an even more pronounced and diffused flare, you can compose your image with the sun partially, or completely out of frame. Usually the best results come from having the sun just outside the camera’s view. Experiment with position to find the correct angle and amount of flare necessary for the shot you’re after.
This method produces more a diffused and smooth flare, especially in the early morning and late evening hours, when the sun is very low on the horizon.
That’s it!
Adding a nice looking sun flare to your image really isn’t tough at all. Following a few rules is all you have to do, and like everything else in our wonderful world of photography, the result is always subjective. Add a little, add a lot, all that matters is that you’re happy with the final image! There’s no wrong way to do it.
So get out there and get your flare on! Of course, we’d love to see some examples of what you can do with this effect, let’s see your best shots!
The post 9 Tips for Adding a Warm Sun Flare to Your Image by Tim Gilbreath appeared first on Digital Photography School.