Extraordinary portraits do not require extraordinary gear. In fact, just one off camera flash can work wonders. A properly executed portrait, with an interesting expression, good composition and lighting has more power, more magic, and more allure to more people than any other type of photo.

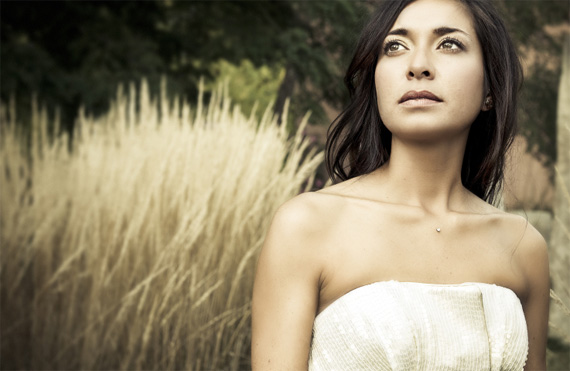
“tones of the evening sun” captured by Jason Lavengood
With a few tricks and a modicum of knowledge you can achieve professional results in your portrait photography. I’m going to show you how to make artistic and professional portraits with nothing more than your SLR, a hot-shoe flash, a couple of bedsheets, a piece of cardboard, and a few other inexpensive odds and ends. Portraiture is a big topic and I cannot cover it all in this article, but I can give you a few highly versatile lighting setups that will work well for anyone, anywhere. You will find shortcuts, tips, and tricks that can instantly change your portraiture from mediocre to memorable—all without breaking the bank.
Professional portraitists, for the most part, use multiple-flash systems with as many as four strobes. To get the same results with a single hot-shoe flash unit, you first need to know what each of these strobes does. It’s simple, since each light in a four light system has one and only one function:

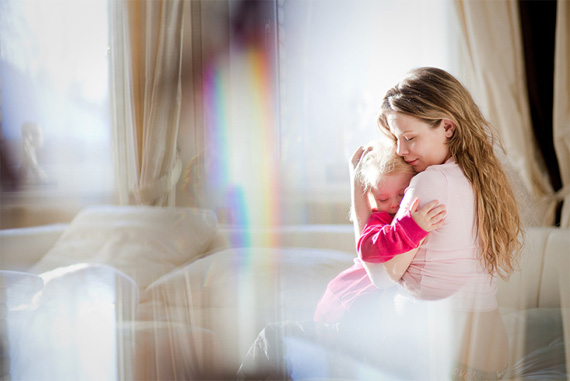
Photo captured by Elena Kuznetsova
1. Main (or Key) Light
This light is used to illuminate the subject and measured to determine exposure. Your main light will be your hot-shoe flash linked to your camera via a 10–25 foot off-camera cord. Yes, you know it already and I repeat it here again: the number one way to improve your flash lighting (not only for portraits) is to get your flash unit off the camera. An on-camera flash creates flat and featureless lighting, mostly causing red eyes.
Positioning your main light off-camera allows you to sculpt shadows and highlights to enhance bone structure, skin, and other features of your subject’s face. There is simply no way to be as creative when your flash unit is locked in a hot shoe! Some modern cameras have the feature to trigger the flash unit wireless, if not, then you have to buy a cord which is long enough.

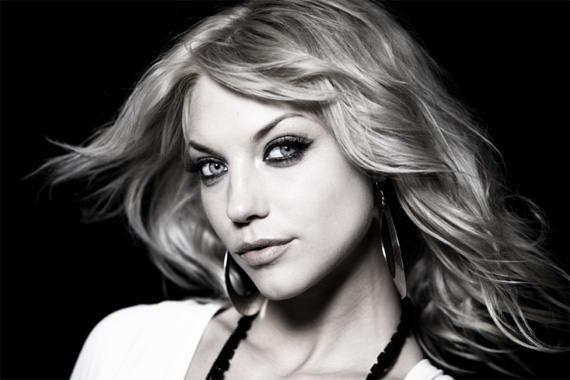
“Music Video III” captured by Per Janus
Fill Light
After you have positioned the main light, next comes the fill light, used to soften the shadows produced by the main light. It does nothing else and is optional if you do not need or want to control the shadows. If the main light is set to the left or right of the camera position, the fill light is usually set on either the opposite side.
Tip: You will get better results if you use a fill, but you can forgo buying a second flash unit if you make your main light also as your fill light. Just use a large panel of shiny white cardboard to reflect part of the main light back from where you would normally set your second fill light. If you want to cut the shadows from the main light even more, wrap aluminum foil around the cardboard sheet before you position it. Whatever the reflector, place it closer or farther from your subject to control its effect. An ideal and cheap tool which you can bring wherever you want is a collapsible reflector with two different surfaces for different effects.

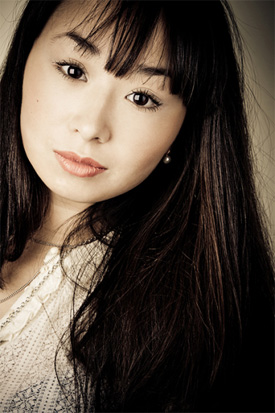
Photo captured by Ekaterina
Background Light
This light is used only to illuminate whatever happens to be behind your subject and is optional if you do not want to light up the background. This light is usually placed behind the subject and is always aimed at the background. You can skip the expense of a background strobe simply by using a dark background, which is often preferred. For an easy dark background, hang a black bed sheet 4 or 5 feet behind your subject (the distance works to keep folds, tears and cloth patterns from appearing in the picture).
If you can take your shot in a large room and can darken it completely, you can also position your subject 10 or 15 feet away from the background wall, light only the subject, and you will have a black surround without the need for a cloth at all. But if you insist on a bright background and do not want to buy a background light, shoot the portrait a few feet in front of an open window during daylight. Let the background blur. Caution: Using a light colored wall without separate lighting, the wall may look washed out and dirty in the picture.
Kicker Light
The kicker light (also called a hair, rim, or edge light) is used solely to separate the subject from the background. It is usually placed above and slightly behind the subject and aimed at the hair, or placed behind the subject and aimed at the back of the head. My advice: forget the kicker, for normal shots. If you place your main light properly, the kicker does not really do much. It’s nice to have sometimes but in my opinion you will end up with a less clichéd, more artistic portrait if your shot is unkicked.
Author: Gerry Aeschlimann, photographer
Go to full article: Portrait Lighting Tips: How to Shoot Pro Portraits
What are your thoughts on this article? Join the discussion on Facebook or Google+
Article from: PictureCorrect