Before you start editing, make sure that you have a good image work flow (exclusive offer to supercharge your photography workflow ending soon). This means saving originals in a separate place to prevent you from damaging or destroying the original image. And get familiar with your program’s UNDO capability–usually the Ctrl-Z key is a shortcut to undo the most recent image change. Don’t forget Save As, which allows you to save a copy of the image with another name so you don’t disturb the original.

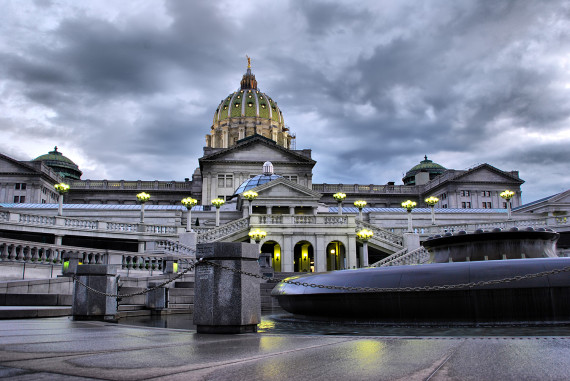
“Twilight” captured by Steven Maguire
Crop. This tool allows you to remove some of the image. Generally, you shape a rectangle around the area you want to keep and the rest is removed. The area inside the rectangle becomes your new image. Related to this tool are the rotate and straighten tools. Rotate allows you to rotate the image, and Straighten does a similar task, allowing you to specify a horizon line or reference point. I recommend to rotate first and then crop after you have the proper orientation.
Brightness and Contrast. This tool lets you increase or decrease the relationship between brights and darks (contrast), and increase or decrease the overall brightness of the image. Combinations of brightness and contrast settings can have very dramatic impact to your image, adding extra “punch” or softening the visual impact. It can also add emphasis to sunsets and other scenic shots. If your image appears flat or dull, this is a good tool to try.
Saturation. This tool is used to increase the color of an image. Used to excess, the result can be artificial, and skin tones can be made to look unnatural. But for floral and outdoor images, this tool can be used to sweeten the color impact of an image.
Resize. This tool is used to change the size and number of pixels, or image dots, in an image file. When sending something to a website for instance, you may want to reduce the image size so that it does not take too long to load. When sending an image to be printed on a large size, you may want to size it larger. Many programs will try to fill in the missing spaces if you attempt to resize an image beyond its original pixel dimensions. Called interpolation, this program can deliver mixed results if you are trying to increase the images size too far beyond its original dimensions. Combined with Crop, this is a good way to preview and prepare an image to be printed in a specific paper size.
Color Temperature/Color Adjust. This tool lets you adjust the image’s color temperature. If your camera’s white balance was not matched up to the color temperature of the predominant light source, the resulting image can have a color cast that is undesirable. Using this tool, you either choose a color neutral selection (white or grey) in the photo and let the tool shift the color balance to match, or you tweak some settings or sliders to make the image “warmer” or “cooler”. It’s better to get it right in the camera, but this tool can help rescue photos that otherwise have improper color casts.

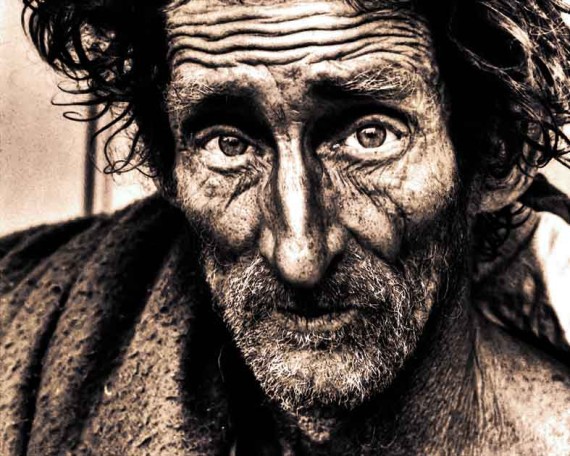
“eyes” captured by Mohamed Farid
Curves and Levels. These tools are a more sophisticated version of the Brightness and Contrast tools. Levels allows you to change the white, mid and black points of an image and it will shift the image accordingly. It is useful in pushing darks darker, whites whiter, and adding some lightness to midtones. It is useful to bring up skin tones on faces while keeping very bright elements unchanged. Curves is even more flexible, where you can describe a very sophisticated transformation of the original image’s characteristics. Both of these tools can also be used to excess, and the result is often surreal or abnormal in appearance.
Clone/Rubber Stamp. This tool lets you remove items from the image or otherwise retouch the image. For example if you have a telephone pole in an otherwise perfect rural image, you can use this tool to duplicate the part of the picture next to the pole and paint over the pole with that section. With some practice, you can edit out glare on glasses, braces, background objects and much more. Related tools include Scratch Remover and Object Remover in some programs.
Eraser. This tool lets you remove sections of an image. This leaves behind a blank spot or hole. It’s useful to isolate an object to place on another image, for example, to cut out a person so you can drop them into a location that was not in the original image. A variant of this tool is the Background Eraser.
Layers. Learning to use layers opens up an entirely new world in editing. Basically you create two or more overlays that can have varying amounts of transparency so that you create a new image combining parts of these layers. You can specify how the layers interact with each other, so that one may enhance the color of another. That feature is called the “blend mode”. You can also use layers to superimpose items on each other, for example to put your subject in a new location.
Sharpen. This tool lets you increase the edge contrast of the image, which makes small features stand out more. You will generally sharpen only as a last step after resizing, because sharpening emphasis will change with the image size. You can selectively sharpen parts of the images, such as eyes, to draw attention to them. You can also apply a sharpening to the overall image. The Unsharp Mask will let you specify just how small and how much to apply the sharpening effect.

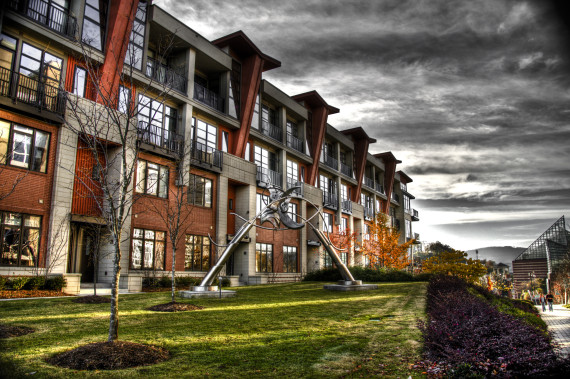
“building 1” captured by Chattanooga State Digital Photog
Channel Mixer. This is a tool that allows you to change the amount of red, green and blue in the image. But its real value is in being able to tailor a black and white conversion to include specific amounts of red, green and blue. If you choose “monochrome” as the output, you can mix the red green and blue channels to bring out features that a straight black and white conversion will not be able to do. The defaults include 33% each of red, blue and green. Experiment with 80%/10%/10% of various modes and see how elements like bricks or blue sky or green leaves will change from dark to light in relation to other objects in the image.
1-Step Fix/Smart Fix. This tool often combines much of the above tools into an easy to use dialog that will let you play with many things at once to improve an image. Even if you use this tool most of the time, remember that the individual elements above can be utilized individually to create image enhancements that the simpler tools cannot provide.
Want to learn more? Take a handful of images that you are not totally pleased with, and spend some time using each tool to see how you can expand your creative and editing skills to produce truly great works of photographic art!
About the Author:
John Huegel is a photographer in the Erie, Pennsylvania area who specializes in Seniors, Dance Studio, Families and other groups (jhphotomusic.com). He is active in many charitable and volunteer activities in the Erie area.
For Further Help With Your Photography Workflow:
Choosing the optimal settings, presets, actions, and templates to supercharge your photography workflow is no simple task. After years of development this bundle of photo essentials has been packed with thousands of presets, actions, and templates for all types of photography. We were able to negotiate an additional 20% off this massive bundle for our readers which ends soon, simply enter the code PICTURECORRECT at checkout where it says got a code.
Deal found here: The Ultimate Photography Bundle
Go to full article: Top 12 Image Editing Skills Every Photographer Should Know
What are your thoughts on this article? Join the discussion on Facebook
Article from: PictureCorrect