Photography is as much a study of the creative, as it is a study of the technical. Often, knowing all the technical ins and outs of your camera, still does not guarantee a stellar image – an image that evokes emotion, one that makes you stop in your tracks and take a second look. Such images are created by thinking outside the box, by experimenting with new techniques and ideas that may seem crazy, ridiculous, or even somewhat unbelievable! Lucky for us, we photographers are known to be a little bit crazy, so trying new and innovative techniques should not surprise us too much.
One such really cool and innovative technique, to add a little bit of creativity and flare in our imagery, is shooting through objects. This technique is, quite literally, to have a small object between the front of the lens and your subject. This is often used to frame the subject, in order to draw attention to it/them, soften the edges of the image, or add a cool color special effect, to an otherwise ordinary image.
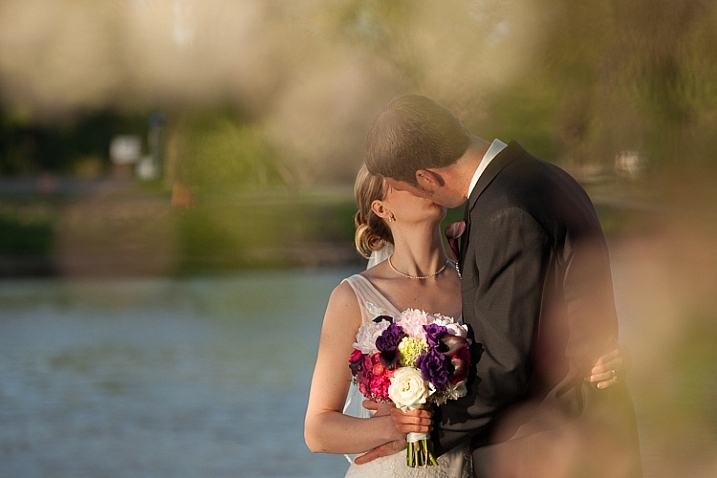
The whole idea of shooting through objects, is to have an out of focus foreground and be able to shoot through it, but at the same time keep the subject sharp. This effect is best achieved by placing the object close to the lens, either by hand holding it, or by resting it against the lens. Placing the foreground object further away from the actual subject and closer to the front of your lens, makes it easier to blur.
Although any lens will work, the shorter your lens focal length the closer the foreground object will need to be to the front of the lens, making it much easier to hand hold. If the object you are shooting through is large, it is easy to miss the focus on the actual subject. In these situations, it is best to focus on the subject, lock focus by switching to manual focus (MF/AF toggle buttons are located on the lens body in most cases or using back button focus) and then bringing the foreground object close to the lens for the blur effect. Sometimes it is possible to use the out of focus foreground to hide distracting things in the background.
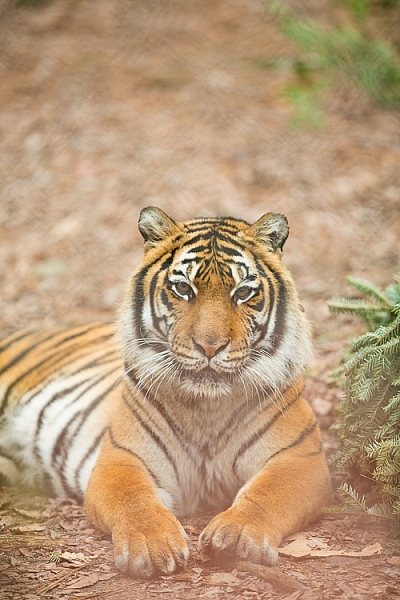
In the above image, this tiger in North Carolina’s Tiger Rescue facility, was holding a perfect pose and staring dead straight at me. Thankfully, I had a fence between me and the tiger (I am sure he was viewing me as a tasty snack!) and I loved the blur shapes seen in the top of the frame. I also handheld a piece of candy wrapper towards the bottom of the lens to give a little pink tint to the bottom of the image. The only post-processing done here, was to bring up the blacks and add a little contrast to the image.
The shoot-through technique works especially well with leaves, flowers, and even small pieces of glass. The possibilities are quite endless when it comes to finding things to shoot through. If you are feeling uninspired, sometimes bringing something as simple as a small strip of fabric, or a piece of clear plastic, can completely change the outcome of your final photograph. Look around your photography location and you are bound to find something to shoot through. Even if you often shoot in the same location, you may find something new each time. Flowers bloom at different times of year, leaves change color, and sometimes even dry twigs add an element of interest.
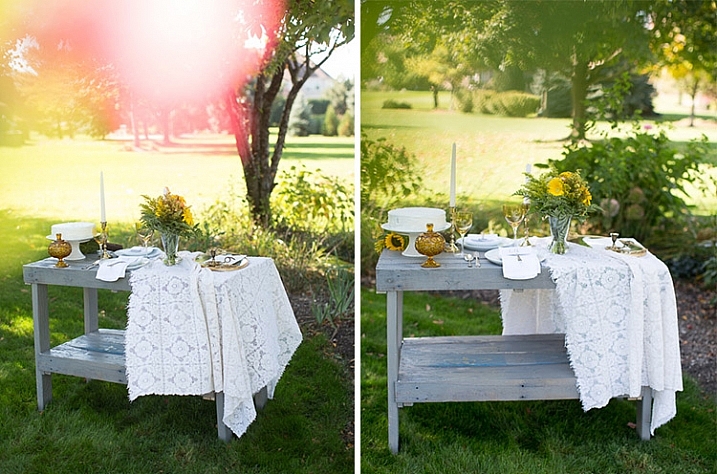
Always use these effects to taste. In the side-by-side above, I initially used a pink flower to see if I could get a cool, light leak effect in the frame. But somehow that did not appeal to me. So in the next frame, I took a leaf and held it up to the top of the lens. I loved this effect, as if I was shooting through the bushes but still retaining the details in the bottom half of the image.
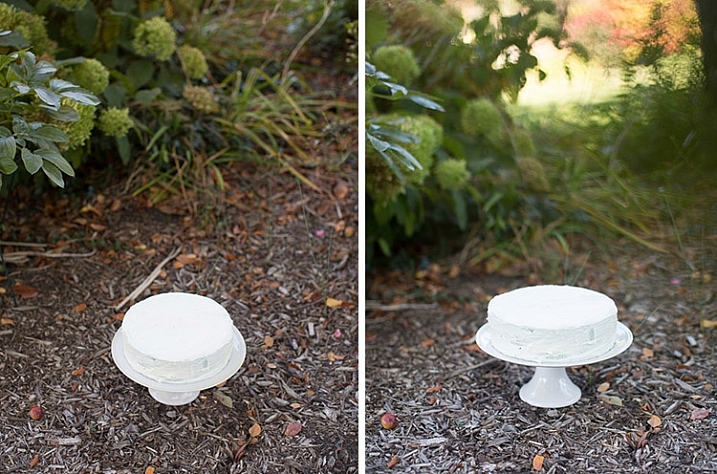
In the images of cakes above, the first is a standard, run-of-the-mill, top shot of the cake. But when I changed my angle and used a leaf to shoot through, I loved the blur effect it produced at the top of the frame.
Shooting through objects adds an element of interest to photographs. When you use colored pieces of glass or flowers, you get an effect similar to a light leak (from film days). Some photographs also appear to have been processed with unique filters, except all these effects are straight out of the camera (SOOC), not added during post-processing. When you use clear glass, plastic bags, or even sheer fabric, photographs appear to have additional texture and depth.
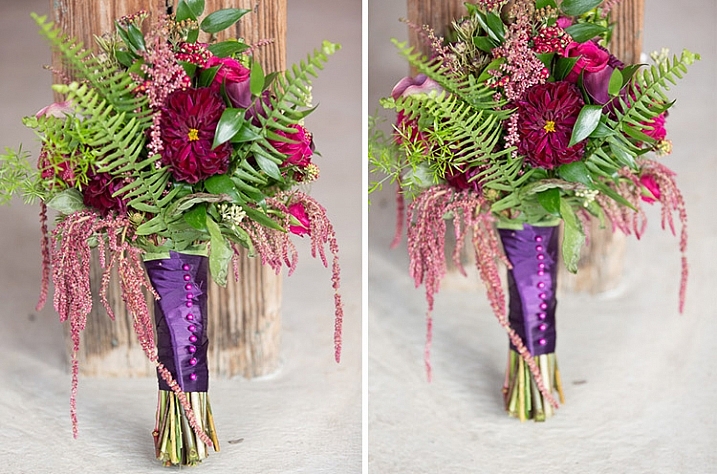
The bridal bouquet on the left is a straight shot. The one on the right has a clear piece of plastic (it was used to cover the cake topper) – I held it to the bottom on the lens to add a little texture and interest.
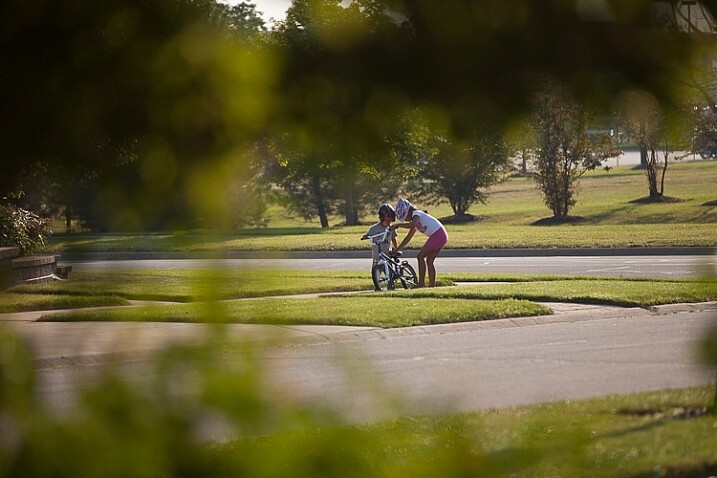
I love this image of my kids – my daughter is teaching my son to ride his bike. By shooting through the bushes, I caught them unawares, as well as used the bushes to frame the subject (in this case my kids!).
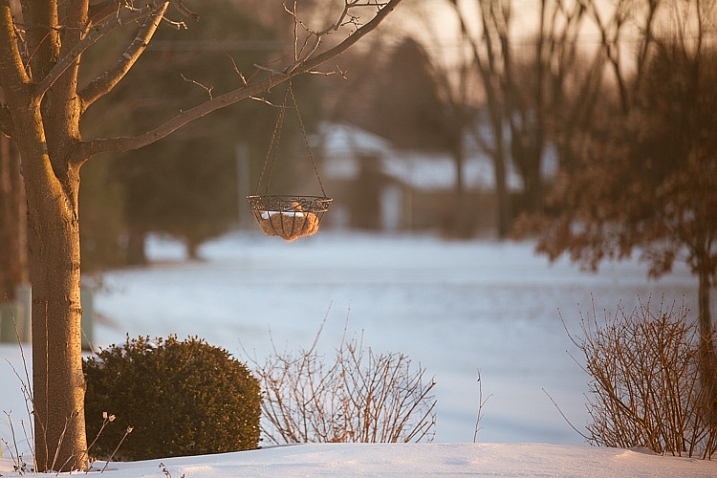
The sun was setting in my backyard, and to exaggerate its warmth, I added an orange piece of plastic (my flash gel cover). No post-processing needed!
While this is not a technique that should be used on every photograph, there are so many options for framing, introducing texture, and adding interest when you add an unexpected element into your photographs. Use this tool when you want to break free from the mundane and the ordinary, you might be pleasantly surprised with the results!
This week on dPS we are featuring articles on special effects. Check out the others that have already been published here:
- How to Photograph the Full Band of the Milky Way
- Fire Spinning with Steel Wool – A Special Effects Tutorial
- Special Effect – How to Create Multiple Flash Exposures in a Single Frame
- Stacking Light Trails for Night Photography Special Effects
- 26 Unique Special Effects Photos to Spark Your Creativity
- Weekly Photography Challenge – Special Effects
The post Tips for Shooting Through Objects to Create a Special Effect by Karthika Gupta appeared first on Digital Photography School.