One of the most difficult and frustrating parts about shooting with film, back before the days of digital photography, was the limited amount of attempts you had to get the photo you wanted. I remember carrying around spare rolls of film in a fanny (waist) pack on a trip to Walt Disney World years ago, and carefully considering each photo, lest I get one setting wrong and blow the entire shot.
Back then you had to wait days, or even weeks, to get your pictures back from a processing lab, and if a picture was too dark, grainy, or out of focus there was nothing you could do about it at that point. Fortunately, digital cameras are far more forgiving than their film-based counterparts, and have many systems in place to make sure you do get the shot you want. But even then, sometimes things still don’t quite work out.
Thanks to a technique called bracketing, you can use the power of your camera, combined with the space available on most memory cards, to make sure you always end up with just the right photo every time.
What is Bracketing?
There’s a classic children’s tale called Goldilocks and the Three Bears, in which a young girl enters the home of the bears and helps herself to their food, furniture, and futons. With each set of items there are three options: two that don’t quite work out and one that is, as the story goes, just right. While the story could be seen as a cautionary tale about the dangers of sneaking into the home of wild animals, and sleeping in their beds uninvited, its lessons can also be applied to photography.
Essentially, Goldilocks demonstrates the concept of bracketing, by giving herself many options so she can make sure to have at least one that is precisely what she is looking for. In photography there are various types of bracketing, but all involve taking multiple photos, so as to ensure you have at least one good picture. Bracketing can also be used to combine different elements of various photos together to get the best of all versions. The three most common versions of bracketing involve exposure, focus, and white balance.
If you have ever struggled to get just the right shot, or want to learn a new technique to improve your photography, this might be just the thing you’ve been looking for.
Exposure Bracketing
Modern digital cameras are pretty good when it comes to evaluating a scene, and giving you just the right exposure. You can even use different metering modes where your camera looks at either the whole scene, just the center, or even a specific part of the photo like the highlights or some faces. If you know precisely how to control your camera to get the shot you want, you can use these various metering modes, in tandem with your camera’s built-in light meter, to get just the right exposure.
However sometimes it pays to take a few extra pictures to make sure you, like Goldilocks, get an image that is just right. This is where exposure bracketing comes in handy since you can take several additional photos, some underexposed and some overexposed, to make sure you go home with the perfect picture.
There are several ways to go about using the bracketing technique, and one of the most simple is to put your camera in Program Mode and use your camera’s exposure compensation function.
First, take a picture that appears to be properly exposed. Then use the exposure compensation option to intentionally underexpose your image by one or two stops (-1 or -2). More than two stops is generally unnecessary. You are of course free to do so, but it’s quite rare that your camera’s meter would be off so much as to require more than two stops of exposure compensation to get the picture you want.
Then use exposure compensation to intentionally overexpose your image by one or two stops (+1 or +2), and in the end you will have at least three photos from which to choose: one that your camera thinks is properly exposed, one that is underexposed, and one that is overexposed. This may seem kind of redundant, but it’s a nice insurance policy to make sure you get just the right photo you want. It works especially well if you are shooting landscapes, or other outdoor scenery, as the bright sunlight coming from overhead can sometimes cause your camera to meter a scene improperly, even if you think you have everything set up just right.
Bracketing for HDR
Another benefit of using exposure bracketing, is that it lets you create stunning works of art using a technique known as HDR, or High Dynamic Range. This requires the use of exposure bracketing, a tripod, and often some special software like Photoshop, Lightroom, or Aurora HDR Pro, to combine several photos into one.
To get started with HDR you need at least three images, bracketed in full stops of exposure. Take one image properly exposed, then underexpose by one or two stops, and then overexpose by one or two stops. Some cameras do this bracketing automatically with a built-in bracketing function (AEB) but I often find that I like to control the exposures manually with exposure compensation, or by using manual mode. You can use more than that, but if you are just starting out three bracketed photos should be sufficient.
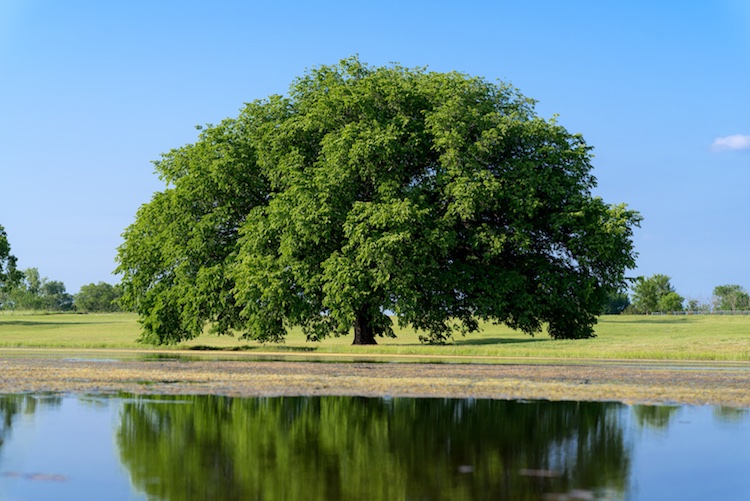
Once you have your bracketed photos, load them into the software of your choice, and you can instruct it to combine them into a single photo that takes the best parts of all the images and creates a single frame-worthy masterpiece. To see this in action, first look at the following image, which despite having a fairly even exposure overall, still suffers in a few areas.

This is an un-retouched JPEG image straight from my camera. The overall exposure is good, but the sky is bright white and the hallway is a bit too dark.
I used exposure compensation to overexpose the image by two stops, which lost almost everything in the sky, but brought out much more detail and color in the darker areas of the hallway.
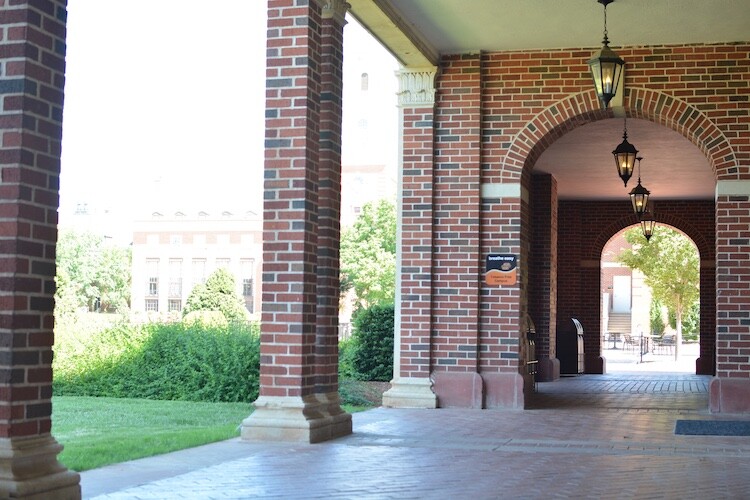
The same scene, overexposed by two stops.
Then I took a third image, this time underexposing by two stops, which made the dark parts really dark, but brought out much more color in the sky.

This image was intentionally underexposed by two stops.
Finally, I used Aurora HDR Pro to combine all three bracketed JPEG images into one that contains the best of all worlds. This shows how useful bracketing can be, and might give you some ideas for how to use it in your own photography.

This final image was made using Aurora HDR Pro to combine all three bracketed shots into one, and final edits in LR including correcting the tilting building.
In recent years the image sensors on many cameras have gotten so good, that the use of exposure bracketing is not as critical as it was in days gone by. If you shoot in RAW instead of JPG, a single image will often contain so much information in the highlights and shadows, which you can recover using Lightroom or Photoshop, that you simply don’t need to take separate images and combine them later. One major disadvantage of this is the file sizes, which on some RAW formats can be anywhere from two to 10 times as large as a JPG file. At the end of the day though, exposure bracketing is still a valuable technique that many photographers rely on to get just the right result, and you might enjoy trying it out to see if it works for you.
Focus Bracketing
Another way to apply the bracketing technique is to take several images that are focused at various distances, which is especially critical when doing close-up photos or taking macro shots. On most cameras the autofocus generally works great to make sure things are crystal clear and tack sharp. But, when using very shallow depth of field, or focusing on objects that are extremely close, it’s not always going to produce the most reliable results.
Often when doing this type of photography you will end up with pictures that are just slightly out of focus in one direction or another, either in front of the subject or behind it, and there is no way to fix that in Photoshop, or any other image editor.
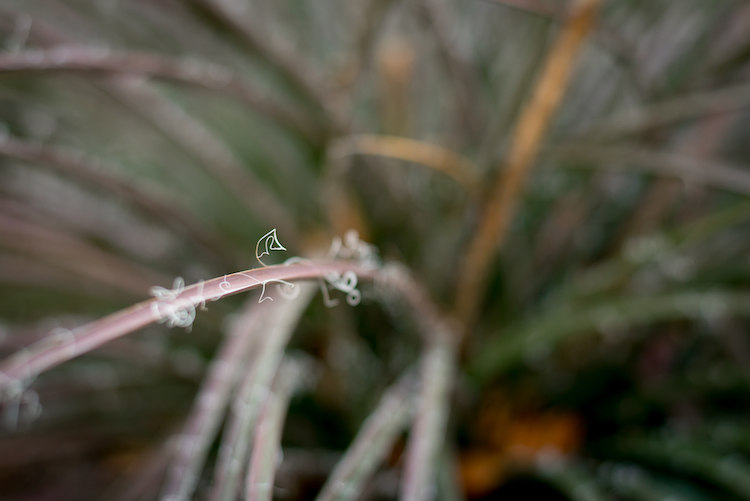
I made this image by slowly adjusting the focus on my lens while I took several shots. Only one had the single strand sharp and in focus, but that one picture was all I needed.
The solution to this problem is to take not one picture, but several, and use manual focus instead of automatic. I start by intentionally focusing not on the subject but slightly behind it, then I slowly turn the focusing ring on my lens as I take several images in a row. I know it can be a bit intimidating to shoot using manual focus, but once you try using this technique, you will probably start to see how useful it can be.
When you have your set of images loaded in Lightroom, or another image editor, you can then pick out the exact one you want, instead of hoping you got one in focus while relying on your camera’s built-in autofocusing algorithm. If you want to get into an even more advanced technique with focus bracketing, you can actually combine all your photos into one super-sharp image using a technique called focus stacking. But if that seems like a bit much for you, it’s still worth your time to try regular focus bracketing, just to make sure your close-up subjects are tack sharp.
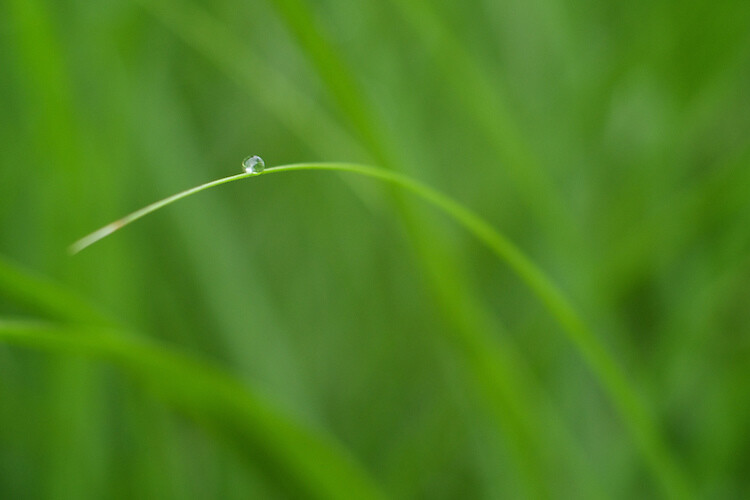
Nailing focus on the water drop was almost impossible. So I took several images while focusing manually, to make absolutely sure I got at least one good image.
White Balance Bracketing
The final technique I want to discuss here is similar to the other two types of bracketing in that it also involves taking several photos of the same scene, while adjusting a single parameter. In this case it’s the white balance, instead of the exposure or focus. Most casual photographers use the Automatic White Balance setting on their cameras, which does a pretty good job most of the time. But every now and then it can leave an image with an ugly green or red tint, or all pale and washed out, because of improper white balance.
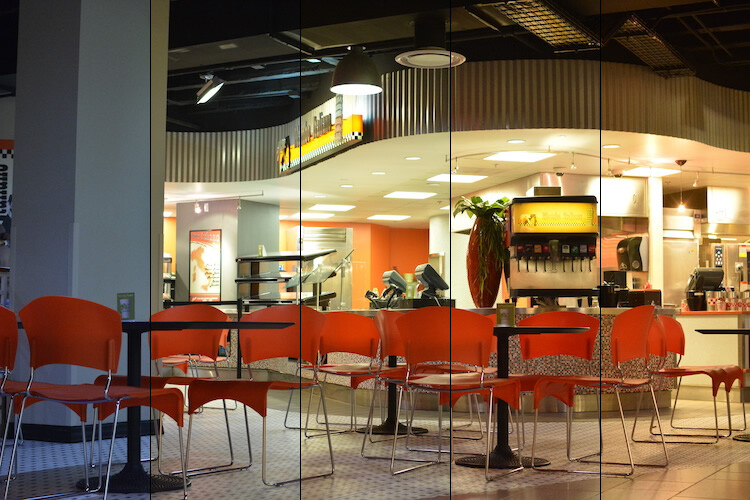
The lighting conditions here wreaked havoc with my camera’s Auto white balance. So, I took five separate exposures, and manually adjusted the white balance each time, in order to make sure I got one good shot.
White balance bracketing can be very useful if you shoot JPG, because your camera’s Auto white balance setting is not always as reliable as you want it to be. However, if you shoot RAW you have complete freedom to alter white balance as much as you want using a program like Lightroom, Photoshop, or almost any other image editor. Because the RAW format does not discard any photo data like JPG does, white balance bracketing is not needed when you are shooting. That gives you far more flexibility for fine-tuning things like white balance, as long as you are willing to take the time to do it.
Do you find bracketing to be useful in your own photography? When have any of these techniques been especially useful to you? Share your thoughts, and any pictures as well, in the comments below.
The post How to Use Bracketing to get Your Best Shot – 3 Different Methods by Simon Ringsmuth appeared first on Digital Photography School.