Is your photography equipment gathering dust because your desire to be creative is gathering dust as well? Don’t let it! By sticking to some basics, and doing your homework, wedding photography can be a very stimulating and rewarding pastime. People are always getting married, so the opportunities for photographing weddings – and making some cash to boot – are there if you want to inject some life into your hobby.
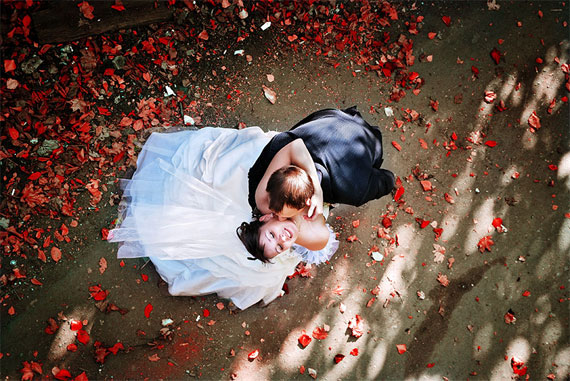
“Autumn feelings” captured by PictureSocial member Alyona Arnautova
Wedding Photography Has Challenges!
I’m not silly enough to suggest shooting weddings is a walk in the park. But it is worth pursuing for the artistic and financial rewards. Think of any challenge that makes your senses tingle – mountain climbing, acting in a live play, catching that 12 pound trout with your fly-fishing gear…. it’s stimulating and rewarding. And because these pursuits require preparation, practice, and immediate focus (pun not intended), they require a direct cooperation of your intellect and creativity. Sounds like serious hobby material to me!
This was my reason for going pro. Hobby-level photography just wasn’t cutting the mustard, so by advancing my skills, equipment, and experience, I can still have fun with my favourite pastime, yet increase the rewards ten-fold.
What is “Pro”?
The definition suffers various interpretations, but “going pro” has more to do with acting professionally than it does with owning $ 20,000 in camera equipment. And you’re pretty well there if 1) your equipment is reliable, 2) you have backups, 3) you can take sharp photos that are well-composed, and 4) you maintain a professional’s attitude that includes friendly respect for your client. There’s more to it than that, but it shouldn’t be shrouded with mystique, snobbery, or elitism – you have the tools.
Going pro doesn’t mean you’re primary income is from photography, but rather it refers to your approach, mindset, and maturity. So – wanna be a full or part-time pro? Dust off your camera – and creativity – and start your research.
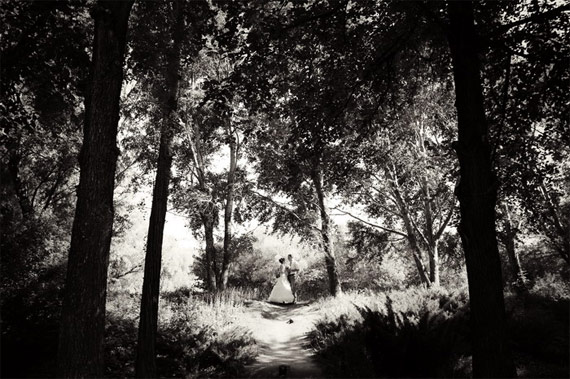
“wed” captured by PictureSocial member Olesia Kliots
As Always: the Basics
The major elements to consider when shooting a wedding are no different than any other subject matter: lighting, film choice if you’re not digital yet, and equipment. Emphasis on preparation is needed for weddings for obvious reasons, so, cover the basics by doing the following:
- a recon visit to the chapel/church/synagogue/whatever 2 weeks before and knock off a number of exposures.
- have 2 camera bodies at your disposal, and preferably the same for lenses and flash
- install fresh batteries in all equipment
- make sure you have more memory cards or film than contracted
- hire an assistant to re-load your film camera if you’re still shooting in this medium
- have a signed contract with the couple which covers the checklist of photos to be shot by you, and various disclaimers (see the reference section below)
- beg/borrow/steal/buy a 28-200 or 28-300 zoom. (You’ll love me for this).
So, that’s most of it. A wedding isn’t a formal portrait sitting, so although posing is involved, keep in mind every shot isn’t gonna be a keeper.
Equipment
I assume that if you’ve read up to this point, you’ve got some good equipment, with hopefully more than one camera body. Duplicating your equipment is a good idea if you’re stuff is between consumer and “pro-sumer” level. A Mamiya or Hassablad medium format with a Metz flash will likely not fail you, but that’s the stuff of a full-time pro who has lotsa $ $ $ for equipment. Your gear may be cheaper than this, yet will create images comparable to the more expensive – BUT but it doesn’t have the lasting power. Anything mechanical suffers from what’s called MTBF: Mean Time Before Failure – it’s an engineering term that basically separates the high-end well-designed gear from the cheaper grades… Don’t argue – I experienced this principle on the very first wedding I shot. Please duplicate all your equipment.
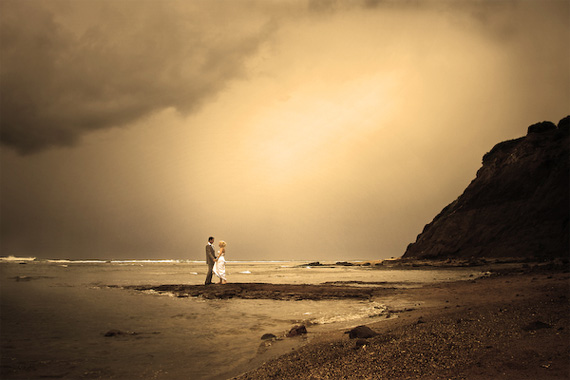
Photo captured by PictureSocial member Darryn
Have your camera bodies cleaned every year or so. More often if you shoot a lot. Dust and dirt create havoc in the best equipment, because every time you change lens or film roll, environmental contaminants (dust and flying particles being the worst…) will find a home in the nooks and crannies of your camera. The expensive high-end cameras that Nikon and Canon make have amazing dust and moisture resistance… as long as they are closed shut!
Also, I can remember instances where not having complete command over my equipment caused hiccups in the photo shoot. Whether it’s a manual flash for which you can’t remember the gain number, or a piece of failed equipment that you have a backup for at home (like a sync cord!), excuses don’t cut it. If this is what you want to do, then practice enough to gain the knowledge and respect for your inventory: you need to master every technical aspect of your equipment.
Remember I mentioned using a zoom? It’s a life-saver if the officiator gets crabby when you get too close for his or her liking. You can be 12 feet away, yet zoom in on the ring exchange, the “kiss”, etc. The added bonus is that people’s faces look more natural when shot a distance away, because you’re avoiding what’s called perspective distortion. Too close, and noses look bigger and more prominent.
Do Your Research
Find the wording for a contract that suits you. Include disclaimers for failed equipment, botch-ups at the lab, etc, stating that you’ll refund on a pro-rated scale if not all was lost. Also, get paid before-hand. Don’t do the job unless they agree with this arrangement. Pre-plan with the couple using a detailed checklist; there are many examples to be found on the Internet. Agree on the various family shots and portaits, as well as the standard ceremony pictures. It’s well worth doing a dry-run before the wedding. By dry-run, I mean travelling to the location, finding a parking spot, and take a few exposures of a human subject at various distances. Then you’re familiar with the environment, and will feel prepared on the big day. You won’t need to do this as you gain more experience.
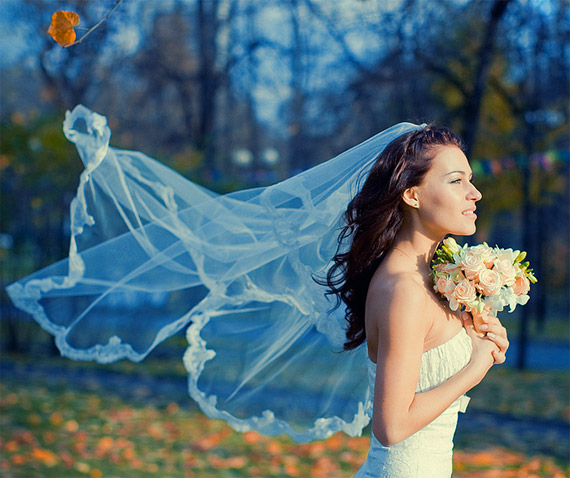
Photo captured by PictureSocial member Tatiana Garanina
If you insist on shooting with film, brand and type is a personal choice. Print film, when processed and printed at a good lab, will include colour compensation, which is great for removing colour-cast produced by light sources such as fluorescent bulbs. And the bride’s wedding dress will be pure white. I’ve read on the net that Fuji film adds a green hue… I’ve yet to see it! Their Reala film is sharp, with nice skin tones. Other films to look at are mentioned in the reference section below; only use pro film stored in a refrigerator.
Let me emphasise the importance of using a professional lab for developing and printing the photos… so many one-hour shops and chain stores do not maintain the quality control they’re supposed to. The general public seem to be satisfied with grainy, out-of-focus prints, mainly because it’s status-quo I guess. After getting introduced to the quality product of a pro lab, I’ve never gone back… VERY sharp pictures, far less grain, nice colour balance, etc. My subjective experience is that Fuji film printed on Fuji paper is awesome. Now that I’m digital, my proof albums are printed by uploading the high-res photos to my favourite local lab. Most labs now have a web interface for uploading photos for printing, and are often ready in a couple business days.
Another good exercise is to look at others’ wedding albums to get ideas of where to stand for the important shots. Remember – you’re the pro, so don’t worry too much about being conspicuous during the ceremony. Research the net for “wedding photography”… you’ll get tens of thousands of hits, most with example photos.
Practice
Try and get invited to as many weddings as possible! Bring your camera equipment, and you’ll find that the shots you take may not be covered by the “official” photographer. Give your prints (or copies of…) to the couple, and you may be surprised at the results. Word will get around, or at least you’ll have a reference or two when you take the plunge.
Assisting an experienced photographer is a good way to get your feet wet as well, although you may not get paid. I didn’t start this way, but I occassionaly see ads here and there from people offering to assist. Give it a shot if it interests you at all.
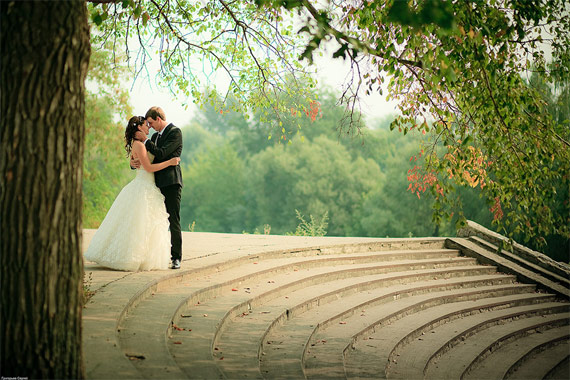
Photo captured by PictureSocial member Grigoryev Sergey
Once you feel prepared, create a web site and advertise. Look on the Internet for other examples, and if you’re not web-savy, have a friend do it for you, or hire someone. I’ve garnered enough business from my own web site to justify it’s effort and expense for the next long while! Plus it’s another creative outlet if you’re at all slanted towards graphic design and creative writing.
Pricing
Typically, wedding packages are offered at three levels: basic, deluxe, and premium. The first is for the budget-conscious, and can range anywhere from $ 400 to $ 1,000. This will cover the basics of the ceremony, plus some before and after shots, candids, preparation, etc – all at the prime location, all taking up somewhere under 250 exposures. Level 2: $ 800 to $ 1,200 or $ 1,500 will generally include pre-ceremony shooting of the bride and groom getting ready (at home or the chapel), bridesmaids, etc, and some of the reception. It will also cover portraits during that time. Running time: 2 to 4 hours, up to 350 exposures. These figures are very general, and some wedding photographers charge way more, and shoot tones of exposures.
The big kahoonah is the whole day: pre-ceremony, ceremony, and formal portraits including travel to some outdoor park with luscious greenery, many shots of relatives, etc. Could very well include portable studio lighting. Then you’re at the reception till the couple leaves… that could be 10 o’clock in the evening! Be prepared to shoot up to 400 exposures or more. The price for such a day of shooting can start from around $ 1,500 and go as high as three to five thousand, depending on a number of variables such as whether there’s a second shooter, custom leather album, etc.
The majority of wedding photographers fall within these price boundaries, but there are also exceptions… this is just a rough guide. Some photographers (such as myself) simply charge by the hour.
The Big Day
Show up early so you can get candids of people arriving, getting prepared… or perhaps even the bride getting ready at her home. The more expensive packages will involve alot of pre and post wedding shots, so again, whatever is contracted, have enough film or memory cards available. Just before the bride arrives, check your remaining exposures (film or memory card), and swap it out if you’re getting close to capacity… this is where having an assistant is invaluable, handing you another rig so your coverage is seamless.
I won’t go into every shot you SHOULD take; there’s lots of other places to find that info. I’m just covering the high points; the important things to have prepared, and to remember. This is HER big day, and you’re answerable to the bride for the results. It’s important the couple see a professional doing his job, covering all the important shots, and producing an end-product they’ll rave about.
If your day includes shooting the reception, stay alert, low, (don’t drink…) and take tons of candids of people smiling – using that zoom I mentioned! The reception may be where the relatives are photographed; remember – you’ve checked the place out, right? So you know where people will be standing for the various mother/father/grandparent/sibling shots.
Oh – and by now, you might need new batteries in your flash unit. You DID bring extras, right?!?
Shoot away like mad, but make sure you get the couple leaving. This’ll be the last shot in the…
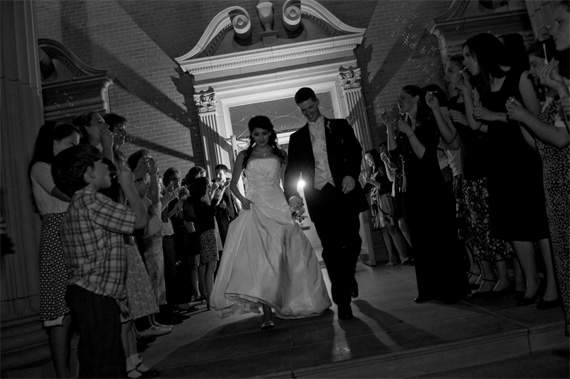
“Wedding” captured by PictureSocial member Samantha Foster
Wedding Album
There are as many approaches to this part as there are weddings you’ll shoot. But a good formula to start with is to offer an album with all the good shots, start to finish, as part of the over-all package. For film shooters, the negatives are sometimes handed over, but some times kept. Professional studios will not release the negs, as they stand to make significant income on reprints for the in-laws, etc. Another good reason for this is creative control – the client only sees your best work, making you look better, so – the approach it up to you. For digital shooters, provide a burned CD-ROM of the photos, less any garbage shots.
A tip here… provide something extra over and above the agreement as a gift to the couple… giving is better than receiving. I usually print a ready-to-frame 13 x 19 enlargement for the couple.
You may ask – “Should I shoot digital?”
Well, DUH! This article was written a few years ago, long before I began shooting digital. The answer to the question is an emphatic “yes!”. A good DLSR made by Canon or Nikon is a perfect match for wedding photography, as the turn-around time is decreased significantly. I simply offer a burned CD-ROM of all prepped images to my client as part of the package. By prepped, I mean adjusted for color, contrast, highlight/shadow, sharpness, and any cropping or straightening that may be required. And do shoot in RAW format, as it gives you a couple more stops of wiggle room both ways. I picked up a 4gb Extreme II card on eBay for less than $ 60.00, so there’s no reason to not shoot RAW. With my 8 megapixel camera, I can shoot over 400 exposures!
As for the wedding album, use a reputable lab that offers uploading over the web, or just bring them in on CD-ROM. The lab I currently use only charges 22 cents for a 4X6, and they can turn around a 300-exposure job in a couple of business days.
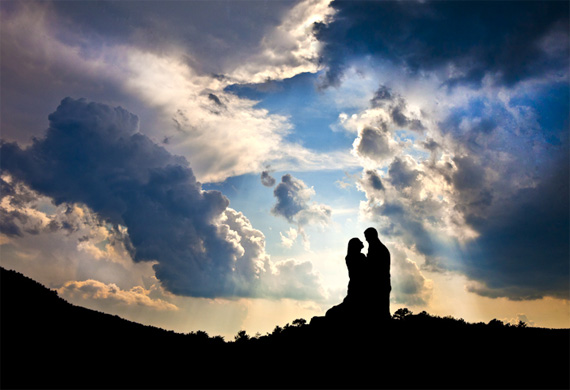
Photo captured by PictureSocial member Donny Cotten
Conclusion
Why go through the bother and expense it takes to photograph weddings? The thrill. It took my favorite pastime to another level, and although I’m not athletic, the challenge and the experience must be similar to going “extreme”! If this sounds interesting to you at all, then do your research, get prepared, practice, hang a shingle, and make history. You’ll love it.
Jim.
About the Author:
James Hutchison (burnstownimages dot ca) is a graduate of the New York Institute of Photography, and a member of the National Association of Photoshop Professionals.
Go to full article: Wedding Photography Tips
What are your thoughts on this article? Join the discussion on Facebook
Article from: PictureCorrect
The post Wedding Photography Tips appeared first on PictureCorrect.