We all love to admire landscapes and cityscapes. The moment we witness the beauty of nature we instantly take out our camera and start clicking photos. If you are travelling with a tripod you would most probably be using it to take photos in low light conditions or to capture creative long exposure shots.
Shooting with your camera mounted on a tripod might seem easy and a quick fix, but it is equally important to know a few things in order to capture sharp photos. Simply follow these five tips and by end of this article you may be able to figure out why you were not able to capture sharp photos using a tripod before.

1. Extend the tripod legs only when needed
While buying a tripod we all research about the maximum height and how tall it can stand, which is completely fine. I have seen many budding photographers extending the legs of their tripod fully the moment they take it out to shoot. But, it does not mean that you always have to fully extend the legs just because your tripod allows to do so.
As you go on extending the length of the lens, the stability and sturdiness of your tripod starts reducing. This gets worse when you are shooting landscapes or stars at a windy location. Even if you wish to extend the legs, start opening up the top (larger/thicker) most section of the legs and then move to the lower (thinner) ones. The last thing to extend should be the neck of your tripod, as it is most prone to causing shake.
2. Switch-off image stabilization while using a tripod
It is fairly possible that you possess a lens which features image stabilization (IS or VR) and there are fair chances that you may be using your lens with IS/VR switched on. It is fine when you are shooting at a high shutter speed using a tripod, but as you slow things down, that’s when the real problem starts.
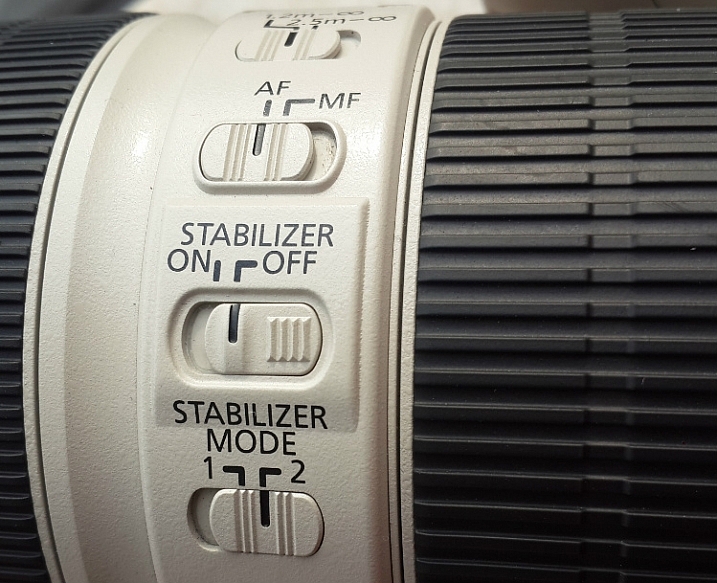
Check your lens for the IS or VR switch.
When you are shooting with IS/VR switched on, your lens generates a minor shake (meant to counter-act your hand movements) which ultimately reaches the camera. This minor vibration can introduce shake in your photos when shooting on a tripod, especially at slower shutter speeds.
While shooting landscapes in the evening, star trails, light trails, or any long exposure shot, you need to slow down your shutter speed. As you cannot shoot these types of photos handheld, you will need a tripod. I would advise you to switch off the IS/VR on your lens in order to eliminate the minor shake that would have been generated otherwise.

3. Use the mirror lock-up feature on your camera
You may be aware of the fact that there is a mirror inside your digital camera (except for mirrorless cameras) that moves to expose the image sensor when you press the shutter release button. This movement of the mirror can cause a minor shake while the camera is mounted on a tripod, thus affecting the sharpness of your photos.
This shake caused by the mirror may not affect your photos while you are shooting at a fast shutter speed, but as you slow down the shutter speed the shake would become visible in your photos. In order to eliminate this, you can manually lock the movement of the mirror. This can easily be done by activating the mirror lock-up feature (look through your camera’s menu settings or consult the user manual).
As you activate the mirror lock-up feature on your camera, the camera will raise the mirror up and keep it there until you disable the feature. So when you press the shutter release button the mirror will not move and the chances of minor shake being generated would be eliminated.
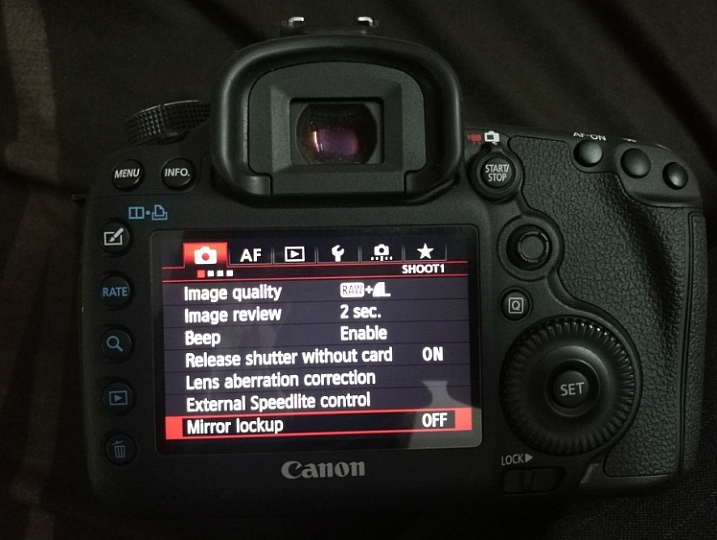
Mirror Lockup feature on Canon
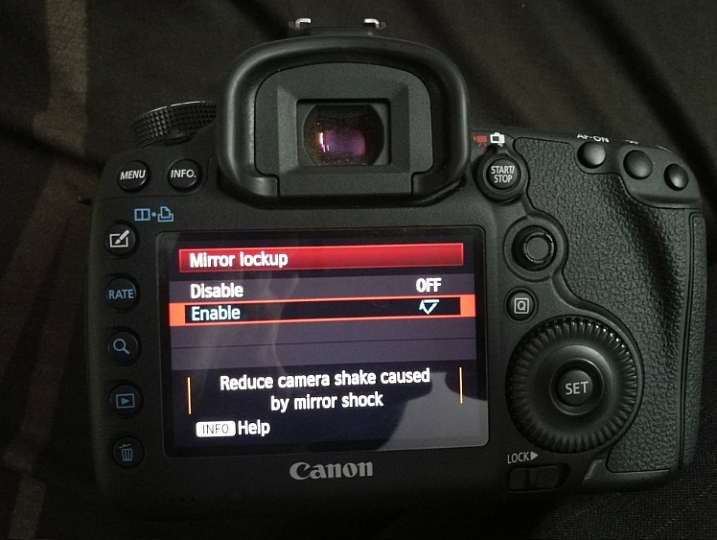
Mirror Lockup enabled.
Note: This works differently on some camera models. Some the mirror stays up until you release it, on others you press the shutter button twice – first one lifts the mirror, second one takes the shot and lowers the mirror. The latter requires you to do it each time, but you can see your scene through your viewfinder between shots. In the former you cannot as the mirror blocks light coming to the eye piece.
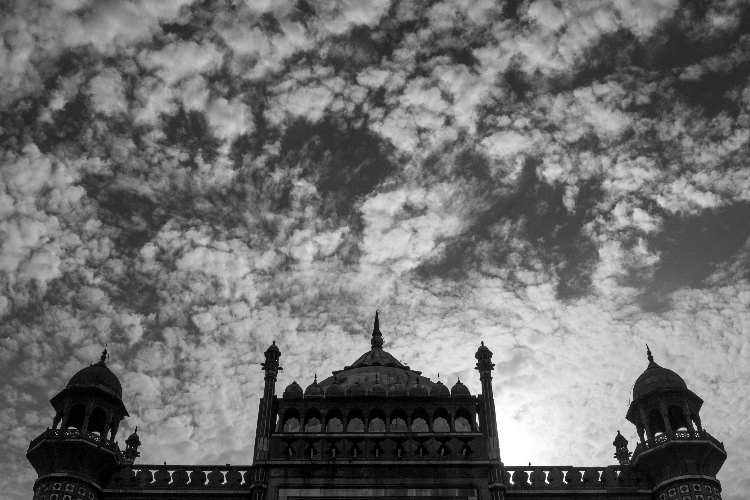
4. Use the 2-second timer or a remote shutter release
Do you use the shutter release button to take a photo when the camera is resting on a tripod? If you said yes, then make sure that you switch on the 2-second timer in your camera. Do not assume that if the camera is on a tripod there will be no shake no matter what. When you press the shutter button you introduce a minor shake by applying some pressure to the camera. By using the 2-second timer feature you can do away with the camera shake as you are allowing 2 seconds for the camera to absorb that minor shake before exposing the photo.
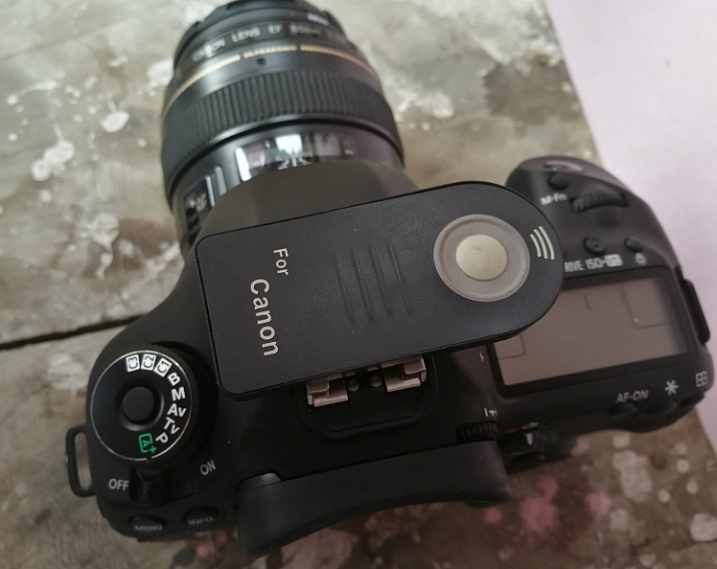
Use a remote trigger or your 2-second timer to eliminate camera shake.
If you want to be extra cautious and not take any chances, you can use a remote shutter release or cable. The remote allows you to go wireless and click photos without even touching the camera, thus ensuring that your images will be crisp and sharp. A wired trigger is equally useful except for the fact that there is a cable attached to the camera, otherwise it functions exactly the same as a remote.
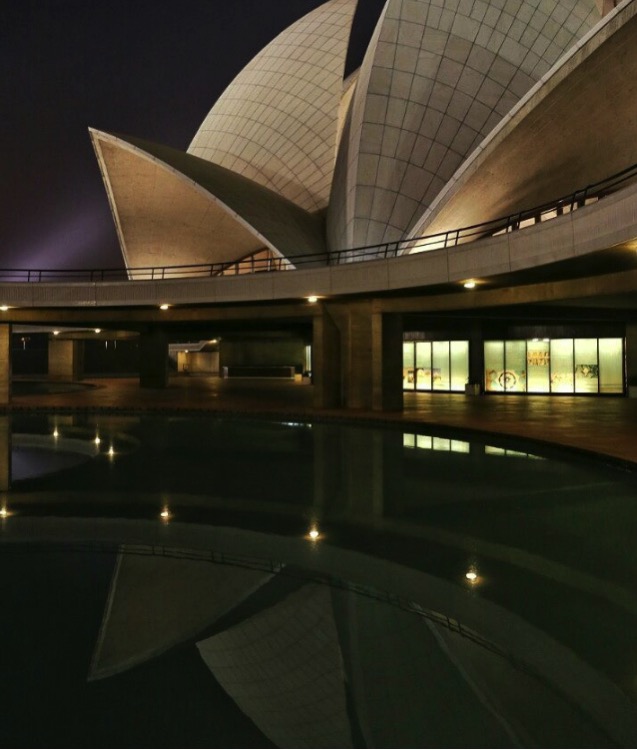
5. Shoot at the lowest ISO possible
The lower the ISO, the less sensitive the camera’s image sensor is to light and the chance of noise and grain is lessened. While you are shooting with your camera on a tripod, likely you may be working in low light conditions or doing long exposures. You would usually shoot at high ISO in order to compensate for slow shutter speed, but that is not necessary while using a tripod.
If you are shooting in low light conditions, using high ISO would obviously introduce noise or grain into your images. As you are already using a tripod, you do not have to worry about camera shake because of slow shutter speed. Without any second thoughts set the ISO sensitivity to the minimum value available on your camera, this will result in a sharp and grain free image.
Conclusion
So if you have had issues getting sharp images while shooting with a tripod, I hope these tips will help you solve them. Please share your comments and thoughts below.
The post 5 Tips to Get Sharp Photos While Using a Tripod by Kunal Malhotra appeared first on Digital Photography School.