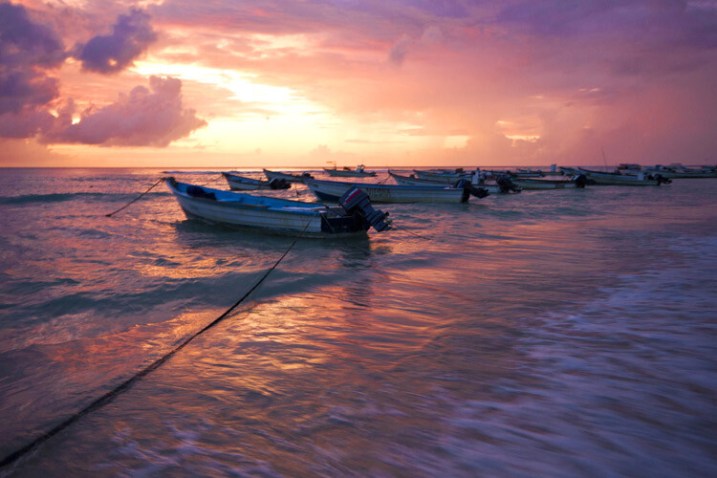
Water is a beautiful subject to photograph. It can be as dramatic as a waterfall, predictable as a fountain, vast like the ocean, or just a winding exciting river. Whatever the source, it can be a point of interest in your image or an element of your composition. If you are enchanted with photography water, here are a few tips you can use to improve your final image.

1. Capture Motion
Firstly, think about what you want to convey and how to add that characteristic to the shot. This may be as simple as choosing the right shutter speed. A fast shutter speed freezes motion and works well for crashing waves to show the activity of an ocean. Sometimes when using faster shutter speeds, your camera may indicate that you are getting insufficient light – this is where adjusting your ISO can come in handy. When using shutter speeds of 1/500th and above, timing is key for spectacular shots.

On the opposite side of fast shutter captures are long exposures. If you want to show greater motion or get that silken effect, slowing down your shutter speed gives you that cool effect. A few key things; aim for an exposure between 0.5 and 10 seconds which means that your camera needs to be absolutely still (a tripod is a definite, you can also use a shutter release cable/remote if possible). Dusk and dawn are great times for long exposures but there is no need to limit yourself to these times of day if you have a neutral density filter (discussed lower down in this post).
Bonus Tip: Getting closer to the water makes the blurring effect of moving water more noticeable.

2. Mirror Mirror
Water is a natural mirror. Seek out reflections and classify them. Is the reflection enhancing your image or distracting from it? In the latter case, move around a bit to eliminate reflections where possible or return to your location when the sun is at a different angle. A polarizing filter can help eliminate some of the reflections and give you nice contrast (rotate the filter and check out what’s possible).

Reflections can also add to an image and are used a lot where water is calm and still. That being said, ripples can also be interesting as they add texture and effect. There are also abstract reflections that look great in moving water such as the lights of a cityscape.
With reflections you can go for a symmetrical composition or not, depending on what you want to portray. You can even just shoot the water reflection and not the subject itself; the possibilities are endless.

3. Filter it
Using a polarizer was mentioned above, but it is worth a second thought as it is quite a useful tool to have in the field when photographing water. In addition to removing reflections (when they’re not wanted), a polarizer is very helpful in cutting out glare. By eliminating glare, it helps bring out any color details of the water and what lies below the surface.
Neutral Density (ND) filters are quite useful for creating long exposures during the day as they give you better control over your exposure. They do this by stopping/restricting light from reaching your camera sensor, thus allowing you to leave your camera with a higher aperture for a longer amount of time.
Note: ND filters do not affect the color in your photo in anyway, while the same cannot be said for a polarizer filter.

4. Underexpose when photographing water
Perfect exposure in-camera is your ideal goal. When water is your subject though, too many highlights can make it look white and it is difficult to recover the details in large areas that are blown out or clipped. If water is the dominant subject in your frame, it will benefit you to underexpose by 1/3 to 1/2 a stop.
Bonus Tip: Shooting waterfalls in overcast conditions is something many landscape photographers would recommend. There is no direct sunlight on the water itself.
5. Get your feet wet
If you can get into the water safely with your tripod, it’s a perspective worth trying. Use extra caution when setting up on slippery rocks and be aware of your surroundings. Make sure your equipment is insured, and you’re all set to try something different.
If this is not an option for you, grab a zoom lens for some close up details. It is worth the time to experiment with unusual angles.

Conclusion
Water is indeed a fascinating subject and with so many ways to capture it, why not give it a try? Are you drawn to the dreamy motion of long exposures, or do you find yourself caught up in a reflection? What other fun tip would you share to help improve other’s water photography?
The post 5 Tips for Photographing Water by Nisha Ramroop appeared first on Digital Photography School.