There are two main categories of long exposure photography: images captured during the day and those that are taken at night. Although the techniques used to take these photos are largely the same, a number of differences also exist. This article talks about the techniques of taking daytime long exposures.

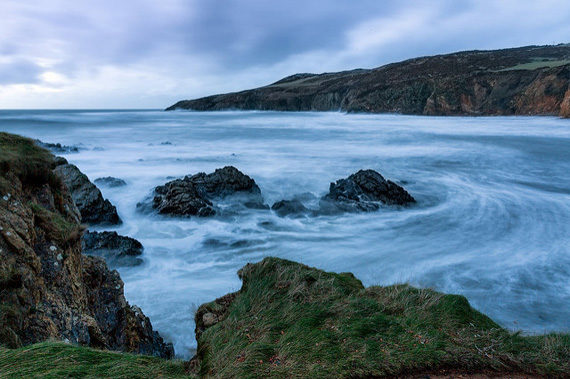
Photo by Adrian Kingsley-Hughes; ISO 100, f/22.0, 8-second exposure.
Use a neutral density (ND) filter
Neutral density filters are normally available in different stops. The type you choose really depends on how long the exposure needs to be and also on the brightness of the day.

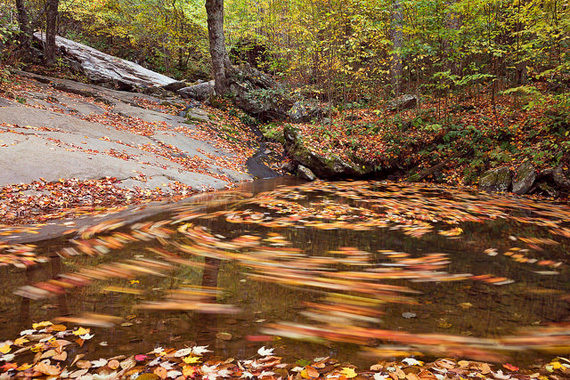
Photo by Nicolas Raymond; ISO 100, f/9.0, 10-second exposure.
Focus first
It will become nearly impossible to autofocus, especially if you are using a ND filter that is very dense. Sometimes, it may even be impossible to focus. The reason for this is that the ND filter will only allow a certain amount of light to pass through it, but your autofocus definitely requires more light for it to function. The same is also true for your eyes. This means that you will first have to remove the ND filter, compose, manually focus the shot, and then finally replace the filter and shoot. It is not advisable to use autofocus for this step, because your camera will attempt to refocus the shots after replacing the filter.
Make use of NDCalc
With this simple app (available for both Android and iPhone), it is possible to get the right exposure even with the ND filter attached. In order to use this tool, you need to use your camera’s meter to take a reading without ND filter. After that, inform the app of the exposure time that your camera got, as well as the type of ND filter that you are using. It will tell you the duration that exposure ought to be.
Take the best photos during the magic hour
The magic hours are times just before sunset and just after sunrise. Even with daytime exposure, it is still a lot better to take shots during the magic hours. This will give you better contrast against the clouds–something that will make the movements there appear more dramatic.
Have your goals in mind
The weather will not matter at all if you aim to capture the misty look of the water. However, if you intend to capture cloud movement, you need to be more careful in your choice of weather. You require a day that is partly cloudy with decent winds. If a day is fully overcast, forget about getting that beautiful streak appearance, as it will be too cloudy. On the other hand, a windless day is likely to offer you only scant sky movement.

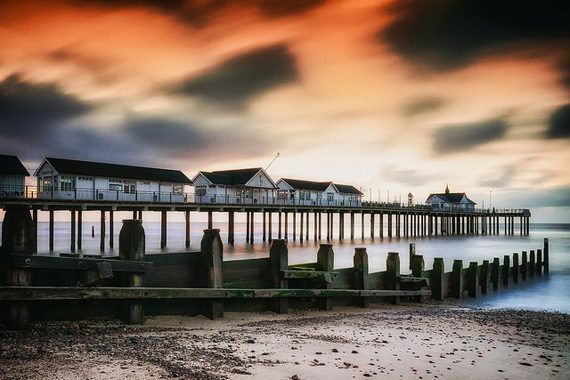
Photo by Andi Campbell-Jones; ISO 100, f/6.3, 45-second exposure.
With these four tips, you can trust that you will get the best daytime long exposure photography and get the best shots you have ever wanted.
About the Author:
Swee Shiong Chong writes for SG East Photo, a photography blog on techniques and equipment that is used in creating all types of photography from around the world.
Neutral density filters have are dark sheets of glass or plastic which will decrease the level of light getting into the camera. Exactly like sunglasses, the amount of light is reduced and it enables you to use longer exposures for nice motion blur effects. ND filters are coming in various grades from lighter to darker and depending on that, they can reduce the camera settings from one stop to several.
The whole idea is to be able to have long time exposures during daylight hours which opens up many new opportunities.
Go to full article: Daytime Long Exposure Photography Tips
What are your thoughts on this article? Join the discussion on Facebook
PictureCorrect subscribers can also learn more today with our #1 bestseller: The Photography Tutorial eBook
The post Daytime Long Exposure Photography Tips appeared first on PictureCorrect.
