Bird photography is one of the most popular types of photography—and for good reason. There are few things as stunning to look at as a cardinal perched on a tree limb blanketed in snow, or as adorable as a group of baby geese taking their first steps in the springtime sun. Because of the size and skittishness of most birds, there are some things you can do to increase your chances of getting sharp and, more importantly, striking photographs.

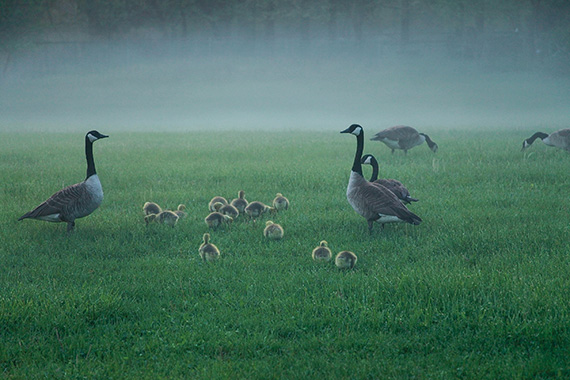
Geese in Fog
You’ll want to plan ahead for an afternoon (or a whole day!) of shooting, taking into account what type of birds you’ll be looking for and their size. Will you be looking for pictures of your birds perched in branches or watching for the landing of a water bird? Are there flock formations you wish you capture or behaviors you’d love to see? A little research ahead of time can help you be in right spot at the right time. Let’s talk gear first, and then we’ll get to some tips for composition.
If you’d like to get close to filling the frame with a small bird from more than 10 feet away, you will need to have a lens with at least a 300mm reach in 35mm terms (400–600mm is ideal). You may think that you have to spend $ 1,000 or more on a lens to get to 300–400mm, and that would be true if you want a fixed focal length of 300 or 400mm, or something like a 100–400mm f/4.5–f/5.6 lens. However, you can find some excellent 70–300mm and similar zoom lenses for DSLR and mirrorless cameras from Canon, Nikon and other brands for about $ 300–$ 700. When converted to 35mm terms, you will often reach 600mm (for example, the Micro Four Thirds system has a 2x crop factor, so a 70–150mm lens will produce a similar field of view to a 140–300mm lens on a 35mm camera). And, some “superzoom” cameras without interchangeable lenses, like the Nikon Coolpix B700 (under $ 500, includes the camera and a built-in 24–1440mm equivalent lens), can do a very impressive job when photographing birds and sporting events.
You’ll also want a lens that’s fast enough. That means it should have a maximum aperture (the lowest f-stop that can be used) that’s not over about f/4.5. That should allow you to keep your ISO in the ISO 400–2000 range while keeping the viewfinder image relatively bright (assuming you are using the viewfinder of a DSLR). Electronic viewfinders and live view mode with a magnified hood on DSLRs and other camera types generally provide good brightness, but you may find those options very difficult when tracking and trying to focus on birds, depending upon how small the birds are, how fast they are moving, and the quality of the LCD or EVF. The ISO you choose should be low enough not to have unwanted noise, and the number will depend on your camera, how much light is available (the more light you have, the lower an ISO value you can use) and whether you shoot in Raw (highly recommended!).

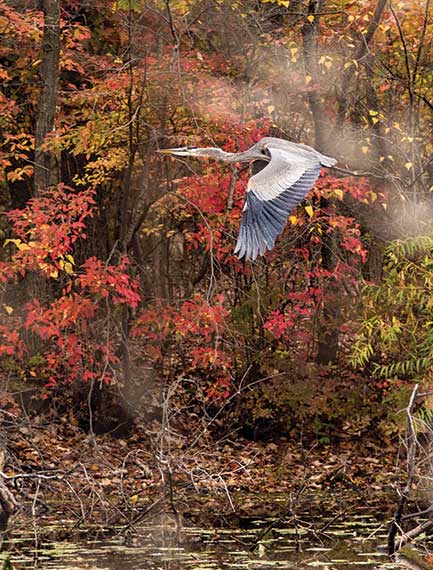
Heron
A teleconverter is like a magnifying glass that is placed between your camera body and lens, and can be very helpful when trying to photograph birds. With 1.5x teleconverters, you will lose one exposure value (EV) of light, and with 2x teleconverters, you will lose two EVs. You’ll want to play around with it a bit to see the effect on your images.
Two of the advantages of using teleconverters are that you can avoid the need for buying (and carrying) an extra lens, and you can often achieve focal lengths over 500mm in 35mm terms with a lens/teleconverter combination that weighs much less than most long lenses. I should add that not all lens/AF teleconverter combinations will allow autofocusing. Research this first before making a purchase. I consider autofocus a necessity when photographing birds because it is very difficult to adjust focus manually when trying to track a bird in the air.
Locations to Consider
Birds in Trees
For tree photos, it’s often nice to zoom in just far enough on the bird(s) to include some of the foliage, flowers or interesting web of branches in the area. It’s also great to capture a series of images as a bird leaves a tree. To do that, set your camera to Continuous Shooting mode (a.k.a. Burst mode), and if you are lucky, you will capture a few images just as the bird leaves the branch or other perch.

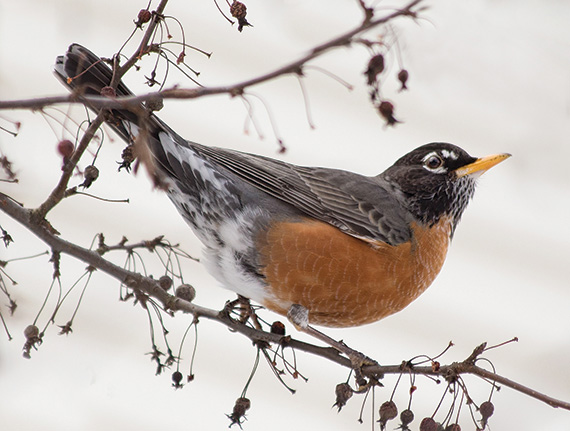
Robin in a Tree
Birds and Water
Look for panoramic photo opportunities of long lines of birds in a formation on the water. Also look for reflections in the water, either of the birds themselves, or of clouds, trees, etc.
Birds in Flight
It’s probably the most challenging type of bird photography, but there are few things as graceful looking or awe-inspiring as a bird in flight. Try using back button focus so that you won’t have to recompose as branches move around the bird. If the birds are small and will be moving quickly, consider turning on all AF points because you can more easily “catch” a bird as it enters your frame. If there are multiple birds and you want to retain more control over which ones are in focus, choose manual single point focus (usually with the center square highlighted). A good Autofocus mode for this type of photography is the mode that keeps adjusting the focus point as the subject moves (AI Servo on Canon and AF-C on Nikon).

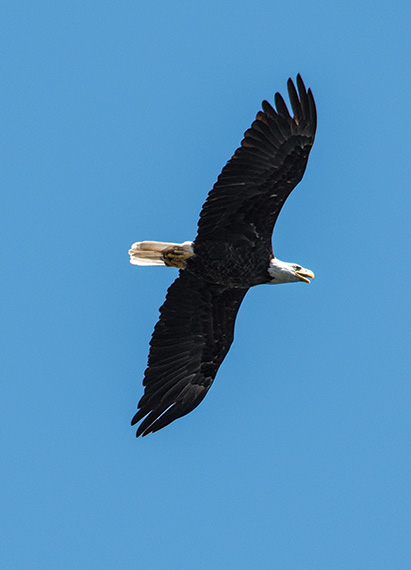
Eagle in Flight
When composing shots of birds, don’t forget the rule of thirds; part of the beauty of a bird is the sense of motion we feel when watching them, so don’t let your photos feel static by putting the bird in the center of the frame. Also, it may be tempting to zoom in as much as possible for detail, but cropping too closely can make the photo feel cramped, especially if the bird is in flight. The best thing you can do for your photography is play around, so don’t forget to experiment, and have fun!
About the Author:
Andrew Darlow, author of Focus and Filter, is a photographer, writer, and digital imaging coach based in the New York City metro area. His articles, tips, and images have been included in many publications, websites, books and on-air programs, including American Photo, Animal Planet, People Magazine, and Women’s World Magazine.
Go to full article: Bird Photography Tips & Techniques
What are your thoughts on this article? Join the discussion on Facebook
PictureCorrect subscribers can also learn more today with our #1 bestseller: The Photography Tutorial eBook
The post Bird Photography Tips & Techniques appeared first on PictureCorrect.