The many modes modern cameras can shoot in can sometimes overwhelm their owner. When setting up to take a picture, many DSLR users will use either Aperture Priority or Shutter Priority. Both shooting modes are great for specific scenarios. I’m going to help you figure out where you should apply them.

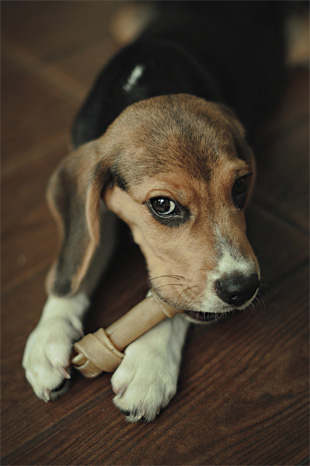
“Yum” captured by Ryan
First, what is aperture and what is shutter Speed? I could (and will) write a whole article on each of these items, but for now let’s just keep it simple.
Aperture
Aperture is essentially the size of the optic opening. It controls the amount of light let into the camera.
The human eye has its own built in aperture in the form of pupils. When the outside environment is very bright, your pupil narrows to allow a very small amount of light through in any given time interval. Since there is more available light for your eyes to use, it essentially filters out most of it to allow your vision to correctly see the world in the right amount of light.
Conversely, when the outside environment is dark, your pupil dilates (opens) to allow as much visible light in as possible in any given time interval. Your body does this automatically; your camera does not, however (unless you’re in full auto mode, and that’s boring).
On your camera, there’s more to aperture than just the amount of light hitting your sensor. Aperture also controls the depth of field, or how much of your image is in focus. The wider (more open) the aperture, the more shallow the depth of field. A shallow depth of field leaves fewer items in focus, but that’s often a desired effect in photography (think bokeh).
Shutter Speed
Shutter speed refers to the length of time that you actually take the picture for. This is another method of controlling the amount of light that hits your sensor. A fast shutter speed allows less light to be captured, a slower speed will do the opposite. Faster shutter speeds are used for freezing images in their moment of time. Slower speeds can allow for moving items to “drag” across your image. You can do some really cool things these days with long exposures (very, very slow shutter speeds).
Aperture in combination with shutter speed will determines the amount of light that hits the sensor in total. The two need to be balanced according to the amount of available light in order to properly expose an image. An over exposed image will have areas of pure white where the detail within has been lost forever. Conversely, an under exposed image will have areas of pure black, where the detail within is also lost.
Controlling both the shutter speed and aperture while in Manual Mode (not to mention ISO and other settings) can be a bit overwhelming to new photographers. Even experienced photographers may miss a moment while fumbling around in Manual Mode. It’s easy to over expose or under expose images without proper knowledge or time to set up the shot.
Aperture Priority Mode
Aperture Priority is found by turning your mode dial to “A” or “Av”. Aperture is measured in what are called “F-stops”. Many cameras and lenses allow for partial F-stops in 1/3 or 1/2 stop measurements. The smaller the F-stop number, the more wide open the aperture is. What Aperture Priority mode will do is allow you to control the aperture, and the appropriate shutter speed will be automatically selected based upon the amount of light your camera detects. You’re still able to adjust other settings such as ISO in Aperture Priority mode, just not the shutter speed.

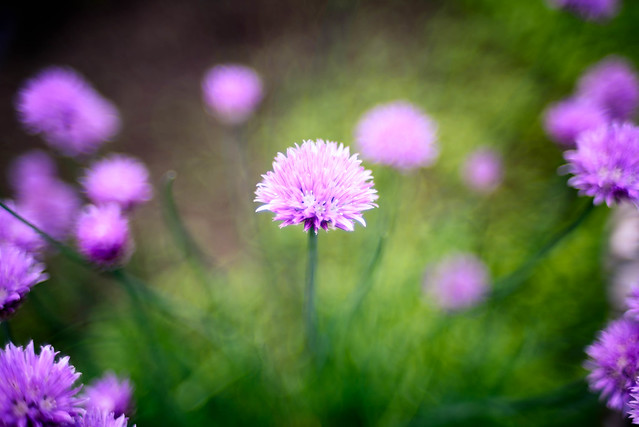
“Chive Flower” captured by Joe deSousa
Shutter Priority Mode
Shutter Priority is found by turning your mode dial to “S” or “Tv”. Shutter speed is measured in seconds, with a vast majority of your camera’s default shutter speeds falling under one second. Those will display as a fraction (e.g., 1/25, 1/4000). Now, you may have to recall your elementary math skills when dealing with fractions, but the smaller the number (or larger denominator in the fraction), the faster the shutter speed. Just like Aperture Priority, Shutter Priority allows you to control one aspect of the two exposure elements on your camera while automatically selecting the other based on available light.
So, now that you know what aperture, shutter speed, aperture priority and shutter priority are, the question now begs, when should I use these settings? I’ll tell you.
For my style of shooting, I spend most of my time in Aperture Priority mode. Why? The simple answer is that my subjects are generally not moving, so as long as I can ensure a stable shot (tripod for low light/slow shutter situations), I don’t have to worry about much blur. The more detailed answer is that I prefer to control my depth of field, rather than leaving that to chance. If I’m taking a landscape photograph, I want to know that my entire landscape will be in focus, not just the foreground or background. Conversely, if I’m photographing an object or person in good light, I’m going to want a low F-stop so I can blur that background out and get a nice, 3D feel to it.
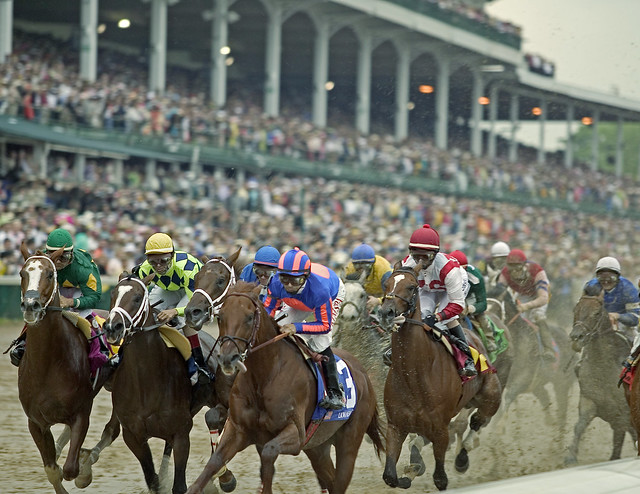
There are times where Shutter Priority mode is necessary, and while I prefer Aperture Priority, I have definitely utilized Tv mode in my day. The one that instantly comes to mind is action photography! Sports, a lion chasing after its prey in the African wild—anything with fast moving objects. If an object is moving quickly, you generally want to capture the object in the moment and avoid blur (on the object, background blur is possible through photographic techniques with fast moving objects). The best way to do that is to dial in a really fast shutter speed. I also might use Shutter Priority with people in low light situations (hopefully you have a good flash).
“Why not just go full auto?”
Oy… You give up all creative control over the outcome! That’s why I NEVER shoot in Auto mode. Your aperture and shutter speeds will be dialed in to the most safe, boring settings, and your shot will be flat and generic. If you do decide to go full auto, make sure you pop up that flash for those daylight long-distance shots…
“Why not just go full manual and control everything then?”
Well, manual mode is great, and I definitely use it from time to time, but usually on shots where I have time to set up the shot, check the Exposure Value (EV) of my settings, fire off a test shot or two. Even with landscape or cityscape photography that can be challenging, especially if you’re trying to squeeze in some pristine shots in the “golden hour”. You run the risk in Manual mode of allowing too much or too little light. And while hopefully you’re checking your images on your display periodically to ensure they’re exposed properly, there’s nothing worse than missing a great photographic moment because you over/under exposed, or were fumbling with controls.
So there you have it. Both Aperture Priority mode and Shutter Priority mode have their place, and depending on the style of shooting you do, you should adjust my advice accordingly. I personally shoot a lot of HDR landscapes and cityscapes, and just still scenes in general. I stay in Aperture Priority for those for the most part (you definitely want your depth of field to stay the same when shooting HDR images!). I do occasionally do some people and action shooting, and will switch over to Shutter Priority as needed. I encourage you to get out there and try both with your newfound knowledge on the subject.

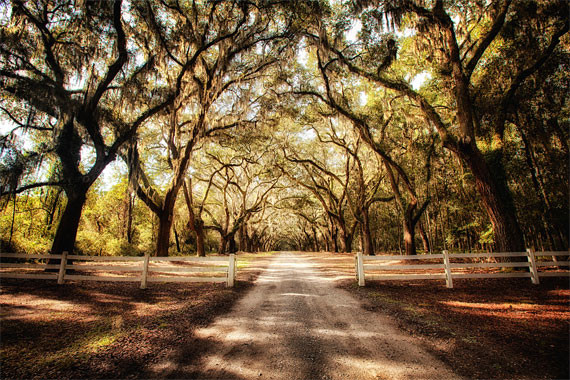
“Wormsloe plantation” captured by Gagan Dhiman
Until next time.
About the Author
Dan Losowski runs a daily photo blog based out of Buffalo, NY. “My love for photography blossomed a few years ago, with the purchase of a simple, yet effective GE Bridge camera. I began spending time wandering around taking pictures of anything and everything that caught my eye. While some of my earlier images were certainly not my best, I value every one of them for helping to shape the photographer I’ve become. I love nothing more than wandering this great planet of ours, snapping pictures wherever I see appropriate.”
Go to full article: Aperture Priority vs. Shutter Priority
What are your thoughts on this article? Join the discussion on Facebook or Google+
Article from: PictureCorrect
