The augmented reality app for the 2019 Range Rover is helpful for any new driver

Forget the new car smell we all know about. When you first buy any new car, there’s a much more memorable experience for the driver: learning the new car interface.

As a journalist these past 18 years, and a car reviewer the last seven, I can attest to the slight feeling of confusion when you first slip behind the wheel of any new car. You have to learn how to adjust the seat and mirrors, find the radio controls, and then start exploring all of the 'extra' features like how to set the follow distance for adaptive cruise control.

For me, it’s not difficult – every major brand works roughly the same. A Chevy Blazer has similar controls and options to the Chevy Equinox. The radio works roughly the same in every new BMW, and all Ford cars and trucks use a similar navigation.

However, with much more advanced cars with unusual and innovative tech features, it can take some more time. Fortunately, when I started testing the new 2019 Range Rover Sport SVR, I used an app called Land Rover iGuide that helped tremendously.

Minimizing confusion

Now, before I explain how the tech works, you should know that this is not a matter of intelligence or comfort in learning technology. Without doing a deep dive on the brain science involved, it’s really more about how we adjust to new situations. Our brains tend to go into overload when something is brand new.

This is the opposite of a more automated mode our brains use when we actually drive cars – we don’t have to think about where to find the brake pedal. With a new car, for the first week at least, our brains have to work overtime.

The Land Rover iGuide app is designed to minimize the confusion. It uses a form of augmented reality (I will explain that in a moment) where you move your phone around inside the car. If you point the phone over to the side door, the buttons there will illuminate. If you point up to the sun-roof controls, you’ll see highlights on those buttons. Click any of these highlights, and you can then see that portion of the manual with a simple click.

I loved learning about the car this way. I didn’t have to drag out the manual and find page 242 section eight. If I was interested in the touch controls on the steering wheel, I point the app there and then read up on how they work. (Side note: these buttons turn off completely and the touch interface goes to total black, which I’ve never seen before on other cars.)

Find your way around

Now, one interesting discovery (no pun intended Land Rover fans) is that the app doesn’t actually use augmented reality, and maybe that’s OK. You can download and use the app even if you don’t own a Range Rover SVR, and even if you aren't sitting inside one. When you're behind the wheel, you click a centering button in the app with the phone pointed directly ahead. This means the app doesn’t really use your camera or augment reality.

It does, however, work really well. I found that I could still point the phone in the direction I wanted and click the buttons to learn more. It’s smart of Land Rover to do this because you can learn about features anywhere, and then if you are about to drive, it makes it easier. Again, your brain will do the mapping for you when you move the phone, even if it is all a bit fake.

For future cars, this is good news. Augmented reality will most definitely be part of future tech advancements, showing where to drive on the road (or where the robotic car will drive while we play chess). It’s one of those features that will be indispensable as future cars become more and more advanced, and as cars do more and more of the driving for us,

On The Road is TechRadar's regular look at the futuristic tech in today's hottest cars. John Brandon, a journalist who's been writing about cars for 12 years, puts a new car and its cutting-edge tech through the paces every week. One goal: To find out which new technologies will lead us to fully self-driving cars.


TechRadar: Photography & video capture news

Posted in Photography | Tagged , , , , , , | Leave a comment

How to Make a Cool David Hockney-Inspired Photomontage in Photoshop

The post How to Make a Cool David Hockney-Inspired Photomontage in Photoshop appeared first on Digital Photography School. It was authored by Megan Kennedy.

David Hockney’s approach to art has made him one of the most influential British artists of the 20th century. Exploring the nature of photographic representation, Hockney’s distinctive method of photography is both thought provoking and physically engaging. In this tutorial, we’ll have a look at creating a simple David Hockney-inspired Photomontage in Photoshop.

photomontage-in-photoshop

The photography of David Hockney

David Hockney once said, “photography is all right if you don’t mind looking at the world from the point of view of a paralyzed cyclops-for a split second.”

However, in the 1980s, Hockney began to experiment with the photographic medium. Taking numerous Polaroid or 35mm photographs of a scene from a variety of perspectives, Hockney would then arrange the collection of images into a cohesive body, creating an almost Cubist rendering of visual reality. He called these collages and photo montages joiners.

This distinctive approach to image making was a reflection of Hockney’s dislike for photographs executed with a wide-angle lens. By creating his joiners, Hockney sought to reflect the process of seeing, creating a narrative based around visual experience.

How to make a simple Hockney-inspired Joiner

Step 1: Select an image

Image: Our source image

Our source image

For this tutorial, I’ll be using a photo I took of clouds. The photo is made up of strong shapes, forms and tones. When converted into a joiner, these elements are pulled apart to create a mangled scene that is consolidated by the overall character of the source image.

Step 2: Cutting

With your chosen image open, select the Rectangular Marquee Tool from the left toolbar (or type the letter M).

Select a small section of your image and right-click within the selected area.

Click on Layer Via Cut. The selection will be severed from the source image to create a new layer.

Image: Use the rectangular Marquee Tool to select and cut portions of your image

Use the rectangular Marquee Tool to select and cut portions of your image

Step 3 – Open a New File

Open a new file by selecting File -> New. Name the new canvas Joiner and select an image size that mirrors the dimensions of your source photograph.

Click OK, and a new canvas will open. This is the canvas we will create our joiner on.

photomontage-in-photoshop

Opening a new canvas. Set the height and width to the same dimensions of the source file.

Step 4: Drag and drop

Return to your source image.

With the Move Tool (V), select the recently cut section of the source image and drag it onto the tab of Joiner. The Joiner canvas will open.

Drag the cut selection onto the Joiner canvas. Place the selection in roughly the same location that it is on the source image. It doesn’t need to be exact.

Image: Dropping portions of the source image onto the Joiner canvas. Feel free to overlap the differ...

Dropping portions of the source image onto the Joiner canvas. Feel free to overlap the different layers, as this will contribute to the joiner aesthetic!

Step 5: Creating the Joiner Effect

Continue to cut selections from the source image, dragging and dropping them onto the Joiner canvas. You can cut similarly or randomly sized pieces – it’s up to you.

Once you’ve cut and transferred most of your source image to the Joiner canvas, it’s time to emphasize the joiner effect.

You want to cultivate a disjointed aesthetic, like misaligned puzzle pieces.

You can overlap, duplicate, stretch and rotate each piece to exaggerate this disjointed effect.

Make the edges of the joiner correspond, or allow components to poke out of the overall composition like a messy collage.

Be expressive with your perspectives, experiment with different combinations and don’t worry too much about neatness.

You can even place Curves adjustment layers among the image layers on Joiner to alter the exposure of individual pieces.

And that’s it! Once you are happy with your joiner, make sure to save it as a .PSD file in case you want to alter the arrangement later.

Image: A simple joiner effect created by overlapping the segmented portions of the source image.

A simple joiner effect created by overlapping the segmented portions of the source image.

When you’ve got the technique down, the sky’s the limit! In the image below, I cut my source image into much smaller pieces before placing them on the canvas. I also duplicated a lot of the layers to create repetition within the layout. The smaller the pieces, the more disjointed the image becomes, creating a greater sense of movement and altered perspective.

photomontage-in-photoshop

Conclusion

David Hockney is a man of many artistic talents. As a photographer, Hockney developed a distinctive style that plays with our sense of narrative and perception.

Experimenting with the joiner effect to create a Photomontage in Photoshop isn’t quite the same as taking a whole bunch of photos and arranging them together manually.

However, with a basic process that involves cutting, pasting, arranging and a little experimentation, we can get close to a Hockney-inspired effect.

Here is another of my own creations – I’d love to see yours! Post them in the comments below!photomontage-in-photoshop

photomontage-in-photoshop

The post How to Make a Cool David Hockney-Inspired Photomontage in Photoshop appeared first on Digital Photography School. It was authored by Megan Kennedy.


Digital Photography School

Posted in Digital Photography | Tagged , , , , | Leave a comment

Avoid These 10 Newbie Photographer Fails

There’s an awful lot of things to learn when you get your very first camera, especially if it’s an ultra-modern, sophisticated DSLR, with shed-loads of features. So, it’s not surprising that mistakes will be made by many a newbie photographer.

Here’s a short list of ten common mistakes:

1. Flashing from a Distance

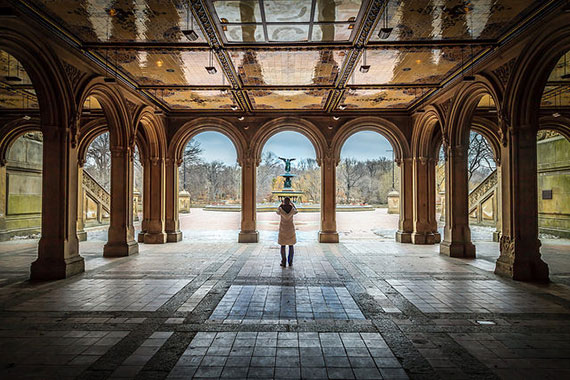
Flash can be useful even on a bright sunny day, such as to illuminate subjects when they’re backlit by the sun (to avoid their features disappearing into silhouette). However, while external or pop-up flashes can be exceptionally bright, they’re not going to do anything for subjects that are too far away and beyond the reach of the power of your flash (e.g. mountains).

fill flash

Fill flash can be useful in the right situation. Photo by Ryan Blyth

2. Getting ISO Wrong

In dark environments, you can turn your ISO up to lighten your image; in light environments, you can turn your ISO down to darken your image and improve image quality. If you’re unsure of what ISO to use, just choose Auto ISO and let the camera figure it out for you.

3. Mode Dial Confusion

The Mode Dial is usually the largest dial on the top of the DSLR, often stamped with various letters or symbols. The most common of these are Program mode (noted by the letter P); Aperture Priority mode (A or Av); Shutter Priority mode (S or Tv – Tv = Time value); Manual mode (M). Some cameras will let you set one or more Custom mode settings (so you may see C1, C2, etx.). More sophisticated DSLRs might even let you record video (so expect to see a video camera symbol amongst the other mode letter symbols).

4. Mounting Lens Hood Backwards

lens hood

photo by Pixel Drip

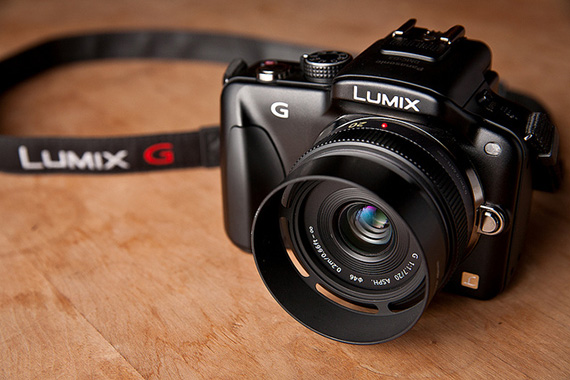
For convenient storage, you can usually keep your lens hood mounted the opposite way on your camera. The mistake comes when you begin shooting and you’ve forgotten to take your lens hood off to have it fixed on properly. The lens hood for your camera has been designed especially for your camera to avoid unwanted light affecting your image (e.g. you might get lens flare in a situation where you don’t want it).

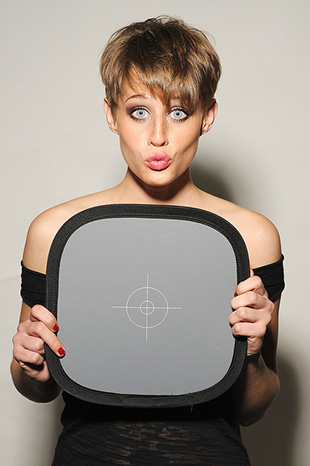
white balance grey card

photo by Alan Antiporda

5. Forgetting to Change White Balance

White balance ensures that anything with white in your frame appears white in your photo. Forgetting to change the white balance can cause unwanted discoloring of your photos (e.g. whites can appear blue, orange, or even a green).

6. Not Turning Off Image Stabilization with a Tripod

This one is a very easy mistake to make. Optical Image Stabilization (OIS) works by calculating the movements you make while hand-holding your camera, and then it attempts to counteract those movements to give a smoother appearance while looking at your LCD or Electronic Viewfinder, as you steady yourself to take a shot. Apparently, the OIS feature on some cameras and/or lenses can introduce movement when stationary on a tripod, so it’s best practice to try and get into the habit of turning off the OIS feature, before you attach your camera to said tripod.

7. The MF-AF Switch

Switching to MF (Manual Focus) enables you to fine-tune your focus manually with the focus ring; AF (Auto Focus) lets the camera do the focusing for you. The mistake might come, for example, when you’re in MF mode to take a close-up or Macro photo of a plant, and then you go to take a “Selfie” and forget to switch the camera to AF mode, so all you’ve got to do is press the shutter button and let the camera focus on you and your mates. The result, without the AF switch on is typically a blurred image.

8. Forgetting to Insert a Memory Card

This can happen if you’ve been transferring images from your SD Memory Card, to your computer, and then for whatever reason, you find yourself caught short for time and having to rush to get the images loaded, either for processing immediately, or for storage for later. When the image transferring process is done, you proceed to shut down the computer but, in a rush, you forget to remove the memory card and return it to your camera (to be formatted, ready for its next use). You rush off to do whatever it is you’ve got to do, and consequently forget that you’ve not returned said memory card to your camera. The next time you go to use your camera, you’re confronted by a warning message on the LCD, telling you that there’s no memory card, so images won’t be recorded. This is fine, if you’re still at or close to home. But, not so good if you’ve travelled far with your camera to shoot an event only to discover you’re minus a memory card as you forgot to re-insert it after transferring that last batch of images.

9. Wrong Choice of Lens

telephoto lens bird photography

photo by Yeti-legs

Imagine setting off to take photos of wild animals out in nature (a safari, or some other awesome trip); you arrive at your destination and discover a once-in-a-lifetime opportunity to shoot a rare animal with her new born; you go to grab your camera and discover you’ve left your ultra-wide angle lens on the camera. By the time you’ve managed to open your camera bag, grab your telephoto lens, take off the wide angle lens, pop on the telephoto, switch on your camera and begin to compose your shot and… oh, darn… you’ve lost that once-in-a-lifetime opportunity. Don’t make this kind of mistake.

10. Forgetting Tripod for Nighttime Photography

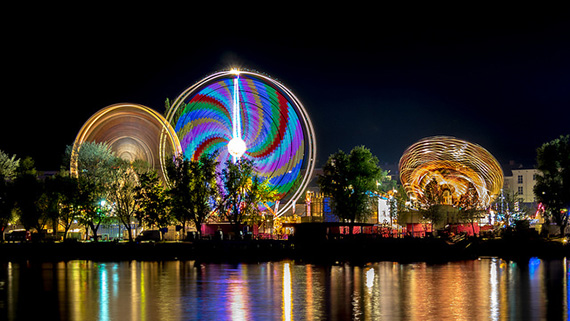
When you go to take photos at night, you’re going to be forced to use longer / slower shutter speeds, in order to give your camera’s sensor enough opportunity to capture the light detail that’s out there, but lost in the relative gloom.

long exposure night photography

photo by zeitfaenger.at

It’s almost a certainty that the slow shutter speeds you’ll need to use won’t make it possible to hand-hold your camera, without introducing unwanted blur into the resulting shots. If you know you’re going to be shooting in low light, especially at nighttime, ALWAYS make sure you take along a sturdy tripod.

About the Author:
Graham Wadden created and maintains the Creative Commons photography website, WaddenCCPhotography, specializing in creating stock photography primarily for home educators and those in education.

Go to full article: Avoid These 10 Newbie Photographer Fails

What are your thoughts on this article? Join the discussion on Facebook

PictureCorrect subscribers can also learn more today with our #1 bestseller: The Photography Tutorial eBook

The post Avoid These 10 Newbie Photographer Fails appeared first on PictureCorrect.

PictureCorrect

Posted in Photo Techniques | Tagged , , , , | Leave a comment

Refurb. Nikon NIKKOR Z 35mm f/1.8 S Lens – $726.95 Shipped (Compare at $846.95 New)

B&H has the Refurbished Nikon NIKKOR Z 35mm f/1.8 S Lens available for $ 726.95 with free expedited shipping. Compare at $ 846.95 new.
 
Product Highlights
 

  • Z-Mount Lens/FX Format
  • Aperture Range: f/1.8 to f/16
  • Two ED and Three Aspherical Elements
  • Nano Crystal & Super Integrated Coatings

Canon, Nikon, and Sony News, Deals and What’s New at The-Digital-Picture.com

Posted in Photo Equipment | Tagged , , , , , , , , , | Leave a comment

The refined Samsung Galaxy Fold is officially available in the US

After delaying its April launch date due to serious reliability concerns, the refined Samsung Galaxy Fold is back and finally, finally up for sale in the US.

The much-publicized problems centered around the folding display, which had malfunctioned when press peeled the protective plastic off the screens of their review units. Some screens simply stopped syncing on their own. 

In any case, the new versions have added a protective plastic lip around the edges of the screen (to keep anyone from removing the plastic cover) and heavily refined the hinge. To be safe, there are copious warnings for new buyers, especially for the plastic folding center screen, which is more fragile than typical glass screens. 

Press are already seeing new broken pixel issues crop up, from TechCrunch to JerryRigEverything – though the latter found the hinge to be far more durable than expected.

You can pick up a brand-new Galaxy Fold for $ 1,980 (£1,800 / €2,000), though certain carriers are also selling it for $ 66/month for 30-month contracts. Yes, that’s twice the price of the flagship Apple iPhone 11 Pro and even Samsung Galaxy Note 10 – but at least the company is packing a pair of Samsung Galaxy Buds in the box for good measure.

  • Foldables? In this economy? Here's a list of all the foldable phones we know about


TechRadar: Photography & video capture news

Posted in Photography | Tagged , , , , , | Leave a comment

Weekly Photography Challenge – Squares

The post Weekly Photography Challenge – Squares appeared first on Digital Photography School. It was authored by Caz Nowaczyk.

This week’s photography challenge topic is SQUARES!

Squares are all around us. You can see them in windows, buildings, boxes, TVs, technology, picture frames, power boxes, children’s toys, tiles, floors, etc.

So go out and capture anything that has squares. They can be color, black and white, moody or bright. Just so long as they have squares in them! You get the picture! Have fun, and I look forward to seeing what you come up with!

Check out some of the articles below that give you tips on this week’s challenge.

Tips for Shooting SQUARES

The dPS Ultimate Guide to Food Photography

9 Creative Architecture Photography Techniques for Amazing Photos!

How to Tell Stories with Architecture Photography

The Ultimate Guide to Street Photography

6 Tips for Aiming Low and Going Unnoticed in Street Photography

6 Still Life Photography Mistakes and How to Avoid Them

Weekly Photography Challenge – SQUARES

Simply upload your shot into the comment field (look for the little camera icon in the Disqus comments section) and they’ll get embedded for us all to see or if you’d prefer, upload them to your favorite photo-sharing site and leave the link to them. Show me your best images in this week’s challenge.

Share in the dPS Facebook Group

You can also share your images in the dPS Facebook group as the challenge is posted there each week as well.

If you tag your photos on Flickr, Instagram, Twitter or other sites – tag them as #DPSsquares to help others find them. Linking back to this page might also help others know what you’re doing so that they can share in the fun.


The post Weekly Photography Challenge – Squares appeared first on Digital Photography School. It was authored by Caz Nowaczyk.


Digital Photography School

Posted in Digital Photography | Tagged , , , | Leave a comment

Airbus hacked through supplier VPNs

Aerospace giant Airbus has been hit by a series of cyberattacks by hackers who targeted VPNs used by its suppliers in an effort to steal sensitive company data.

Over the course of the last 12 months, the European company has been the target of four major attacks. Airbus is a particularly tempting target for hackers because of its cutting-edge technologies and the fact that it is one of the world's largest commercial plane manufacturers as well as a military supplier.

The company admitted in January that it had suffered a security incident that “resulted in unauthorized access to data” but those familiar with the attacks revealed that Airbus was the focal point of a much larger operation carried out over the last year.

In an attempt to gain access to Airbus' sensitive data, hackers targeted Rolls-Royce which manufacturers engines for the company, the French technology supplier Expleo and two other unnamed French contractors.

Supplier VPNs

The cyberattack against Expleo was discovered at the end of last year but an anonymous source revealed to AFP that the company's systems had been compromised long before, saying: “It was very sophisticated and targeted the VPN which connected the company to Airbus”.

While a VPN can be used to protect your privacy online and hide your browsing activity from ISPs and governments, they are also used by company's to give third-party suppliers remote access to their systems as was the case with Expleo, Rolls-Royce and the other contractors who were targeted in the attacks against Airbus.

According to several sources, the hackers went after Airbus' suppliers in an attempt to obtain technical documents related to the certification process for different parts of the aerospace company's aircraft. Additionally, several stolen documents were related to the engines of the Airbus A400M which is a military transport plane.

Those behind the attacks have yet to be identified but many suspect Chinese hackers were responsible as they have a track record of stealing sensitive company data. The state-sponsored hacking group APT10 as well as the Chinese hacker group JSSD could potentially be behind these attacks but no hard evidence has been discovered to link either group to the attacks.

  • Also check out the best VPN services of 2019

Via Computer Weekly


TechRadar: Cameras and camcorder reviews

Posted in Camera Reviews | Tagged , , , , | Leave a comment

Nikon to Produce Mirrorless Crop-Sensor Camera and Two Z Lenses

The post Nikon to Produce Mirrorless Crop-Sensor Camera and Two Z Lenses appeared first on Digital Photography School. It was authored by Jaymes Dempsey.

nikon-z50

Up until now, Nikon has stayed out of the mirrorless APS-C (crop-sensor) camera space. They’ve let Sony and Fujifilm take the lead with their respective a6000 and X-T lineups. Even Canon, which stands at the back of the mirrorless pack, has produced its ‘M’ series.

But things are changing in the digital camera world, especially as DSLRs lose ground to mirrorless systems and DSLR lineups get shelved. Nikon, a (relatively) small company surrounded by big players, has pushed innovation, bringing out the full-frame Z6 and Z7 last fall. The Z7 immediately made waves in the mirrorless camera world with its 45.7-megapixel sensor and impressive low light performance.

And now Nikon is trying to do it again.

Recent rumors indicate that Nikon will soon be entering into the APS-C mirrorless world with the Nikon Z50, a mirrorless body with a 20-megapixel sensor.

Other reported specs include a 3-inch LCD, an 11 frame-per-second continuous shooting speed, and an electronic viewfinder.

For Nikon DSLR photographers who have been thinking about moving to mirrorless, this will come as a welcome surprise, especially if you’ve been put off by the high price of the Nikon Z6 and Z7. This new camera is aimed at the enthusiast crowd, with its electronic viewfinder and 11 fps continuous shooting speed putting it a cut above entry-level bodies.

The 20-megapixel sensor is a step down in resolution from competing Canon, Fujifilm, and Sony models, but the camera could impress in terms of autofocus and action shooting, possibilities that are hinted at with the 11 fps continuous shooting speed.

The Nikon Z50 should also give you access to the Nikkor Z lenses. The lineup is currently very heavy on wide and standard lenses, but that’s bound to change as Nikon dedicates more and more resources to its mirrorless engineering. And the Z50 rumors come alongside talk of two new Nikon Z lenses: the Z-Nikkor 16-55mm f/3.5-6.3 DX lens and the Z-Nikkor 50-250mm f/4.5-6.3 DX lens.

(Note the ‘DX’ label: Neither of these lenses can be used on full-frame mirrorless bodies.)

These are kit lenses, through and through, and it remains to be seen how they perform. But I have high hopes for Nikon’s mirrorless lineup, especially as it begins to round itself out.

Now it’s your turn: 

What do you think about the Nikon Z50? Is it something you’d be interested in? Or were you hoping to see a Z6/Z7 upgrade? Share your thoughts in the comments!

The post Nikon to Produce Mirrorless Crop-Sensor Camera and Two Z Lenses appeared first on Digital Photography School. It was authored by Jaymes Dempsey.


Digital Photography School

Posted in Digital Photography | Tagged , , , , , | Leave a comment

Save 70% on Now TV’s Sky Sports pass – includes all 11 channels

Fancy trying out the complete Sky sports package with no long-term commitments? Then this Now TV Sky Sports pass offer is perfect for you.

Instead of the standard price of £33.99 for a month of Sky Sports on Now TV, it will only cost you £9.99 today. After that month it goes up to £33.99 a month from there on in. But if you don't fancy paying that much for the service, you're able to cancel it anytime you want as it's only a one-month rolling contract. If you were going for a full-on Sky deal, you're looking at a minimum 18-month contract.

Unlike many fresh Now TV deals, this offer is open to new and existing customers, as long as you don't currently have an active Sky Sports pass.

So if you want a month of discounted premium footy, F1 and more then this is a fine offer. Don't forget, you actually get all 11 Sky Sports channels. This includes Premier League, Football, F1, Racing, Cricket, Golf, Sky Sports News, Mix, Action, Arena and Main Event.

Now TV deals are a great way to access Sky's other excellent content without signing up to a long contract too. You can pick and choose access to packages like Entertainment, Sky Cinema, Sky Kids and of course Sky Sports channels on a rolling 30-day deal. We've gone into greater detail on all of these options in our regular Now TV passes and offers page.

We know plenty of people that use the Now TV service as a beta test to see what's available on Sky's channels before signing up to a regular Sky TV deal with options for even more channels, recording live TV, HD and 4K viewing and potentially bigger savings with a longer contract. If you'd like to check out these options, be sure to take a look at our guide below:


TechRadar: Photography & video capture news

Posted in Photography | Tagged , , , , , | Leave a comment

How Using Props in Portraits Can Make Your Photos More Interesting

The post How Using Props in Portraits Can Make Your Photos More Interesting appeared first on Digital Photography School. It was authored by Kevin Landwer-Johan.

There are many ways using props can make portraits more interesting. Often photographing a person can be challenging. This can be so for both the photographer and the person being photographed. Using props can not only add interest to the portrait, but it can also help your subject relax more.

What are props and how can you use them effectively?

Image: © Kevin Landwer-Johan

© Kevin Landwer-Johan

A prop is any element you add to a photograph which adds interest or meaning to your subject or the concept you’re creating. What you can use is up to your imagination. They can be anything from an ancient tree stump to a melting ice cream cone.

Image: © Kevin Landwer-Johan

© Kevin Landwer-Johan

Props can add humor to photographs. Using a prop well with a nervous subject can help them relax. You can use props effectively to help contextualize your subject. Without a prop, a portrait may not convey much or any concept. With the addition of a prop, a portrait can take on a whole new meaning.

A prop is often used to add visual information about the person;

  • their occupation
  • hobbies
  • character
  • or location

Using props to help illustrate a story

When you’re illustrating a story using a portrait, adding a prop can add depth and meaning. A prop incorporated into a photo will tell more of a person’s story than a caption, or even a whole paragraph.

Image: © Kevin Landwer-Johan

© Kevin Landwer-Johan

Making a series of travel portraits with a visiting friend I asked her to bring along her backpack. She was going to the station to purchase a ticket for a later date and would not have brought her luggage. Having it with her for the photographs helped to create more of a visual story.

Image: © Kevin Landwer-Johan

© Kevin Landwer-Johan

The location and the train tell part of the story. Having her backpack in the pictures lets you know she was traveling, not just there to meet a friend. The more relevant visual information you can include, the more interesting your portraits become. Well-used props help stimulate the viewer’s imagination.

Image: © Kevin Landwer-Johan

© Kevin Landwer-Johan

Isolated studio portraits using props

Isolating your subject on a plain background is a popular method of taking a portrait. A subject on their own can produce great character portraits. But for many people, it can be somewhat intimidating.

Image: © Kevin Landwer-Johan

© Kevin Landwer-Johan

Using a prop can help them relax and enjoy the experience more. Having something in their hands to concentrate on distracts them from your camera. Feeling less intimidated by it, they are more likely to give you vibrant expressions.

I took a series of photographs for a small drama school. Using props helped the students feel more at ease. They were confident performers, but many of them were not so comfortable in front of the camera. Including props allowed their tutor, who was assisting me, to encourage them into character.

Image: © Kevin Landwer-Johan

© Kevin Landwer-Johan

A single prop keeps a studio portrait simple and adds meaning that would not be evident without it. Creating concepts for stock photography in this manner it’s possible to facilitate a whole series of photos.

Including props will add depth and interest to a series of photos of the same person. It can be challenging to take more than one or two different portraits of a person on an isolated background. Using props will give you more diverse options for what you can achieve.

Image: © Kevin Landwer-Johan

© Kevin Landwer-Johan

Bring your own props or use what’s available

Often asking a person to bring along their own props can help create a meaningful portrait. Using items that they relate to and tell something about themselves will add genuine feeling to the portraits.

I asked this friend if I could photograph her and also what she’d like to use as a prop. Immediately she replied, “ice cream.” She loves ice cream so it was appropriate and meant she’d enjoy the photo session. The weather was so hot that even with the air conditioning blasting the ice cream melted quickly. We went with the flow and used the prop for additional makeup as well. It was a fun session.

Image: © Kevin Landwer-Johan

© Kevin Landwer-Johan

Any well-established portrait studio has a diverse selection of props. Your subject doesn’t have to own a prop. If they can choose from a selection you have, they might find something that lights up their imagination.

Even simple things that are common can work as props. Having someone read a book or make a phone call can help them focus on what they are doing and not on your camera.

Image: © Kevin Landwer-Johan

© Kevin Landwer-Johan

Finding props on location helps to incorporate your subject in the place. Having them pick up some produce at the market, or interact with some part of the environment can make for a more illustrative portrait.

Conclusion

Working with props definitely adds diversity to photographing people. Use the props to support your subject. Having the prop and subject in the same frame is not enough. Encourage them to interact with the props in different ways. The way your subject relates to the prop is important. This will influence the feel of the photo.

Image: © Kevin Landwer-Johan

© Kevin Landwer-Johan

Work to develop a healthy relationship between your subject and their props. This is part of your job as a photographer. Doing this, you’ll create more entertaining portraits.

Have you tried using props for a portrait session? Let me know in the comments below the props you have found helpful during the session. Also, what type of props help make the most interesting portraits?


using-props-in-portraits

The post How Using Props in Portraits Can Make Your Photos More Interesting appeared first on Digital Photography School. It was authored by Kevin Landwer-Johan.


Digital Photography School

Posted in Digital Photography | Tagged , , , , , | Leave a comment

Pelican 1614 Waterproof 1610 Case with Dividers (Black) – $238.46 Shipped (Compare at $317.95)

B&H has the Pelican 1614 Waterproof 1610 Case with Dividers (Black) available for $ 238.46 with free expedited shipping when using the “Clip Coupon” option. Compare at $ 317.95.
 
Other Pelican cases also qualify for the Clip Coupon feature, so it might be worth browsing B&H’s Pelican Case selection to see what’s available after filtering the results by “Rebates.”
 
Product Highlights
 

  • Watertight, Dustproof Case
  • Made of Ultra-High Impact Copolymer
  • 16-piece Padded Divider Set Included
  • Automatic Pressure Equalization Valve

Canon, Nikon, and Sony News, Deals and What’s New at The-Digital-Picture.com

Posted in Photo Equipment | Tagged , , , , , , , , , , | Leave a comment

Plantronics unveils three new pairs of premium and sporty true wireless buds

The company responsible for designing Neil Armstrong's headset as he stepped onto the Moon has announced a fresh new lineup of earbuds and headphones, made with phone calls and athletes in mind.

Four new entries into the BackBeat range have been revealed, three of which fall into the sports-centric Fit range with the fourth being a premium product that finally brings the brand's much-loved BackBeat Pro line to the true wireless world.

BackBeat Pro 5100

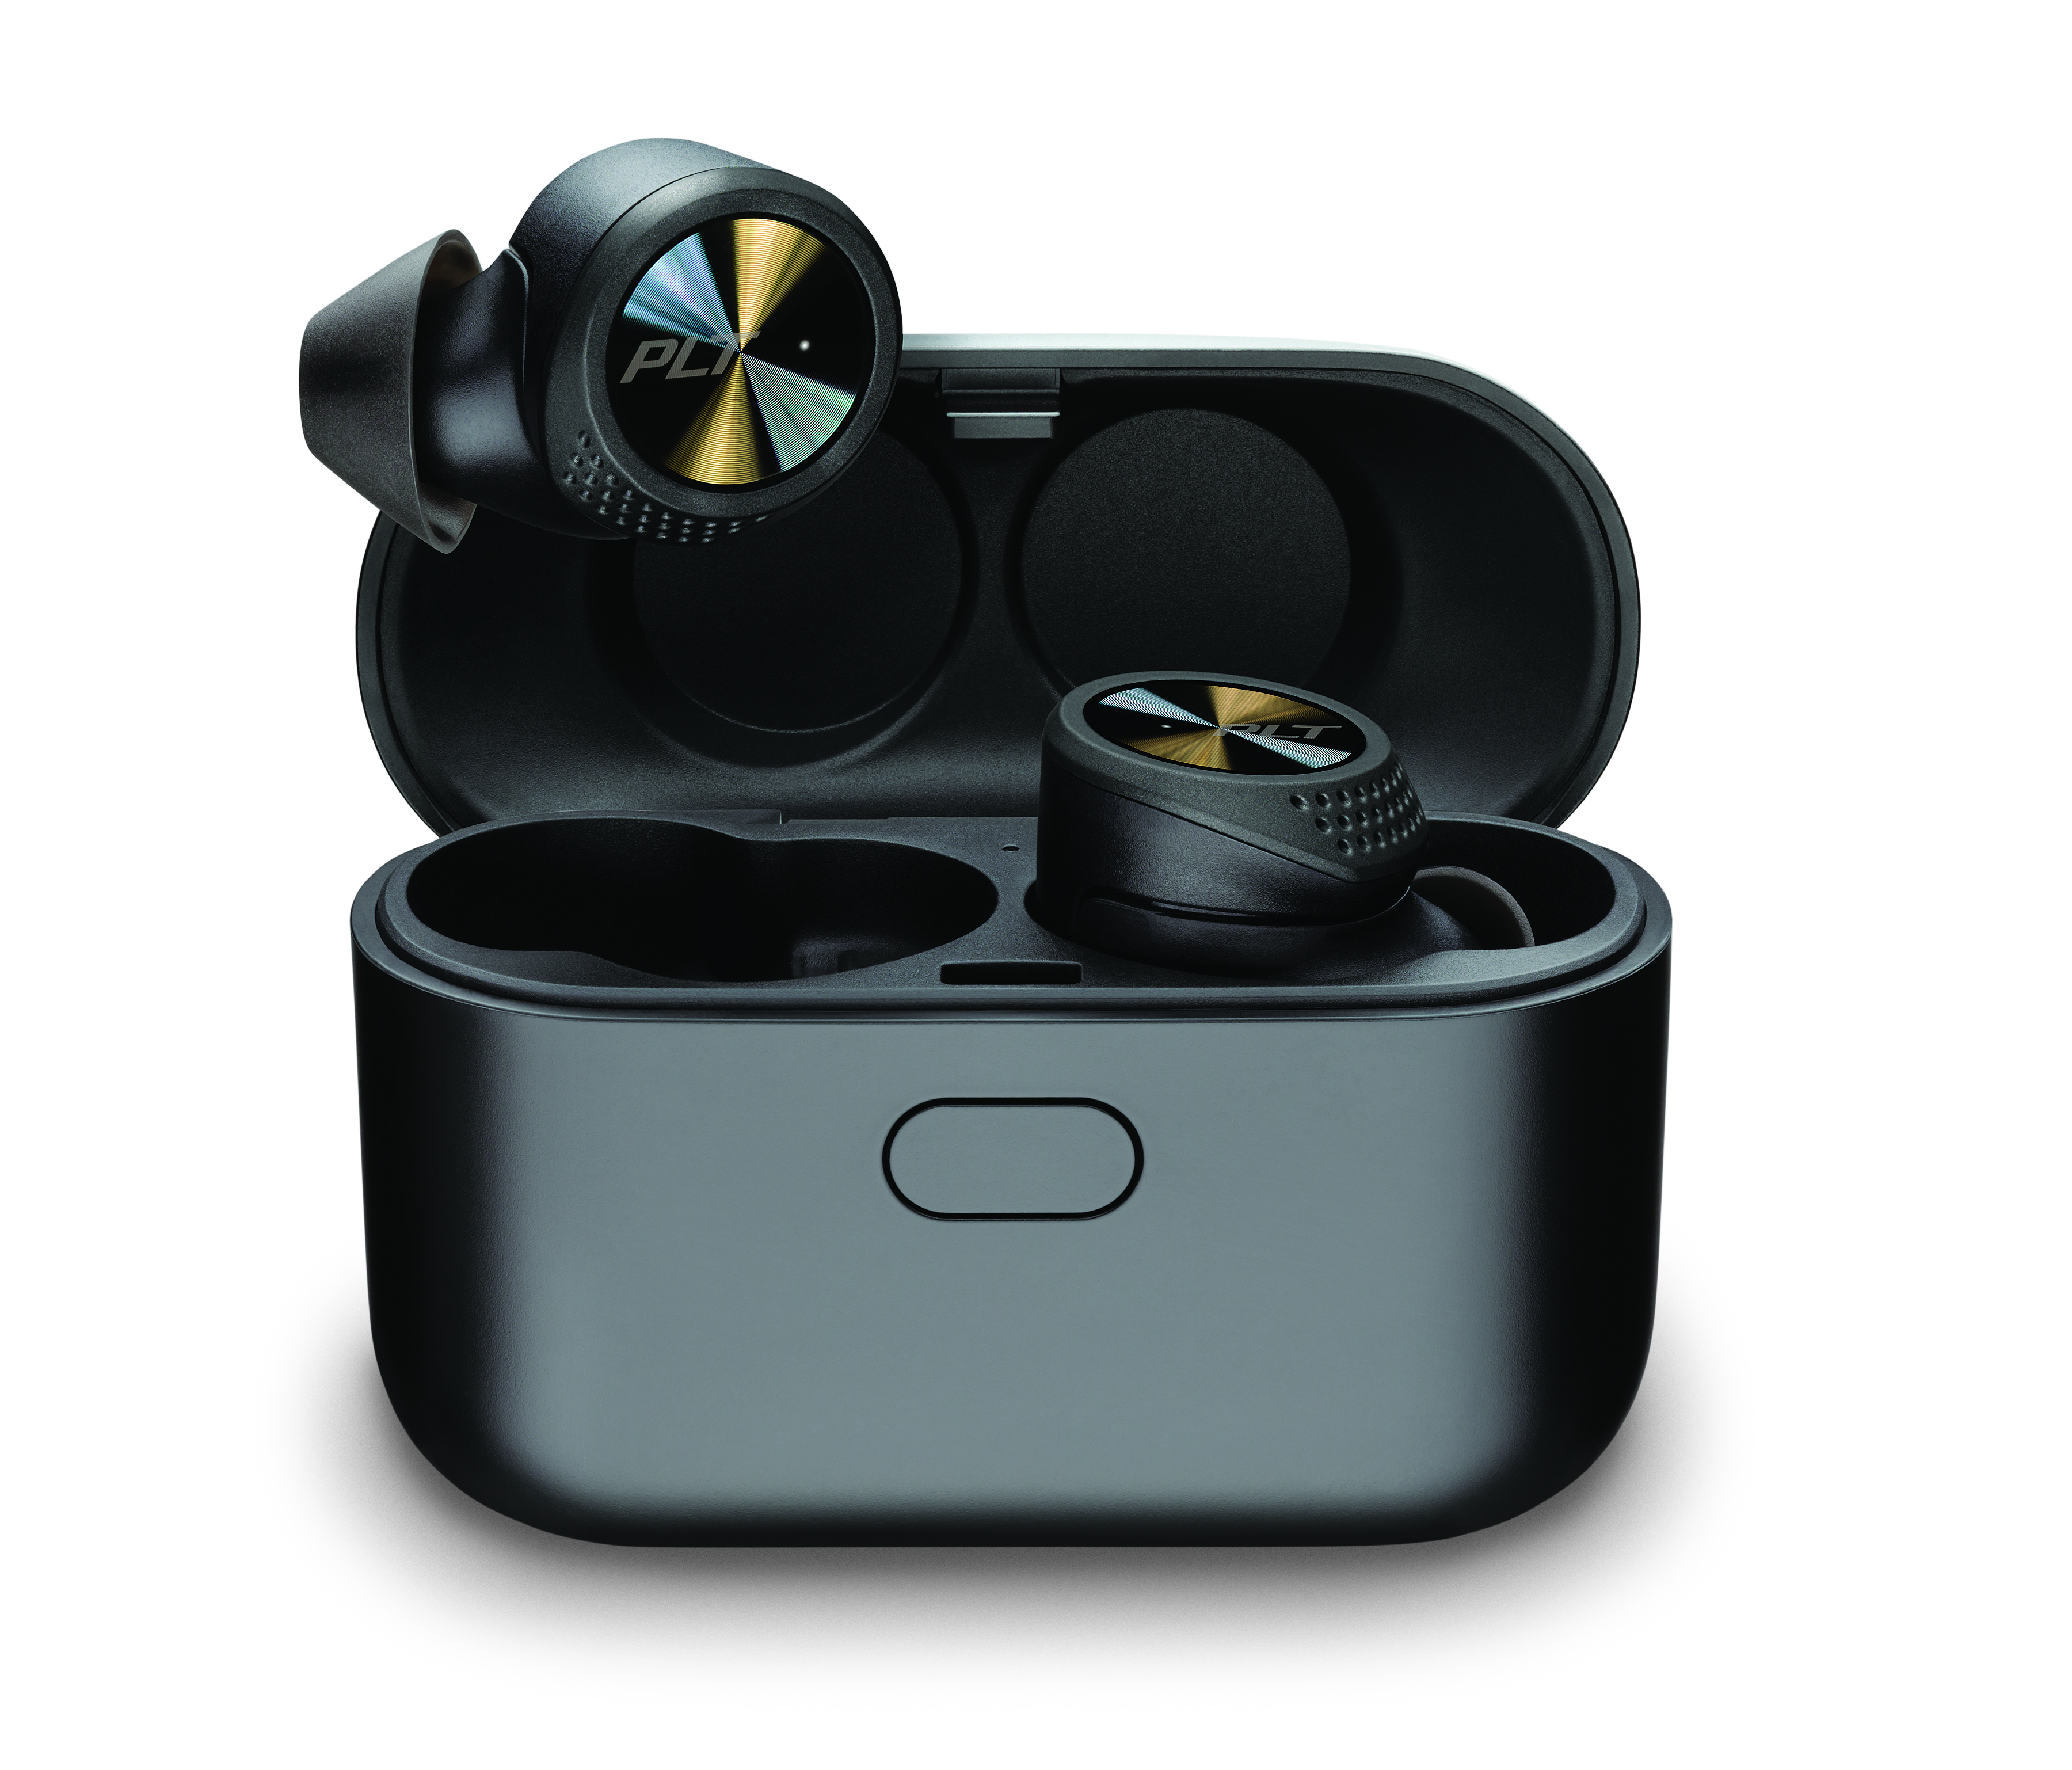
Plantronics BackBeat Pro 5100 with charging case

While it seems like every audio company has had a crack at the premium true wireless market so far, Plantronics has been notably absent until now.

With the launch of the BackBeat Pro 5100, the company is promising to bring its expertise in the voice-calling space to a market that suffers from lack of phone call quality due to the diminutive size of its products.

Despite their tiny and lightweight design, the Pro 5100 utilizes four noise-canceling mics and WindSmart technology in order to remove background noise and improve audio quality when on a call.

They come packing a 6.5-hour battery life on-board with an extra 13 hours in the relatively compact charging case, and each bud features a button that responds to both capacitive touch and clicking for twice as much control as most competitors.

Plantronics' first foray into the premium true wireless game will set you back $ 170 (£160, AU$ 299) and you can have any color you like, so long as it's black.

BackBeat Fit 3150 & 3200

Plantronics BackBeat Fit 3200

For the sportier music lover, there's the BackBeat Fit series. The Fit 3100 was released late in 2018, and a year later it's getting a refresh in the form of the BackBeat Fit 3150.

Some of the main improvements over last year's model include better connectivity, a full IP57 water and sweat resistance rating, and a boosted battery life – the Fit 3150 should last 8 hours by themselves with an extra 16 in the case.  

This new iteration features the same 'Always Aware' eartips that don't create a seal like most traditional earbuds, but instead allow some external sounds in for the sake of safety when jogging or in other environments that require your attention.

If, however, you're not keen on this style of tip, the BackBeat Fit 3200 offers the more traditional sealed type of ear-tip and modified drivers to better suit them. Typically, this means you'll have a better bass response and improved audio quality all-round, but at the expense of hearing any ambient sound.

Whether you prefer to block out the world with the in-ear seal of the Fit 3200 or let in some ambient sound with the more open ear-tip design of the Fit 3150, both true wireless earbuds are available for $ 150 (£130, AU$ 249).

BackBeat Fit 6100

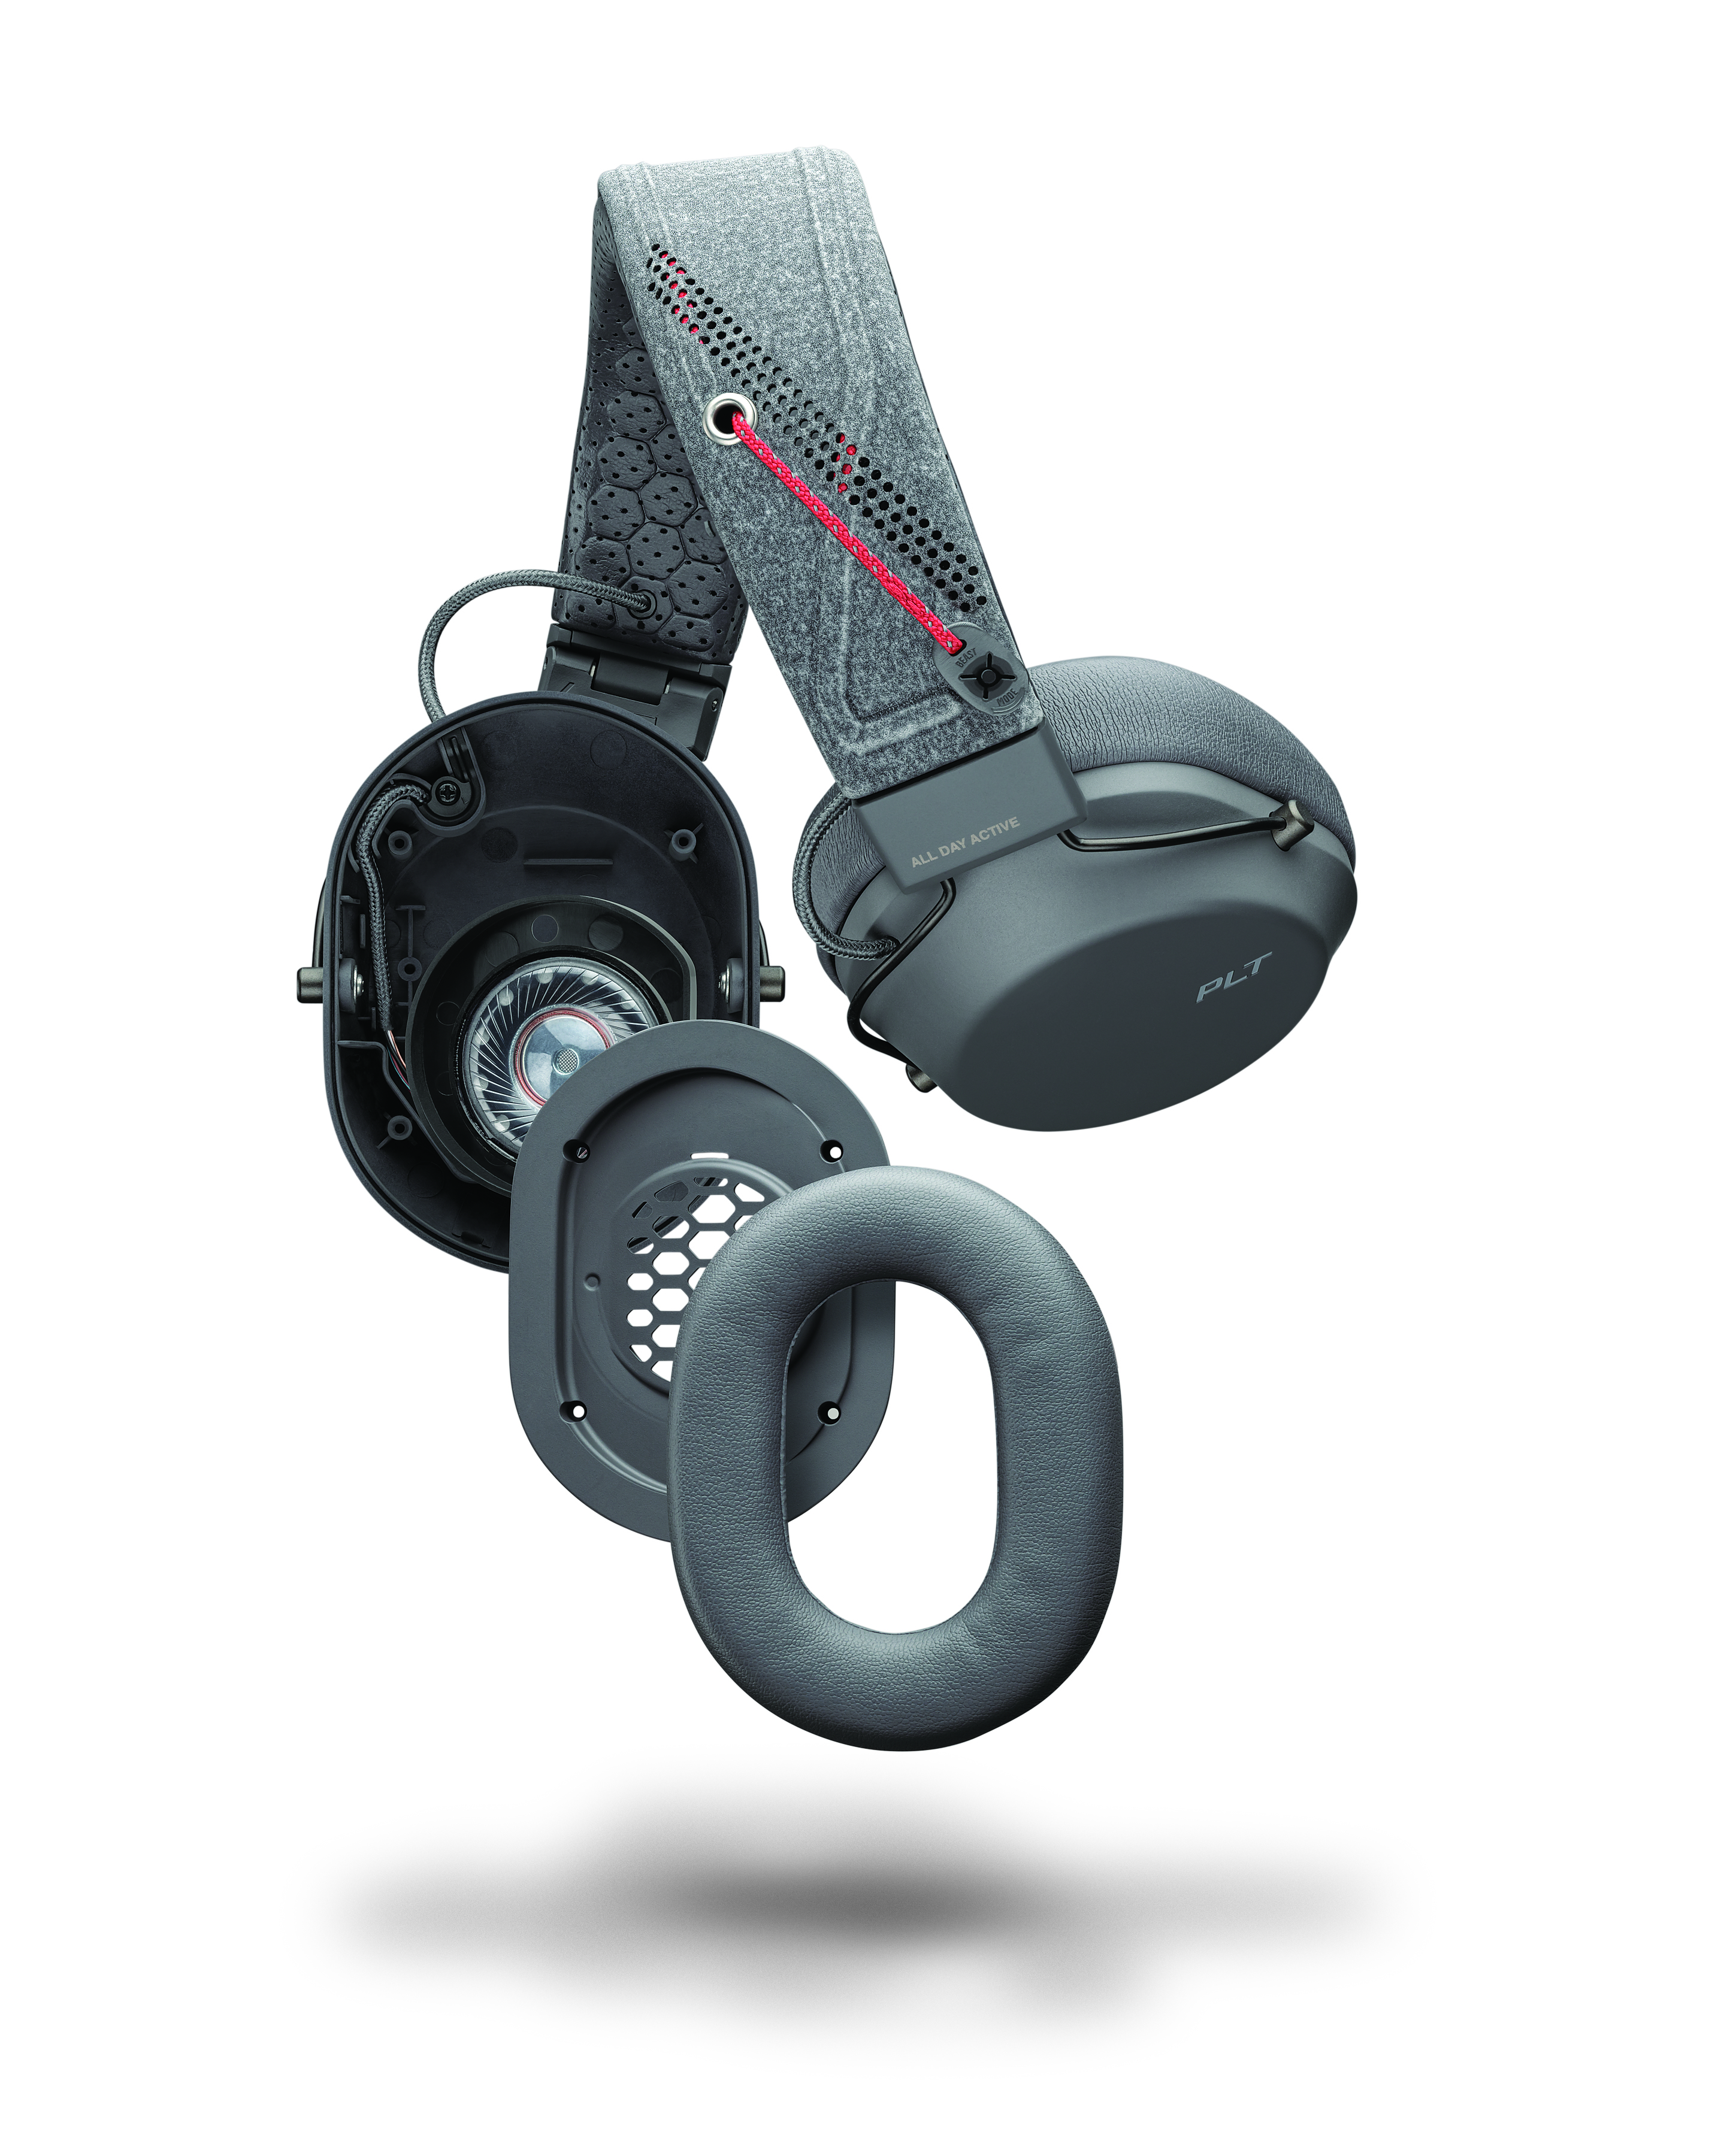
Plantronics BackBeat Fit 6100 with flexible headband

Another entry into the Fit series this time comes in the form of a pair of over-ear headphones – the BackBeat Fit 6100.

For those that don't like to work out, jog or exercise with in-ear headphones but still want to pump their tunes, the Fit 6100 offers much of the same rugged design as the smaller counterparts in an entirely different form factor.

Packing 40mm drivers, an IPx5 sweat-resistance rating, a 24-hour battery life, and with a highly flexible headband that you can quickly cinch to tighten for more rigorous activities, the Fit 6100 looks ready to fill a void in the market for sports-friendly over-ear cans. 

This set of flexible workout cans will cost you $ 160 (£150, AU$ 299) and is available in black, grey, or camo color configurations. All four products are available from major retailers today.


TechRadar: Cameras and camcorder reviews

Posted in Camera Reviews | Tagged , , , , , , , , | Leave a comment