The post Your Workflow for Styling Food Photography appeared first on Digital Photography School. It was authored by Darina Kopcok.

The success of any shoot relies on the timing and organization of the various elements to your workflow. There are so many things to remember when shooting. In food photography, forgetting one detail can make the difference between a great picture and one that is so-so. Here are my tips on what to consider during every stage of your food shoot and styling food photography.

Choose the right lens
Like with any genre of photography, choosing the right lens for what you’re trying to achieve is essential. In food photography, you can get a lot of mileage out of a couple of key lenses.
One of these is a 100mm/110mm macro lens if you’re shooting with a camera with a full-frame sensor. The macro capabilities will allow you to take the tight shots of ingredients or dishes, but you can also step back to take beautiful “food portraits.” This can make it a really versatile lens.
Another important lens is a 50mm. This will allow you to take overhead shots, and it’s a good lens to have for food portraits as well. Just keep in mind that on a full-frame, a 50mm is actually a wide-angle lens for food photography. You might need to use large backgrounds, and you can also end up getting distortion when shooting at a 3/4 angle — another good reason to have 100mm macro in your kit.
A 35mm lens is best suited to overhead shots and capturing large spreads of food and some lifestyle type of shots.
If you have the budget for it, I recommend a 24-70mm, as it’s an excellent all-around food photography lens.

Check your camera settings and exposure
If you want to shoot food, it’s best to set your camera to take RAW images. JPEG images are processed, which is handy, but they have a very limited color range as opposed to a RAW file. They also degrade in quality each time you retouch them, whereas you can edit RAW images as much as required without losing important information.
Do what you can to obtain the best exposure in-camera. Getting things right in-camera saves you a lot of time. It’s much harder and more time-consuming to try to fix things in post-production, and you still can’t always get as good of a result as you would if you just took the time to get things right in-camera.
When shooting in natural light, put your white balance on Auto and correct it in post-production if you need to. If you’re shooting with flash, be sure to set it to Daylight white balance.
If you’re using artificial light, set your ISO to 100. Your shutter speed should not exceed the sync speed of your camera. If you don’t know that, you’ll have to look it up. It’s generally around 200.
When shooting in natural light, use a tripod and lower your shutter speed to account for lower light conditions rather than cranking up your ISO, which will give your images unwanted noise.

Harness the light
Before you put the “hero” food down on the table, do a lighting test with a stand-in that is a similar shape and size of the dish you are shooting. Food dies very quickly, so you don’t want it sitting around while you’re tinkering with your lights.
Soft light is usually best for food photography, so use a diffuser, scrim, or translucent fabric to diffuse the light. In most cases, directional light (coming from one direction) will look best. Use black cardboard to create shadows, white cardboard or reflectors to kick in light or fill shadows.
The light should come from the side, the back, or somewhere in between to be most flattering to food. Never use front light – it looks great in portraits, but is too flat for food and will cause unwanted shadows on your set.

Choose the right surfaces and backdrops
Styling food photography also includes your surfaces. Your surface is what you place your food on. The backdrop is what goes behind your scene.
Slightly textured backgrounds and surfaces add more dimension and interest. But you can have too much of a good thing; a lot of texture will detract from the food, so tread lightly.
Avoid backgrounds or wood surfaces that are orange in tone, which looks unattractive with food. Most food is warm-toned, so a cool or neutral backdrop will make it pop. A warm backdrop with warm food can end up looking dated.
When choosing custom backdrops, avoid those that are shiny or reflective in any way. Metallic paint, black marble and such will be difficult to work with. A lot of matte varnishes also end up having a bit of glare, so do a patch test first.
Get creative with your surfaces and backdrops. Tablecloths, tissue paper, craft paper, canvas, linen, cheesecloth are all inexpensive DIY backdrops you can use.
Choose the right props and shooting them correctly
There is a reason that “prop stylist” is a whole occupation on its own. Don’t underestimate how powerful the right props can be.
The key is to not over-prop your scene. One or two props are often all you need unless you’re telling a wider food story like a tablescape. Too many props distract from your food.
It’s also vital that you use dishes and flatware that are on the smaller size. Props can often appear to the camera much larger than they really are, and dominate the image.
Go for matte dishes as much as possible. You can manage reflections in glass and cutlery by spraying them with “Dulling Spray” by Krylon.
You can also use a polarizing filter to cut down on reflections, although you’ll lose 1-2 stops in doing so.

Food styling tips
Use garnishes, herbs, seasonings, crumbs etc to create interest and texture on your set. Use them sparingly though, to avoid a messy look.
Keep herbs fresh by storing them between sheets of wet paper towels. You can also put them in a Mason jar filled with water to make them last longer.
When dressings salads, do so at the last minute, and always have extra dressings and sauces ready to brush on your food subjects.
One great tip used by pro food stylists is to use citric acid, a product like “Fruit Fresh,” to keep produce fresh-looking. Simply dissolve it in water and soak fruits and vegetables in the solution for 1/2 an hour. To keep a misted look on produce without having the water droplets evaporate quickly, use glycerine mixed with water and spray it on the items.
A food photographer should always have a food styling kit with items like brushes, cotton swabs, water spritzers, and squeeze bottles to bring to shoots. Other important items for your kit are drinking straws, tweezers, paper towel, and clean cloths.

Be aware of composition
Composition is a big subject and it can have a lot of impact on your food photography. Without it, the eye loses interest in what’s in the frame.
When shooting, check that you don’t have too much empty/passive space; crop tighter or rearrange your composition. On the other hand, you can shoot a bit wider to give yourself more leeway for cropping your compositions in post-production.
Remember that odd numbers of elements create balance and harmony, while even numbers compete with one another and weaken the impact of the image. There are many other principles of composition, like the Golden Mean, as well as leading lines, patterns, repetition, and texture.
Color is also a part of composition, so think carefully about how the colors of your props and backdrops complement your food.
Colors that are opposite the color wheel are called “complementary colors” and are especially pleasing to the eye.
Shooting your image
It’s best to shoot with a tripod and tether to your computer or laptop so you can see a larger and more accurate rendition of your image on the screen.
If you’re working with clients, they will expect you to shoot tethered. You’ll need to be able to show them every image and get their approval before moving on to the next shot to avoid them coming back to you, saying they didn’t like the image.
Shoot at a minimum of f/5.6 if you’re shooting overhead images
As for your aperture in general, f/5.6 or f/8 is a good default for food shots. You can have some nice bokeh with more of the food in focus.
While you’re shooting, don’t forget to take an image with a grey card or Color Checker to properly white balance in post-processing.

Focus and angle
To get the correct focus and angle, think about which would best complement the food and show it to the best advantage.
Overhead shots are the most graphic and work for many types of flat foods, such as pizza. They’re also a great way of getting more elements into the shot because the depth becomes flattened.
Use lower angles or straight-on angles for tall foods, such as burgers and stacks of pancakes. Keep in mind that lower angles create more surface shine
In general, you usually want to focus on the front of the food.

Post-Processing
Everyone has their own personalized workflow, but here are some tips for editing and retouching that you might find helpful.
If you use Lightroom, work on virtual copies of your files and keep the original untouched. Organize your images in Collections and input metadata that will help you find certain images according to keywords and other attributes.
If you’re more of a Photoshop person, save working copies as you retouch to avoid losing your work. Make sure you are using the correct color space for your purposes.
Always back up your RAW files and your work in at least three places, including a cloud backup system.

Your workflow for styling food photography: conclusion
There are a lot of details to remember while shooting and styling food photography. Hopefully, these workflow points can function as a kind of checklist for you of all things to keep in mind so you can take your images to the next level.
Do you have any other tips on styling food photography that you’d like to share? Please do so in the comments!
The post Your Workflow for Styling Food Photography appeared first on Digital Photography School. It was authored by Darina Kopcok.

Digital Photography School
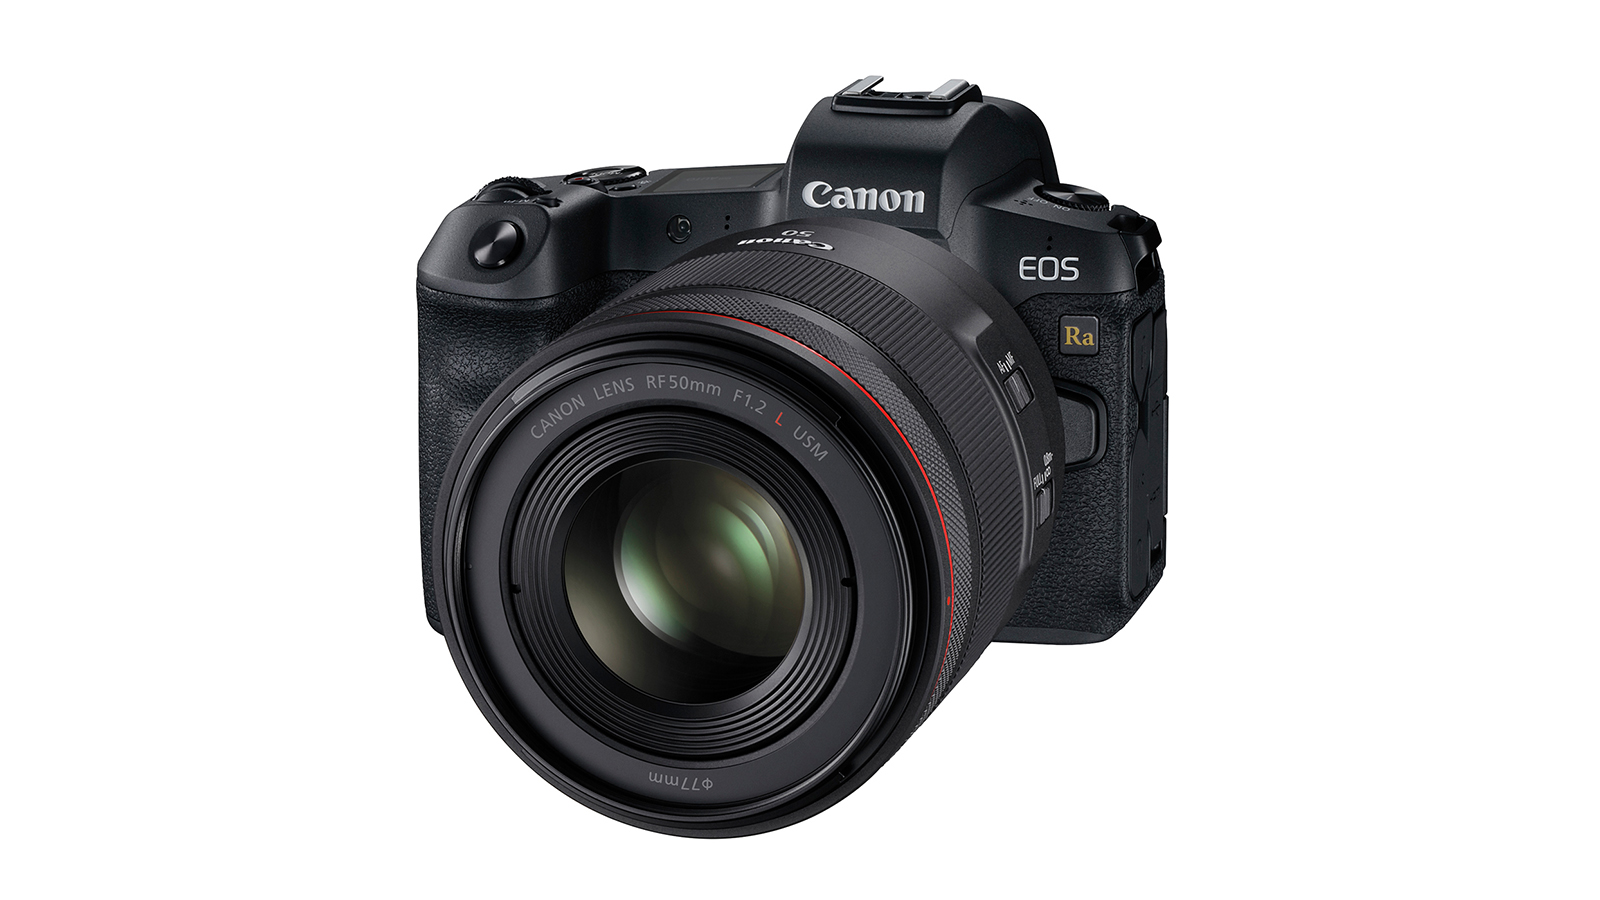


 When Canon debuted the EOS RP, photographers who also shoot video were intensely frustrated by one feature:
