Have you ever looked at those great water droplet or splash images and found yourself scratching your head wondering how did they do that?
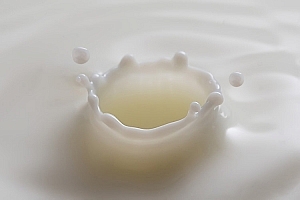
Well, those great images are usually done in studios, with electronically programmable eyedroppers, and motion triggers that fire the camera at an exact split second, allowing the photographer to freeze motion on that exact perfect moment. All that specialized gear makes all this process controllable, but if you own a camera and an external flash, you can also give this type of photography a try.
Water drops are an interesting subject to photograph, as it gives you the opportunity to explore techniques you wouldn’t normally do, and will probably give you some great images to add to your portfolio.
In this article, I will give you some interesting tips on how to get started with water droplet photography, with just some basic equipment.
Gear
Besides your camera and lenses of choice, you will need an off-camera flash, and a wireless trigger or dedicated extension cable.

Even though you can get great images without it, flashes with the high-speed sync (HSS) function will allow you to use shutter speeds above 1/250th, and freeze the motion much better.

A shutter cable release is also a good accessory to use, as it will allows you to fire your camera without touching it.

Finally you will need an eyedropper, or a wet sponge, with a system to hold it in place above a container with water. Usually I prefer to use a sponge, as it can produce bigger drop. I use a nano clamp and a gooseneck, attached to a tripod, to hold things in place.
Here is the complete setup:

Safety
Electronics and water don’t get along very well, so will need to be extra careful when doing this type of photography. Safety first, so a good piece of advice, is to protect your equipment with cellophane wrap, so any accidental water spillage won’t damage it.

Lighting
The first step is to keep in mind, that water is a specular surface, so you should not light the water but rather what the water reflects. Here I’m using white cardboard to bounce the light that reflects on the water surface.
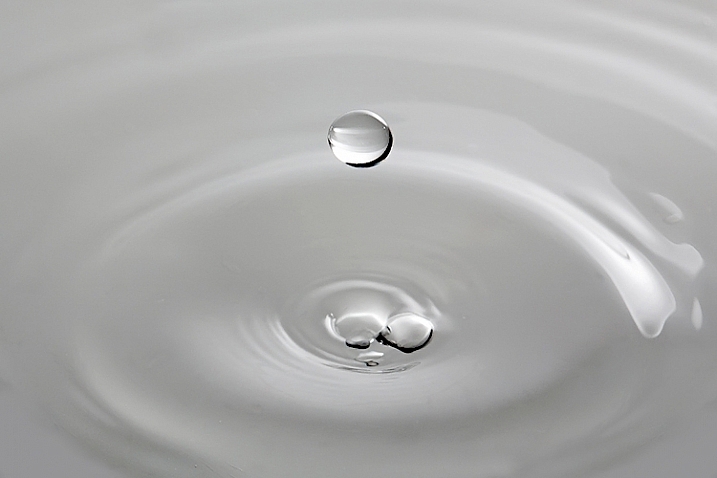
Exposure: ISO 2000, 1/8000, f/11
The f/11 aperture allows me to have some depth of field, and the 1/8000 shutter speed, together with the flash at full power on HSS mode, allows me to freeze the action.
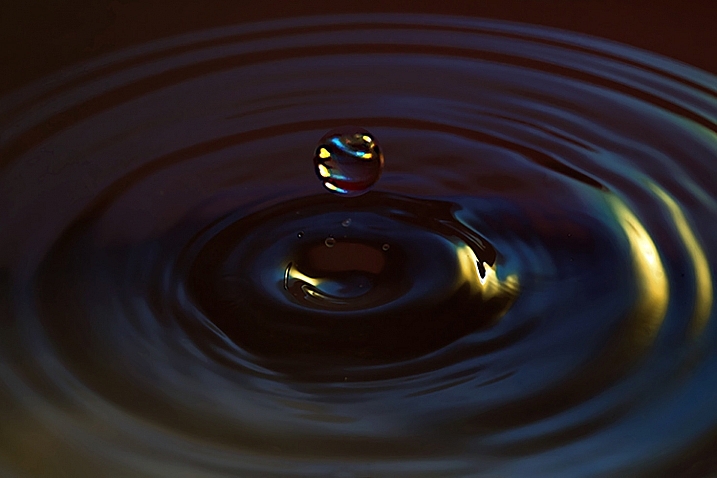
You can get a lot of different effects with slower shutter speeds and different apertures. This is a plain simple image, but you can get creative in a lot of ways here. One thing I use a lot is colored gels in front of the flash, to create some dynamics in the image.

Here I am mixing yellow and blue gels to create this colorful image.
Timing
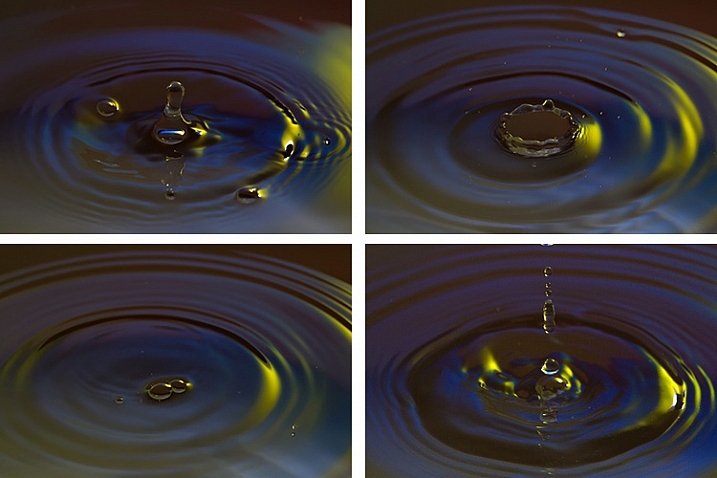
The perfect timing to press the shutter release is something really hard to accomplish, as it’s humanly impossible to be that accurate. But, with some practice, and a little bit of luck, you will end up some great shots. To be honest, the random nature of the results is something that I really enjoy.
Here is a sequence of images that didn’t work as good as the last one.
Once you get the hang of it, you can experiment with food colorants and different liquids. Milk is a good choice, as it gives you drops with more consistency, and therefore best splashes.
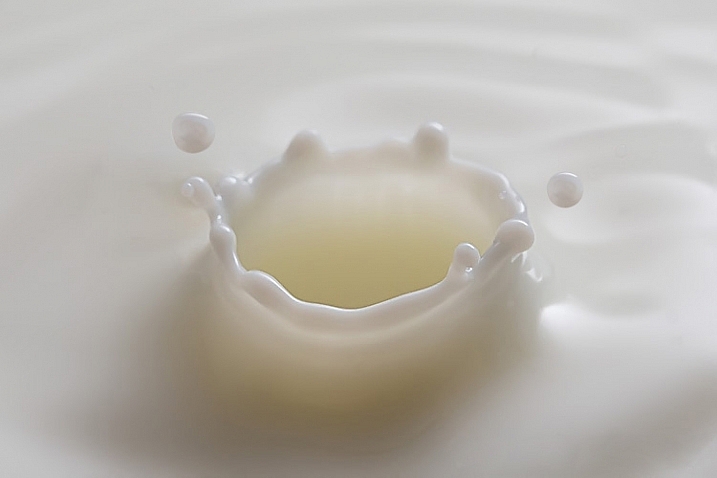
You are only limited by your imagination here. With some basic Photoshop skills, you can take your images to the next level with some photo composites, like this image I created for a strawberry yogurt advertisement campaign.
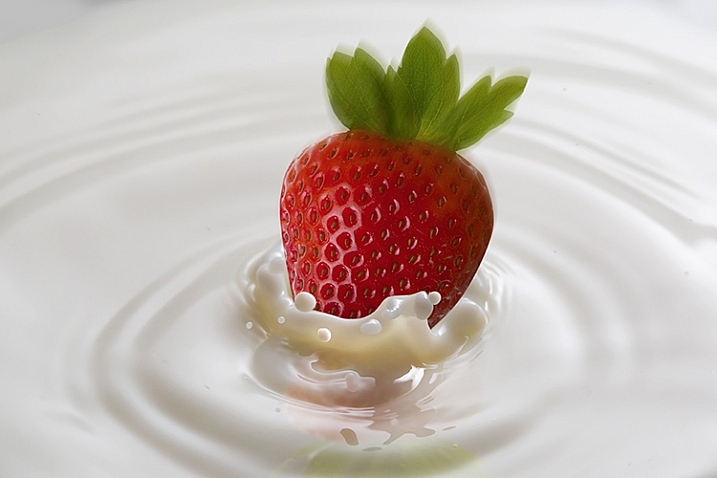
So, there are some basic techniques to produce great water droplet images, without specialized equipment or motion triggers. Give it a try, I’m sure you’ll get great results!
This week on dPS we are featuring articles on special effects. Check out the others that have already been published here:
- How to Photograph the Full Band of the Milky Way
- Fire Spinning with Steel Wool – A Special Effects Tutorial
- Special Effect – How to Create Multiple Flash Exposures in a Single Frame
- Stacking Light Trails for Night Photography Special Effects
- 26 Unique Special Effects Photos to Spark Your Creativity
- Weekly Photography Challenge – Special Effects
- Tips for Shooting Through Objects to Create a Special Effect
- How to Add Vintage Frame Overlays Using Alien Skin Exposure X
- 8 Steps to Great Long Exposure Landscape Photography
- How to Create In-Camera Double Exposures
The post Beginner’s Guide to Water Droplet Photography by Ivo Guimaraes appeared first on Digital Photography School.