With very rare exceptions, the main subject of your photograph must be sharp—not necessarily the whole picture, but certainly the subject. Even if you want the subject blurred, to give a sense of movement, then the background must be sharp. And you’ll get the sharpest photographs by using a tripod.

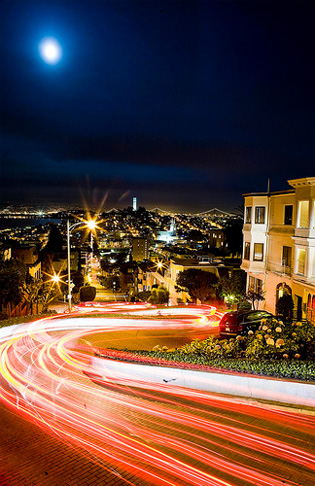
“Approximate” captured by PictureSocial member Thomas Hawk
There are three ways your photo can be blurry: either the focus is wrong, the camera moved, or the subject moved. Here’s how to tell the difference:
- If something in front or behind the subject is nice and sharp, then the problem is poor focus. For example, your baby is blurred, but the carpet underneath is sharp.
- If the background is sharp, but the subject is blurred, then the subject moved. Sometimes you can do this on purpose to give a sense of movement, but that’s outside the scope of this article.
- If everything is blurry, then it’s camera shake. Serious camera shake leaves everything streaked in the direction you moved the camera, usually vertically.
This article deals with how to avoid camera shake.
Most of the time, you can simply hold the camera in your hand. Obviously, this is much quicker, and gives you time to grab a shot of that yeti before it disappears.
The great disadvantage of tripods is that they slow you down. Perhaps the clouds move while you’re setting it up, or the sun sets, or people waiting for you have time to get bored.
The great advantage of tripods is that they slow you down. You have time to see the Coke can in the foreground, and move it, before you take the shot.
So when should you use a tripod?
- The longer the focal length of the lens, and the longer the exposure, the more time the camera has to wobble. You will need a tripod if the shutter speed is longer than the reciprocal of the focal length (e.g., 1/50 for a 50mm lens, or 1/500 for a 500mm lens).

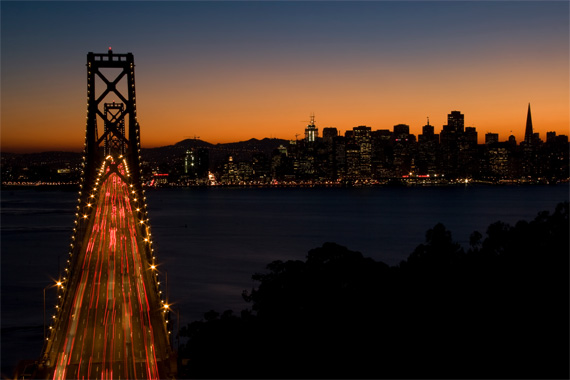
“Bay Bridge-San Francisco, CA” captured by PictureSocial member Don Campbell
- The bigger the enlargement, the more obvious any camera shake becomes. If you’re hoping to make a 24″ x 16″ enlargement, you need a tripod.
- If you’re hoping to sell your photos for stock photography, you need a tripod.
- Macro subjects—anything over 1/4 life size—always need a tripod because you’re so close to your subject.
- Negatives bigger than 35mm are wasted unless you use a tripod. Besides, plate cameras are too heavy to comfortably hold by hand.
Choosing a tripod
Different tripods suit different situations.
- Flimsy tripods are a waste of money. It’s not a bargain if you never use it.
- Heavy tripods are fine in a studio, but not for hiking up a mountain.
- Some tripods have a hook and the bottom of the center column so you can hang a weight there for greater stability. This is great for taking landscape photos in a gale, but you rarely get gales in a studio.
- Some tripods open up considerably taller than others. Check the height with and without the center column raised. (And check the stability of the center column, too.)
- Some are easier to adjust than others.
- And of course prices vary widely. But bear in mind that a tripod might well last you 25 years.
Alternatives to Tripods
• Monopods (Also called a unipod). These are easier to carry around, and faster to point, but less effective. They’re popular with sports photographers, who tend to use long lenses but obviously can’t spend five minutes setting up each shot.
• Table tripods. These are small (about 6″ high) and therefore extremely portable. They’re not much use for landscapes unless you can find something to stand them on, like a rock or wall. (I once used the speakers at a rock concert. Don’t. Speakers vibrate!)

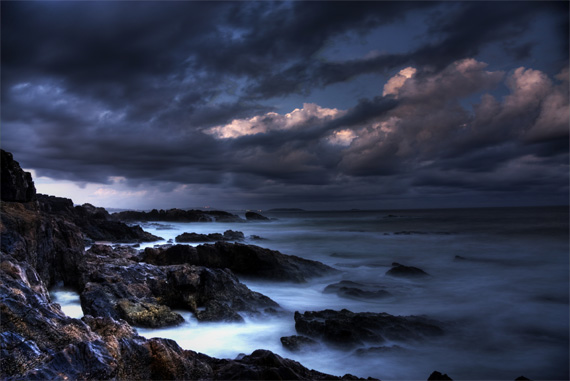
“sawtell long shutter” captured by PictureSocial member dan2452
• Clamps. These are also small and portable, but you need to find something to clamp them to. I have a combined table tripod and clamp, and over the years it’s proved very useful.
• Beanbags. You can buy photographic beanbags, or make your own from anything that isn’t so full that it’s rigid. For example, you can use an old sock half-filled with rice. You can also take an empty sock on a hike and fill it with sand or gravel before use. That way you don’t have to carry the filling around. I use a bag of peanuts. One of these days I’ll be stranded on the side of a mountain in the mist, and I’ll be very glad of those peanuts. (Kendal Mint Cake doesn’t make a good lens support.) The big disadvantage is that you need something to put the bean bag on. Sometimes there’s a nice convenient wall, just the right place and height—just not very often. Sometimes you can park your car and use the roof…sometimes. Failing that, there might be a lamppost that you can push the camera against.
• The car window. If you haven’t got the right kit, or you haven’t got time, wind the car window down to the height you require and rest the lens on that. It’s not nearly as good as a tripod or beanbag, but it’s better than holding the camera by hand. Just remember to turn the car engine off and ask any passengers to sit still.
If you do not have a tripod
This is definitely second best, but it’s inevitable that you’ll get caught without a tripod at least occasionally.
- Use as fast a shutter speed.
- If possible, get into position to use yourself as a tripod, for example, with your back and feet against rocks and your elbows on your thighs. Warning: bystanders may snigger. If this isn’t possible, plant your legs a little apart, like a sailor, and tuck your elbows into your ribs.
- Hold the camera to your eye and compose the picture.
- Take a deep breath and then breathe out.
- Squeeze the camera top and bottom to release the shutter. If you just press from the top, the camera will move down a millimeter or so.
These tips should enable you to take consistently sharper photos.
About the Author:
This article was written by Sheila Crosby from greatlandscapephotographs dot com.
Go to full article: Camera Tripod Tips: When Do You Need One?
What are your thoughts on this article? Join the discussion on Facebook
Article from: PictureCorrect
The post Camera Tripod Tips: When Do You Need One? appeared first on PictureCorrect.