What are your most memorable moments as a photographer? As a travel photographer, my short list of stand-out moments include wandering alone in Namibia’s dead tree forest, photographing sunbeams from the top of a cliff in China, and capturing the Aurora Borealis on the coast of Iceland.
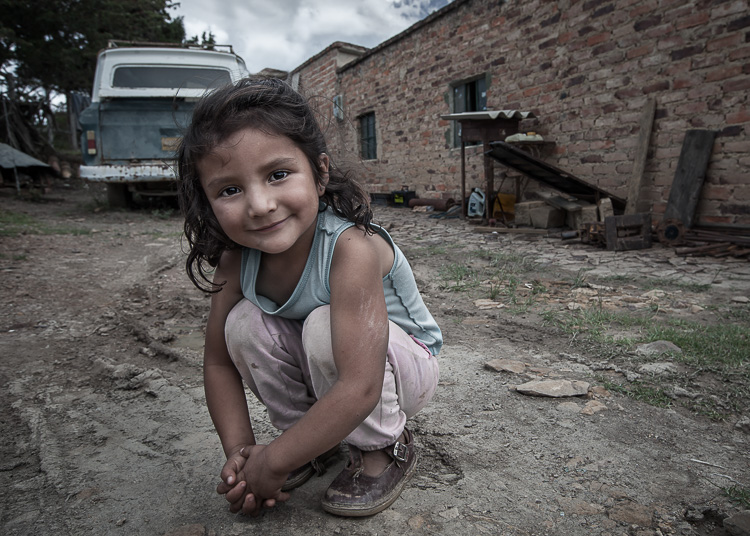
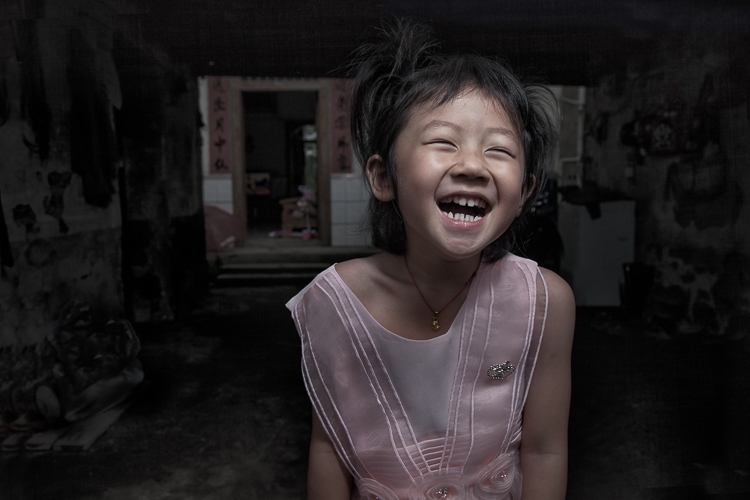
However, a year ago all of those amazing locations and moments were trumped by spending 30 minutes photographing a little girl outside her home near Villa de Leyva, Colombia (pictured above). This was the first time the girl had her portrait taken, let alone by a foreigner. With all the confidence of an experienced model, she literally stole the show that day. I believe the session is an important memory for her and instantly became my top moment photographing to date.
Ironically, two years ago I would not have even bothered taking this picture. I was focused on landscape and outdoor travel scenes. Also, if I’m honest with myself, I was somewhat intimidated by using artificial lighting and working with people as subjects. In April of 2014, I gave environmental portraiture a shot and have never looked back. It is now an important focus of my work.
This article will provide some guidance on how you can create images like the ones you see here, using a wide-angle lens and just one off-camera flash. But first, let me let you in on a little secret – it’s not that difficult.
Getting things right in camera is the important first step, which is the focus of this article. Processing your images is equally important, but I’ll cover that in a future article. So, let me start by providing you with the core techniques, then get into equipment and settings.
Use a (Relatively) Wide-Angle Lens
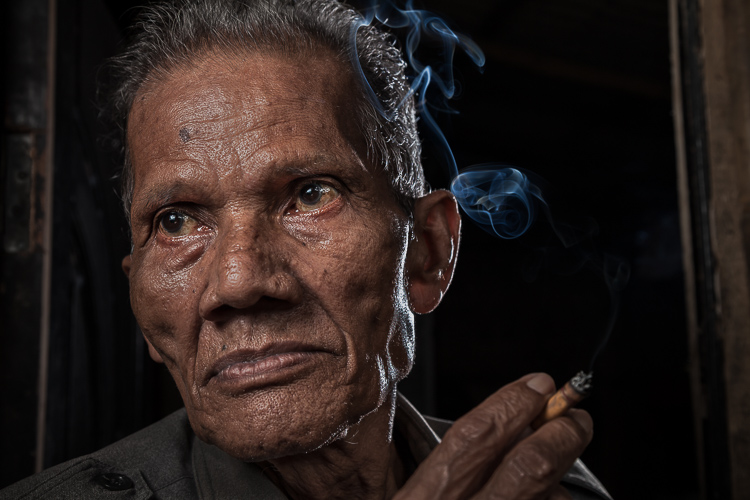
Lens choice is critically important in portraiture. Most portrait photographers reach for their 85mm or 105mm lens when heading out on a shoot. These focal lengths give a nice, realistic look to the subjects. However, I find myself drawn to portraits that have a surreal look to them, and include extra context that helps tell a story. Also, wide-angle lenses require you to shoot close to your subject, which also brings your viewer into the scene.
So, the first step is to leave your 85mm or 105mm in the bag, and grab a wide-angle lens. Most of the portraits you see here were created at 24mm using a full frame camera (use a 16mm for the same view if your camera has a cropped sensor). For me, this focal length is the perfect blend of reality and distortion. If you shoot much wider, elements closer to the lens, such as arms and hands, look too big or elongated. Also, wider focal lengths mean a much bigger background, which is usually not desirable.
Choose a Compelling Subject
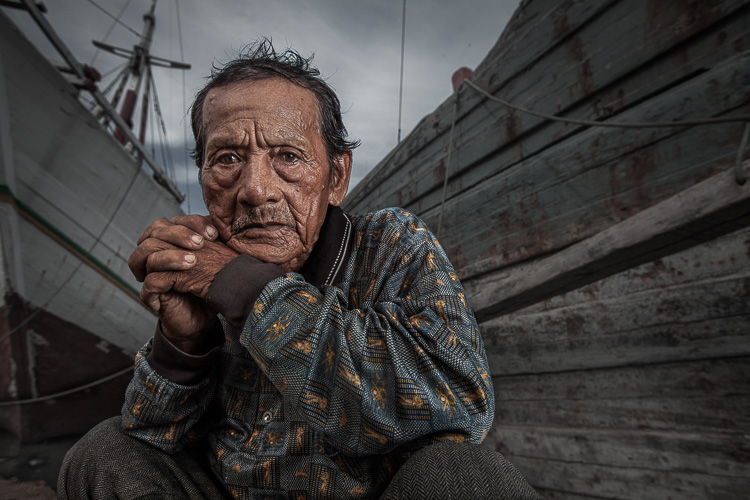
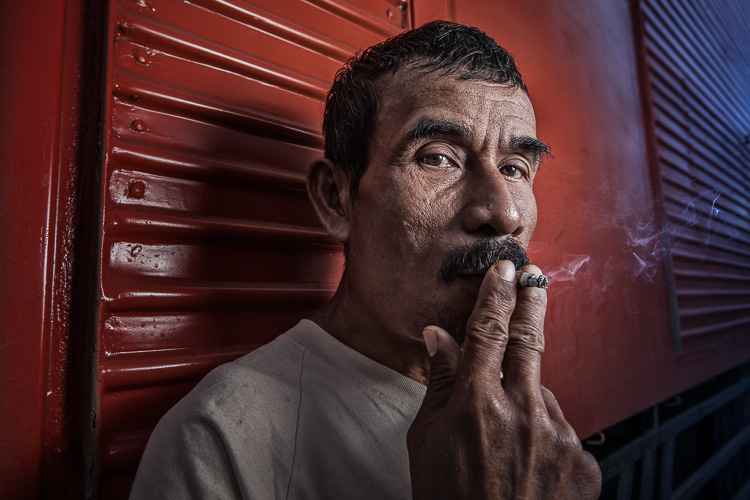
Your subject is paramount. The Indonesian dockworker above is amazing. I spent 20 minutes photographing this guy and really had a difficult time choosing the best image. On the other hand, you could spend all day photographing me on the same dock, in front of the same ships, and have nothing but tossers at the end of the day.
I look for people that have experienced life. The ideal subject has a particular interesting quality about him or her, that makes them stand out from the rest. However, my subjects also have an everyday person quality about them. Finding subjects can be challenging, especially if you live in the suburbs of Chicago, like I do. I am a travel photographer and usually find my subjects in rural areas overseas. However, there are great subjects everywhere.
Clothing is critically important. If your 90-year old rural villager is wearing a hat that says, “I Love New York”, then you will want to politely ask him to take it off, or at least turn it around for the picture. The point is, don’t let out-of-context clothing ruin or weaken your shot.
Choose a Complementary Background
Your image is only as strong as the weakest part of it, which is often the background. This is because, as photographer Jim Zuckerman puts it, “The world is a compositional mess”. There are two important qualities you want out of your background:
First, at the very least, your background must be non-distracting. Although you can easily isolate your subject with a longer focal length, the background becomes a major consideration with wide-angle portraits. Beginner, and even intermediate photographers, can overlook even some obvious distractions in the background. You have probably seen them before: trees that look like they are growing out of the subject’s head, patchy spots of bright light in the scene, colorful objects, straight lines and geometric shapes. You essentially don’t want anything that competes with your subject for attention.
The image of the Indonesian dockworker below is non-distracting, but not much more. He is essentially standing in front of a shipping container, so this image won’t win any awards for its background. Nevertheless, it is still a good picture because of the strength of the subject.
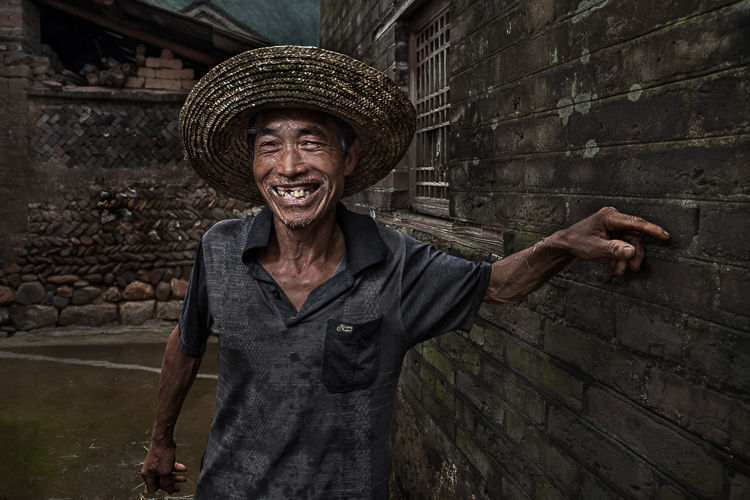
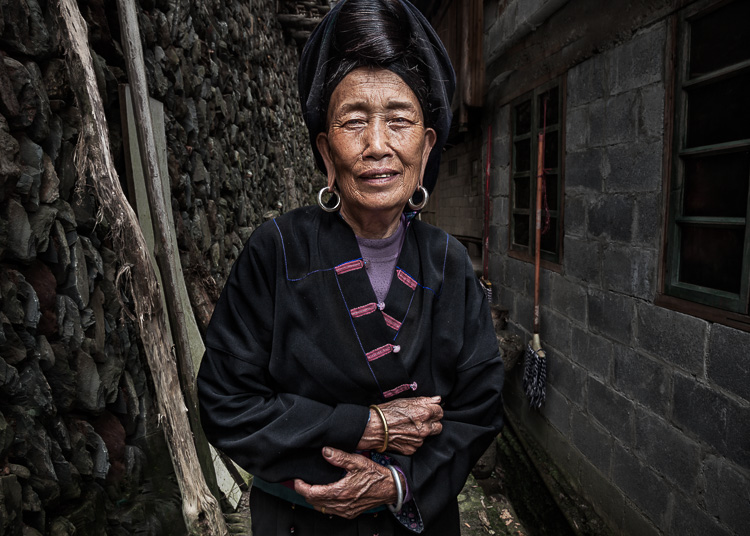
Second, whenever possible, include a background that complements your subject by providing a context. I’ve shot many images with simple non-distracting backgrounds. But, my favorite pictures are those with a background that tells a story about the subject. This is why I love shooting in places like rural China and Indonesia. These countries have many ancient villages that provide opportunities for amazing backgrounds, such as in the image below.
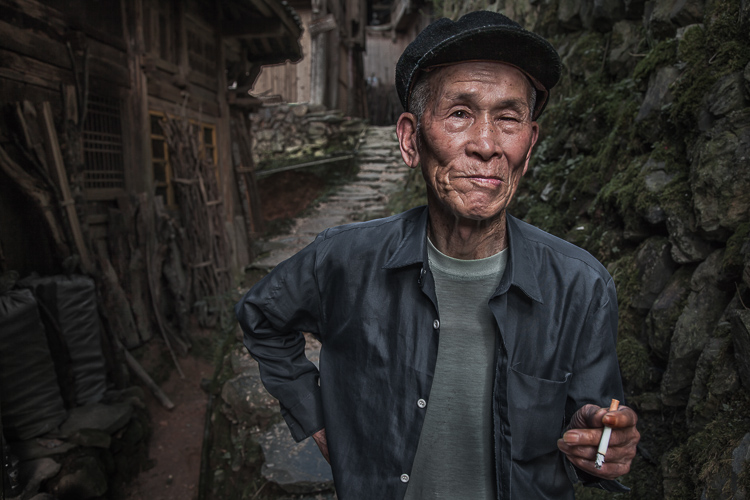
I like to keep all evidence of modernity out of the background. I don’t like plastic stuff in my pictures. I don’t include modern looking buildings or cars. Instead, I prefer rural areas with weather-beaten buildings. Of course, this all depends on what you are after. The important thing is that the background complements the subject and does not distract from it.
Shoot in the Right Lighting Conditions
Because the majority of the background is not lit by the flash, many of the same outdoor photography lighting principles hold true, even if a flash is being used. Try shooting either early or late in the day (when the sun is low in the sky) or in overcast conditions. I actually prefer overcast conditions, but still shoot relatively early or late in the day.
Put Your Subjects at Ease
I don’t hire models, so some subjects work well and others not as well. What you want to avoid is a picture of your subject standing flat-footed, straight up and down, and holding a fake smile.
To help avoid this, it is a good idea to start your session by gaining their interest and confidence. If you have some images you’ve shot and processed, show them to give him or her an idea of what you are looking for, and hopefully peak their interest. This should communicate immediately that you are not looking for them to just stand there and smile. It should also show that the posing expectations will be basic.
Posing and Composition
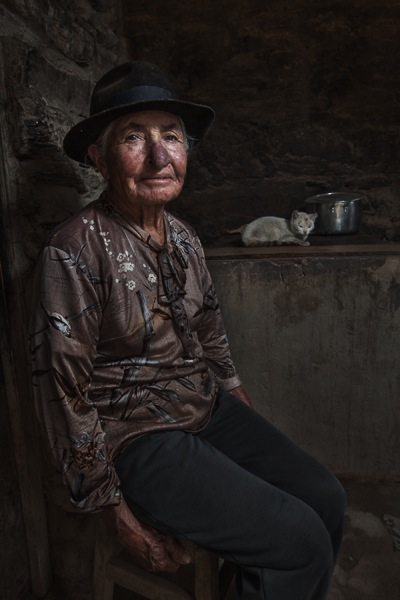
Because I am shooting wide, I get quite close to my subjects and warn them ahead of time about this. For me, the eyes are a critically important part of the picture and must be very sharp. I focus on the closest eye, and re-focus frequently as I move around the subject slightly.
I generally ask him or her to look directly at the camera and not to smile, although not always. I then start moving slightly left or right, asking them to keep their head still and just follow the camera with their eyes. I usually shoot from slightly below eye level. I have them stand or sit at an angle to the camera. If the subject is standing, I have them put their weight on the back foot.
I like to include the subject’s hands in the composition. With a wide-angle lens, their hands in the foreground will look large, so try to strike a balance with the hands being prominent, but not too large. You can do this by simply positioning the hands closer to or farther away from the lens relative to their body.
Equipment and Settings
The Camera
Your camera should be equipped with an internal or external flash trigger to control your off-camera flash. Here is how I set things up:
- Start by leaving your flash or trigger initially turned off.
- Set your camera to manual mode.
- If the session is outdoors, I try for settings of ISO 100, f/7.1 and a shutter speed of around 1/160. You can adjust your f-stop and shutter speed to your preference, but keep in mind that you cannot go faster than your camera’s maximum flash sync speed.
- Make the necessary adjustments to slightly underexpose the background by 1/3 to 2/3 stop. I usually start by adjusting shutter speed, but go no slower than 1/60 and no faster than 1/160. If necessary, I will then adjust my f-stop to f/5.6 at the widest. Then, and only then, will I start bumping up the ISO.
- If you are indoors, you need to start with a higher ISO as a first step, and then make your adjustments to shutter speed and f-stop in the same manner.
Lighting
For 90% of my portraits, I use a single off-camera flash, diffused with an umbrella or softbox. The most important rule with flash is “don’t ruin your shot,” which is usually done by putting too much flash on your subject. Instead, you want to get a decent balance of natural and artificial light, so that the flash is undetectable to the untrained eye, but lights your subject brighter than the underexposed background.
Now, turn your flash and trigger on:
- Set your off-camera flash to manual mode.
- I typically position the flash at a 45-degree angle to the subject, about 2-3 feet (slightly less than a meter) away, higher than their head, angled downward.
- I usually start with 1/16 flash power when outdoors, and adjust from there until the subject stands out from the background, but does not look like they have been blasted with flash.
Post-Processing
You need to get things right in camera first. But, you will need to use a variety of post-processing techniques to get the effect you see in these images. I’ll coverthe techniques I use to process environmental portraits in a future article.
Thank you for reading, please share your wide-angle portraits and questions in the comments below.
The post How to Create Compelling Wide-Angle Portraits Using One Off-Camera Flash by Ken Koskela appeared first on Digital Photography School.