Film noir is stark and often menacing look adopted in 1940s and 1950s Hollywood movies. In this video, Gavin Hoey from Adorama explains how you can set up a film noir look with speedlights and some easy-to-find props:
Film Noir Lighting Setup
First, Hoey sets up a speedlight behind Venetian blinds and aims it to light up the background. The Venetian blinds create that interesting streak of light that gives the scene some added punch.
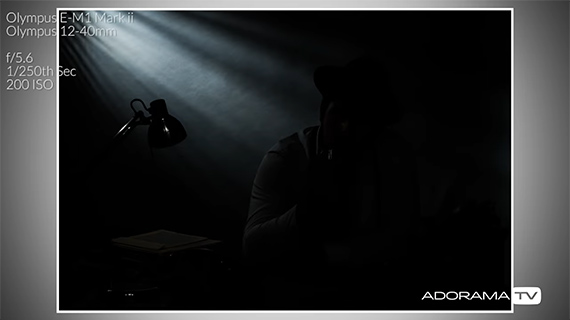
He positions the second light behind the model, a little higher so that it’s not in the shot itself. It will fire straight down to illuminate the subject’s head and shoulders, creating the silhouette that you see in the image below.
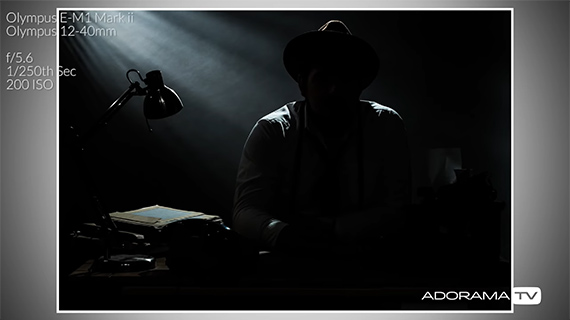
The third light illuminates the model. Hoey zooms in this light to prevent spillage and is at its lowest possible power setting. Additionally, it is placed fairly close to the subject (for the same reason). This is the effect with the three lights in place:
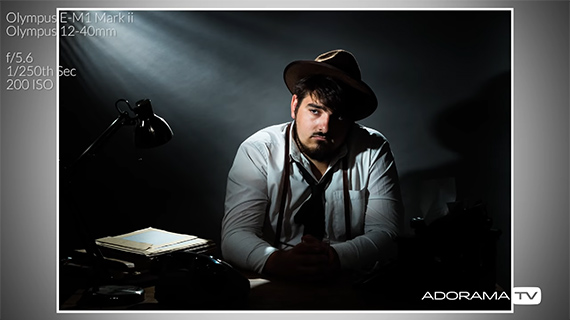
The positioning of the model’s shadow is quite distracting, and the light is too widely spread, which is not right for the typical film noir look. So, Hoey does a quick re-positioning of the light and places a snoot on the key light.
The fourth and final speedlight mimics the lamp on the desk.
When all four lights fire in unison, this is the image that is achieved:
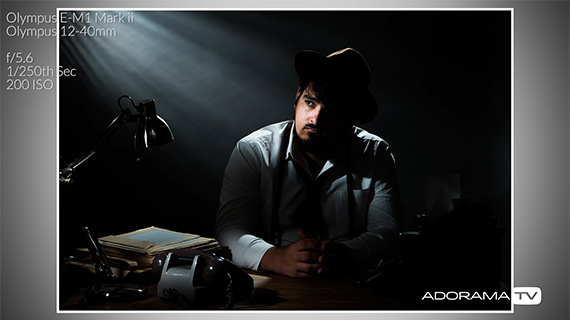
Hoey fine-tunes the film noir look in post-processing to get this final image:
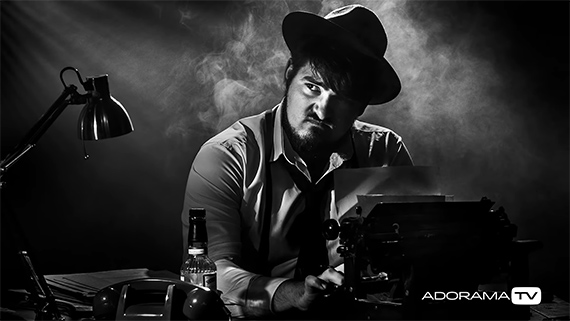
Have you tried a similar shot? How did you light your scene?
Go to full article: How to Create Film Noir Portraits with Speedlights
What are your thoughts on this article? Join the discussion on Facebook
PictureCorrect subscribers can also learn more today with our #1 bestseller: The Photography Tutorial eBook
The post How to Create Film Noir Portraits with Speedlights appeared first on PictureCorrect.