It’s wintertime, and everyone’s dreaming of a white Christmas—but not everyone gets it. Thankfully, even if there’s no snow on the ground, there are still ways to replicate snow in your photographs. Here’s how:
In this detailed video, Chelsea Northrup shows two ways of creating snowflakes using Adobe Photoshop. One is even and measured, better for background flakes, while the other is sporadic and more suited to inhabiting the foreground.
Method #1: Background Flurries
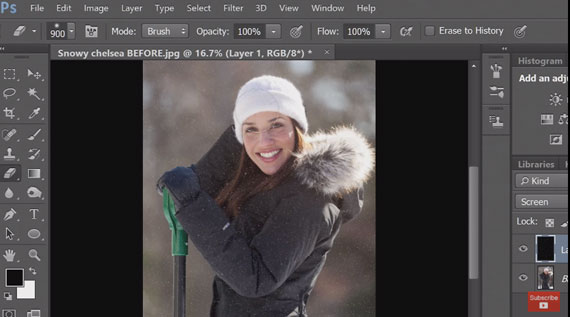
- Create a new layer, and select Fill – Black.
- Head to the Filter menu and add noise. The size of the noise should depend on your preference—smaller grains for the background, larger for the foreground.
- Head to Filter again and explore the Filter Gallery. Chalk & Charcoal or Dry Brush are good options for creating variously sized flecks of snow.
- Change the layer style to “Screen” so it overlaps your background image. There should be white flecks in front of your image, and you can adjust their size by using the free transform tool.

Use the Free Transform tool to change flake size.
- Head back to Filter and add two blurs, in order: Gaussian Blur, with whichever pixel radius looks best to you (likely between 3 and 4), and Motion Blur. Be sure to direct the motion blur in a realistic direction.
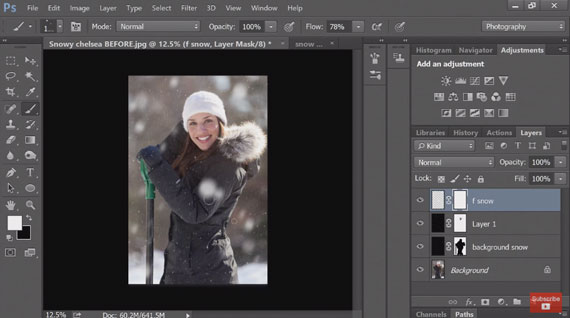
- Add a layer mask and paint over the areas you don’t want flecks of snow to cover—eyes, mouths, things like that. Try not to make it too perfect, or it will look unrealistic.
That’s it. Northrup does the whole thing over again to create a slightly different layer for the foreground, but you only need to get as involved as you feel like.
Method #2: Foreground Chunks
The second method creates a totally different look, and is better suited to creating a few hazier flakes closer to the lens of the camera.
- Create a new paint brush made of two variously sized dots. Save this brush as “Snow.”
- In the brush’s settings, adjust the size and ramp up the roundness jitter to make them imperfect.
- Click on the Scattering adjustment and opacity jitter and pump those up, too, to make sure your flakes aren’t perfectly aligned or the same density.
- After your brush has been thoroughly randomized, you can apply it to your image. Limit yourself to a few spots only so as not to overpower the rest of the image.

Foreground Snowflakes
- Add Gaussian and Motion blurs again using the Filter – Blur menu option.
- Add another layer mask to erase any unwanted flakes that cover up parts of your subject’s face or body. Again, the trick is to find the balance between unnatural perfection and realistic randomness.

Use a layer mask to remove unwanted snowflakes.
If you want, as a final touch, you can adjust the color balance of the background image by upping the blue, cyan and magenta tones to create a cooler, more wintry feel. Northrup also adds a light gradient to enhance the sunlight from the top right corner, but that’s more for ambience.

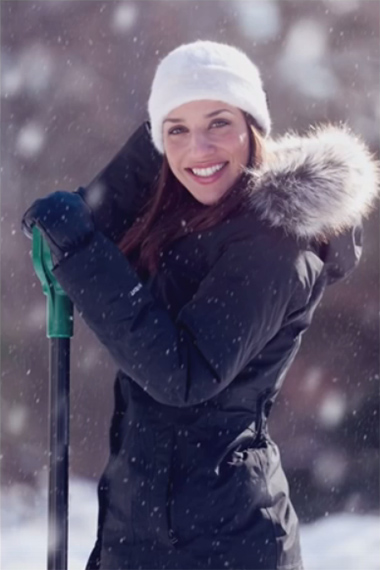
Final Image
With all that done, you’re ready to show off your holiday-season perfection.
Further training: 32 Photoshop Tutorials for Photographers
Go to full article: How to Create Snow in Photoshop
What are your thoughts on this article? Join the discussion on Facebook or Google+
Article from: PictureCorrect