My name is Mike Kelley. I’ve been lucky enough to travel the world and see incredible architecture while working for hotels, architects, designers, and developers.
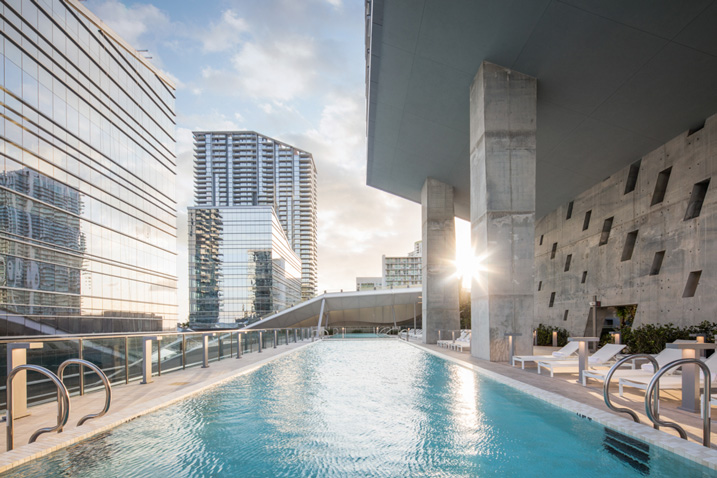
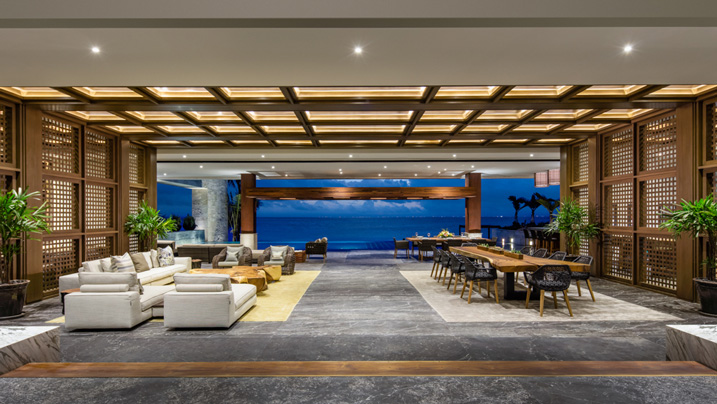
In this article, I’d like to share with you one of my favorite techniques for photographing architecture. If you’ve ever tried to photograph a building at twilight, you know how tough it can be to properly expose all parts of the scene. You know how some areas tend to fall into darkness.
When this happens, many photographers will just try to recover the shadows with a brighter exposure or some dodging and burning. Unfortunately, that can lead to muddy results which often display a lack of texture and color.
Although this article touches on my basic processes, a full tutorial on my workflow is $ 100 off right now over at Snapndeals – Mike Kelley’s Where Art Meets Architecture Course
Light painting for architecture photography
One technique that I’ve adapted to use with modern photographic tools is light painting. Back in the old days, depending on how old you are, there were many photographers who painted with light. They would literally stop down the aperture, wear an all-black outfit, and wave a light around for a 30-60 second exposure to fill in shadows and give the image some nice snap.
Luckily, things are a bit easier these days (to me, at least). You can use a single Speedlight and see the results instantly. All without burning through expensive sheets of 4×5 film, or having to dress like Steve Jobs to keep yourself from showing up in the exposure.
I personally use either a Lowel GL1, Yonguo Speedlight or Profoto B1 light to pull it off, depending on how much power I’ll need. The aim here is to add light in spots that appear to have natural light falling on them – either from landscape lighting or interior lighting. Adding flash or hot light will dramatically clean up the quality of light, by giving it direction and fall off. Whereas the ambient light may create a muddier appearance due to having no directionality, incoherent color casts, or being mixed with the falling light of the day.
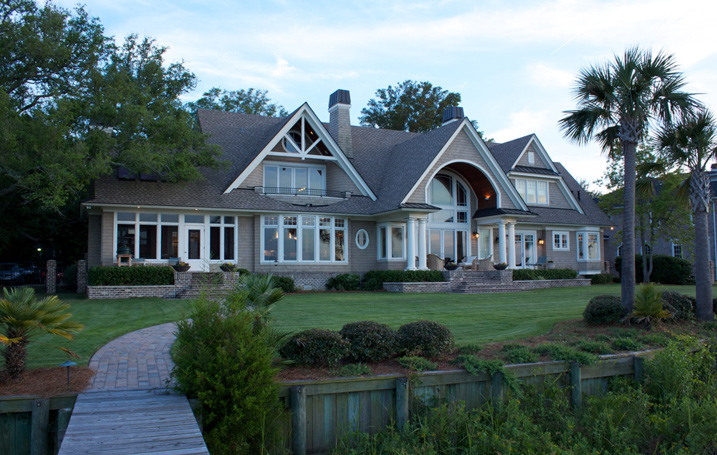
So you’re all set up for your twilight. You’re waiting for that perfect balance between falling ambient exterior light and interior glow. Before, during, and after twilight, you should have the camera set in one place on a tripod and every couple of minutes, shoot a bracketed set of images at 0 EV, -2, and +2, or something similar, whatever your preference may be.
Shooting at twilight
When the time for the perfect twilight has arrived, and the falling ambient exterior light and interior glow from the practical lights are perfectly balanced, it’s time to add your hot light or flash. Moving quickly (it helps to have a plan ahead of time for what you’ll flash) add light to areas that you think have fallen into too much shadow or places that could use a little texture and color.
I also recommend adding a CTO gel to your lights to warm them up so that they match the interior glow of the house or any exterior lighting that may be present. This process should take no more than five minutes and should be shot tethered, whether to a computer or a wireless solution like a CamRanger, so you can see what you’re doing immediately and adjust accordingly.
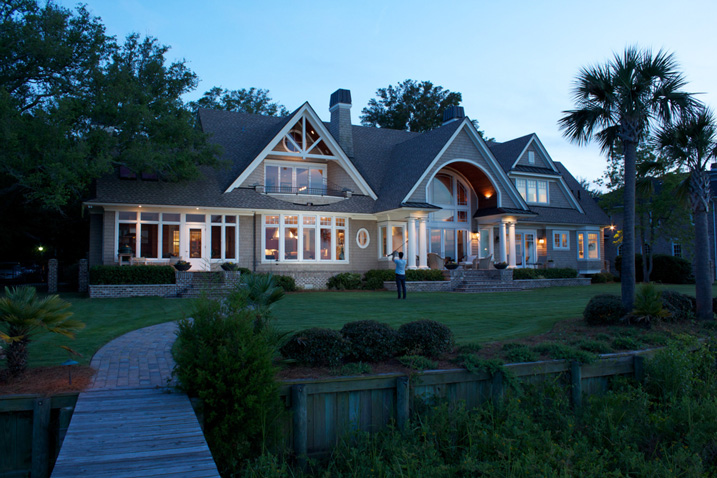
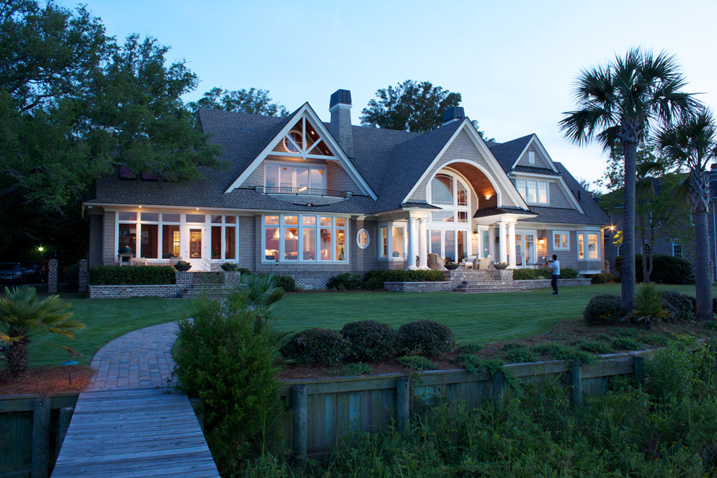
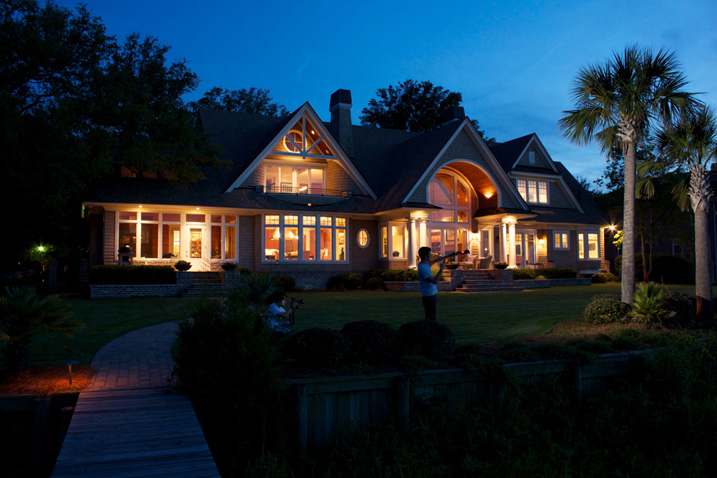
After you’ve gone around and added light, continue to bracket exposures to cover your bases. Sometimes I’ll use an exposure from when it’s completely dark outside and the only light in my scene is from the interior glow to remove any distracting reflections or color casts that popped up.
Processing the images
When in post-production, try to keep it simple. I used to think it was a source of pride to edit these photos and have to use 50, 70, or even more layers. But the fewer layers there are in Photoshop, the less of a chance there is for something to go awry. Depending on the subject, 10-15 flash pops should be more than enough to get this amazing effect on your images. You may want to add or remove some color using curves, and it would also be wise to make sure that everything blends together seamlessly by setting the blend mode of your flash pop layers to Lighten.
Replace the sky if necessary
Lastly, in many of my images I end up replacing the sky. Don’t underestimate what an amazing impact a new sky can have on your image – but only when it’s done perfectly! If there’s anything that takes people out of an image and ruins the moment, it’s a poorly composited sky that doesn’t match the color and brightness of the rest of the image So choose your sky carefully. I personally like to vary the opacity of my sky layer to taste so that things all blend seamlessly.
No architectural photo would be complete without nice, straight verticals lines, so use CMD/CNTL + alt + shift + E to stamp all to a new layer. Then drag out some ruler lines and make sure there’s no distortion – we don’t need people thinking our clients can’t build straight homes.
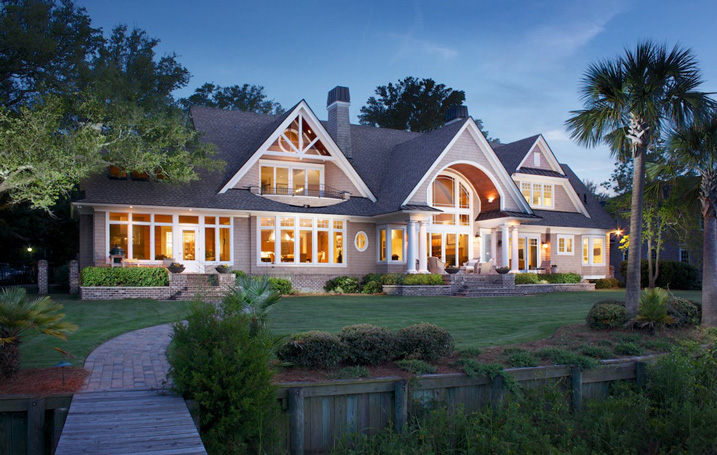
Here is the final image
You can watch a video of this entire process below and see me in action:
Summary
I hope you enjoyed this quick tour through one of my favorite techniques. The more you use it, the more flexible you will become with adding light and mood to make your photos really stand out.
If you would like to go more in depth with this technique and learn how to build your own business in real estate and architectural photography, Kelly’s full-length tutorial is currently 33% off over at Snapndeals – grab it before the sale ends September 27th, 2016.
The post How to Create Stunning Architecture Photography by Painting with Light by Mike Kelley appeared first on Digital Photography School.