Have you ever watched a television system receiving a corrupted signal – misplaced squares, static, jagged frames, freezing, misplaced or inverted colors – and thought “hey, that actually looks pretty neat?” Being eager to get your favorite show going again, the answer might well be no. Yet, these corruptions or glitches can be exploited to add a unique dimension to your photography.
What is glitch art?
Glitch art is a fairly recent phenomenon that has developed from the fast-paced evolution of digital technology. Technically, a glitch is the temporary and slight malfunctioning of a system. Due to the limitations of current technology, time, funding, and human error, glitches run the whole gamut of the digital landscape and can be difficult to pinpoint due to their transient nature. From software and games to sound files, automated systems and phones, there is an endless number of glitches that we encounter, often unknowingly, during day to day life.
Glitch art is an art form that harnesses the visual effects of data corruption. By applying certain encoding or actions to an image, a photograph can become visually corrupted while retaining a usable file. Glitch art is generally an experimental process, with glitch artists walking the fine line between a usable file and a completely broken one.
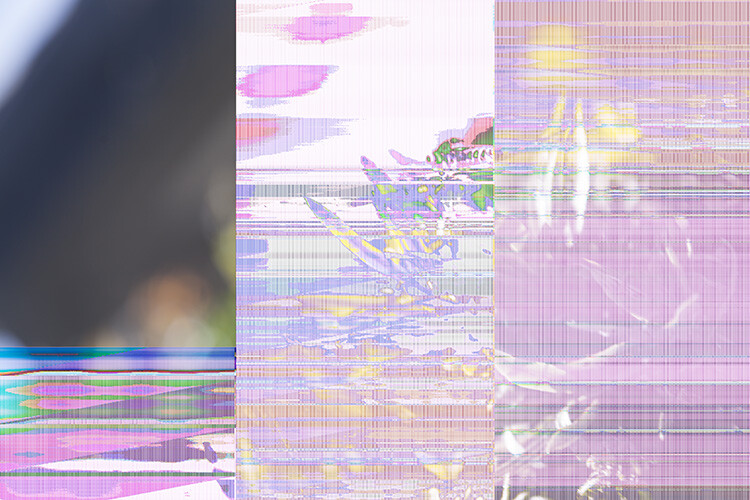
Even the dreaded CF card malfunction can produce intriguing results
Controlled glitching
In analogue photography, glitches came in the form of negative scratches, light leaks, dust, finger prints, and chemical residue. Some problems were solved with a trip back to the enlarger or a re-inspection of chemicals. Other incidences, like exposed negatives and light leaks could be an unmitigated disaster. Nowadays, it’s the defective memory card that could spell certain doom – so the very notion of intentionally breaking an image may well send chills up a photographer’s spine. This is where glitch art comes in, to explore the flaws of our temperamental digital landscape, under controlled circumstances with carefully backed up files.
Glitching with the internet
There are many complex methods of glitching photography, including short-circuiting cameras, applying code, and creating automated programs. Fortunately, there are some less complicated methods too. If you google “glitch art maker” you will see numerous hits for various automated glitching programs. These programs allow you to upload an image and the program will apply a glitch art effect to the file in real time.
Some programs are more in-depth than others, allowing you to adjust the parameters of the effect or emulate several glitch aesthetics at once. Programs that can apply glitch effects to photographs are also available as apps for smartphones, making for easy uploading to social media sites. While quick and easy, the downside of using an online program is that it can produce some generic or bland results, but they are great for an initial induction into the world of glitch art.
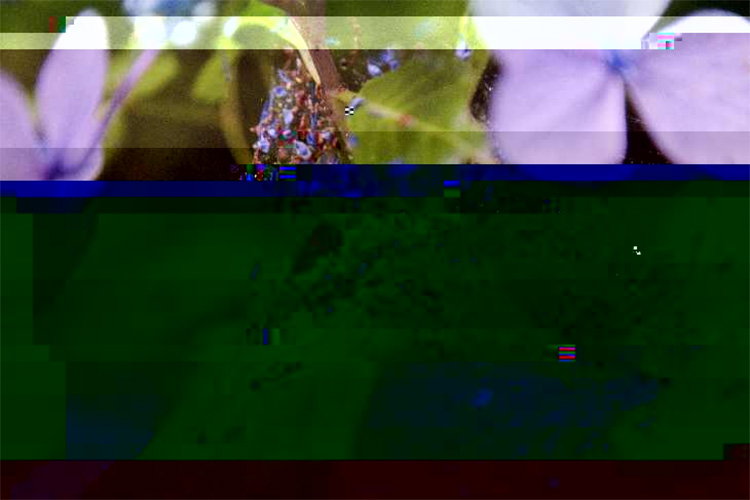
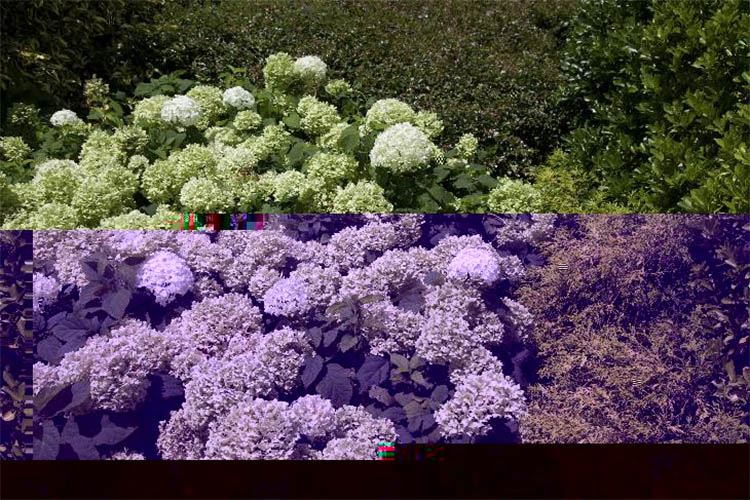
Image file vs text editor
One of the methods of glitching digital image files is called databending. This involves manipulating an image file by opening it in a program designed for another purpose. Be sure to make duplicates of the images you decide to use, as you will not be able to undo the databend later.
For Windows users
If you use Windows – select a BMP, TIF, or RAW image file. Open the image using WordPad (which comes with almost all versions of Microsoft Windows from Windows 95 onward). After loading, you will be met with a wall of seemingly random text. Click File > Save and then close WordPad. Open the saved file in Paint or Photo Viewer to see the result. You can also experiment with entering text from the middle of the document, but doing so can increase the likelihood of an unreadable file.
For Mac users
If you use Mac, select any image. Mac users can use any file type. Open the image in Text Edit (a default program with Mac operating systems). After loading, a document with a wealth of text will appear. The first few lines of text are important and contain information that tells the image how to open. Scroll down to about midway through the text file and select and copy a few lines of text. Paste the copied text into other areas around the middle of the file. Click File > Save and open the glitched image in Preview to view the result.
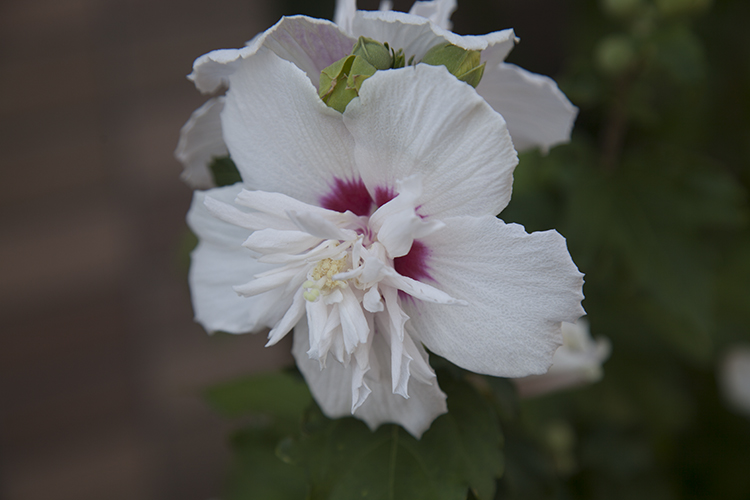
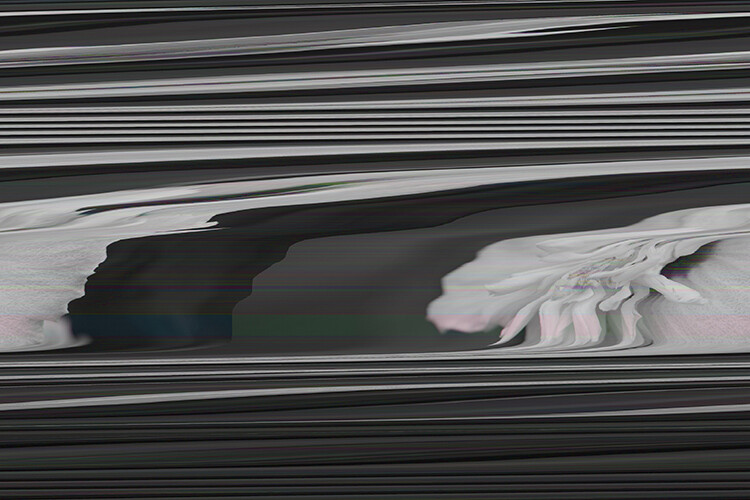
This is the result of a .bmp file having been opened in WordPad and saved.
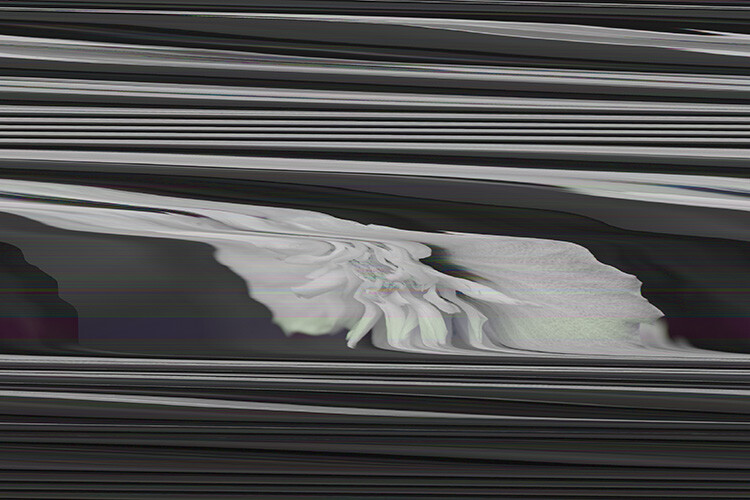
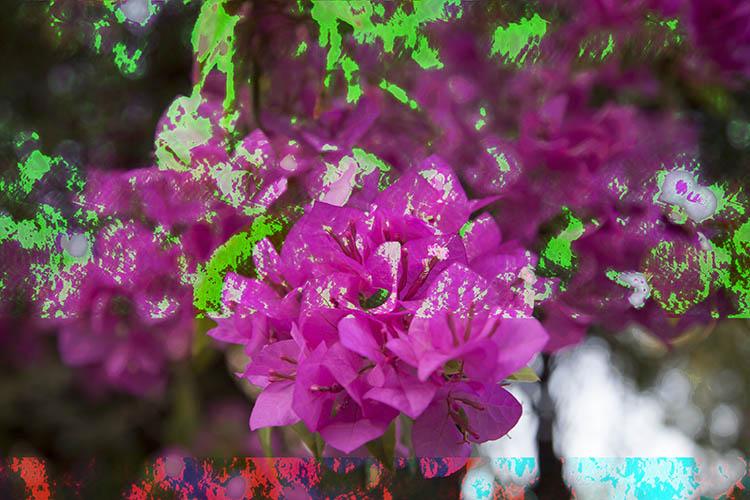
This glitched flower image was saved as a .tif file is slightly different in appearance
If the image you’ve saved won’t open, the glitch may have rendered the file unusable. Persevere with a new image or a different file type and make conservative interventions while you get used to the process.
Databending with an audio editor
Audacity is a free audio editing software available for both PC and Mac platforms. Databending with Audacity is a technical process, with a high degree of trial and error involved. As with any databend, files can become corrupt, so make numerous copies of any image you choose to databend. I’m using a PC for this tutorial, but the process is similar on a Mac.
Prepare your file
First, you will need to prepare a file for databending. Open an image in Photoshop and save it as a TIF. Select “per channel” as the pixel order in the TIFF Options prompt. Be sure that “none” is selected for image compression.
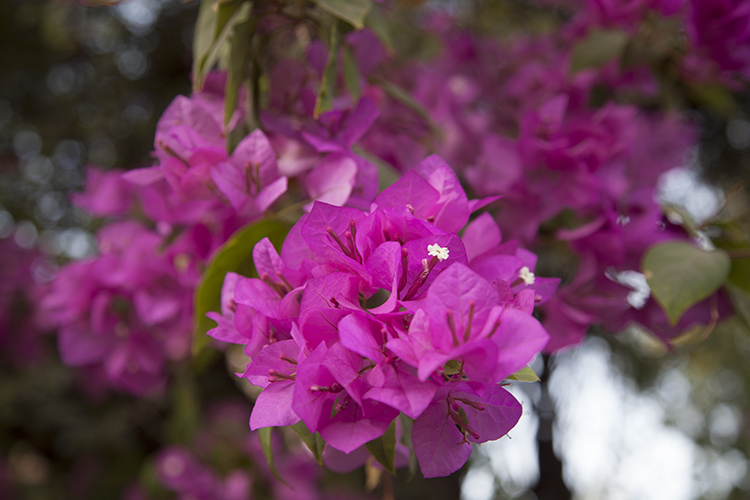
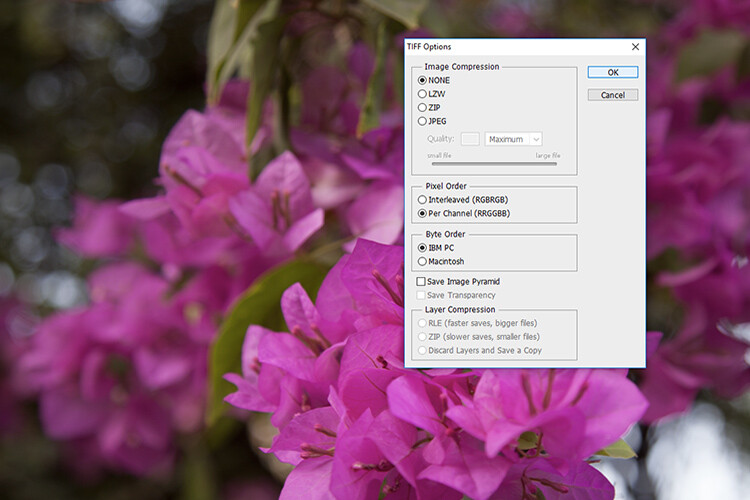
TIF saving settings
Open Audacity and select File > Import > Raw Data and select your file.
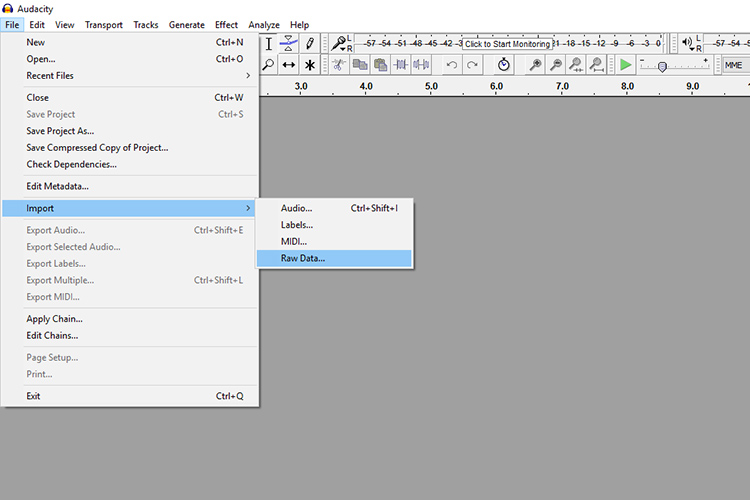
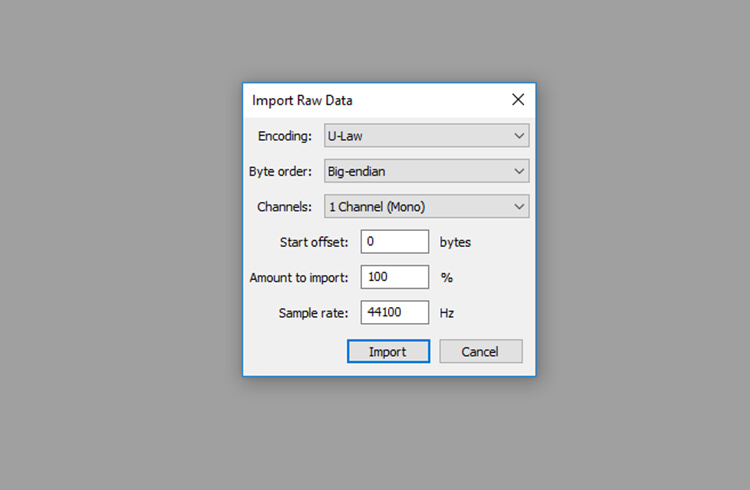
You will need to input some parameters so that Audacity reads the image as a sound file. Copy the settings in the image below.
Drag your mouse over the middle portion of the timeline. Leave the first 5 seconds un-selected as it contains important file data.

With the middle portion of the timeline selected, click Effect and choose an effect. Reverb is a good starting point.
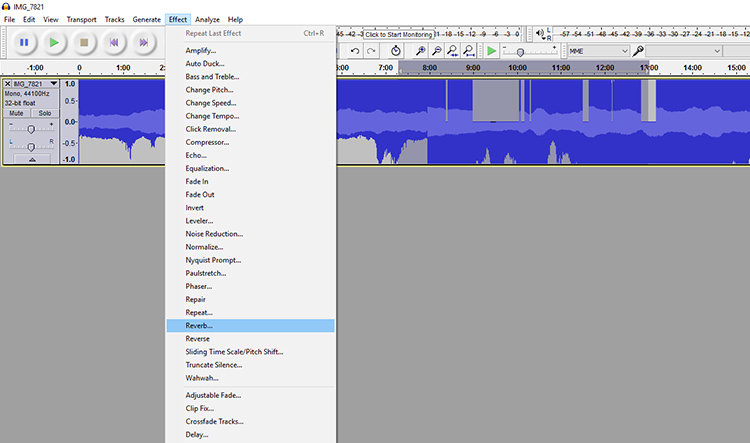
A window with options to fine-tune the effect will appear, click ok. Once you have applied the effect, click on File > Export Audio.
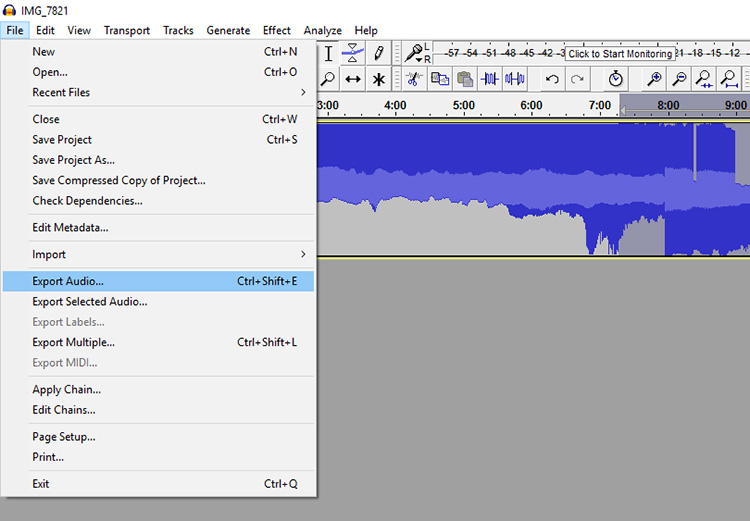
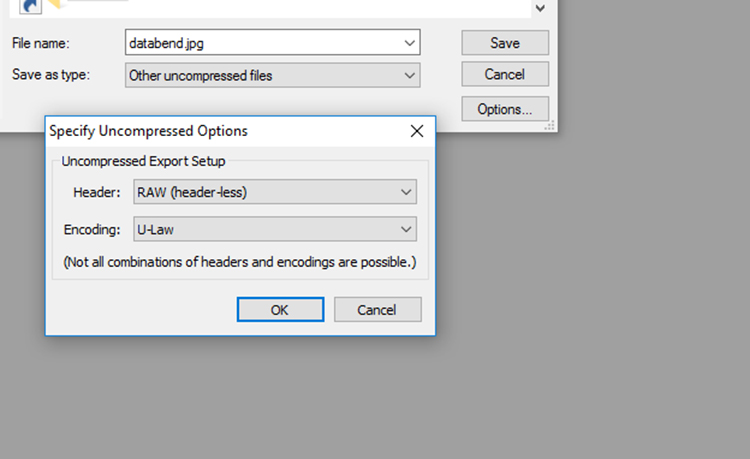
Name the image and enter a .jpg extension at the end. In the “Save as type” menu, select “Other uncompressed files”. Select “Options…” and copy the specifications in the image below. Click Save. Select OK for the various prompts.
Open the file in Paint, Preview, or Camera Raw to view the results of the databend. Save the file as a JPG under a new name if you want to open the file in Photoshop. If you discover that the file has been rendered completely unreadable, try a different image or file formats.
Conclusion
The experimental nature of glitch art makes it an intriguing undertaking. As photographers, glitch art allows us the freedom to create visually engaging imagery by deferring to the idiosyncrasies of technology. Databending explores themes of creativity and destruction, control, and unpredictability by exploiting the digital systems with which we surround ourselves.
Visually, glitch art creates unusual, surrealistic, and even abstract imagery via a set of interventions that may likely never be repeated again. Whether you experiment with an automated program or try your hand at data bending – when you leave your images to the whims of digital devices, the results will always surprise you.
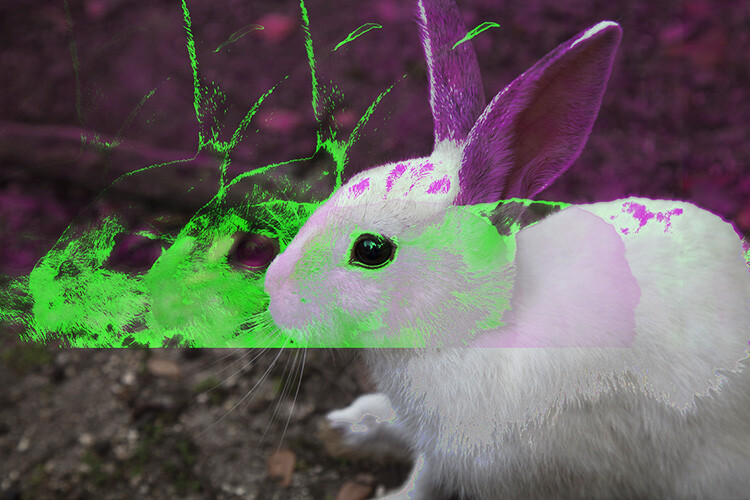
The repeated effect of the rabbit’s face was achieved with the “Echo” effect
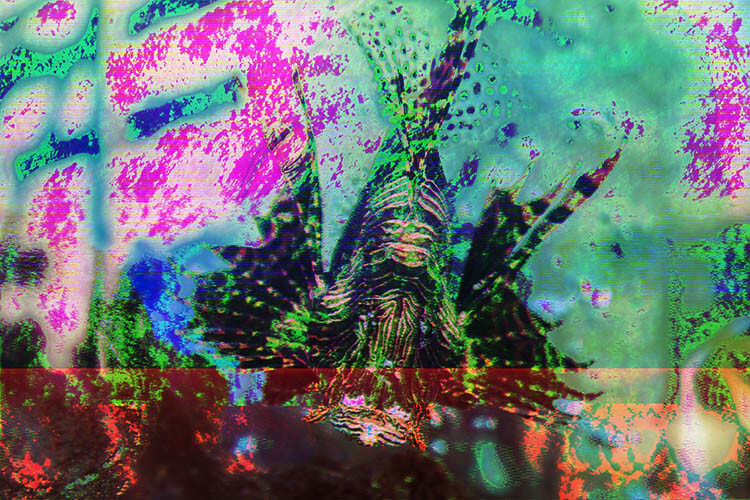
I used the “Fade in” and the “reverb” effect for this photograph of a Lion Fish.
The post How to Make Abstract Glitch Art Photographs by Megan Kennedy appeared first on Digital Photography School.