The easiest way to photograph hummingbirds is to use a feeder. But that’s just half the story. The other half is timing the shot to perfection. With hummingbirds in flight, that’s easier said than done. So, Jay P. Morgan uses a laser trigger:
Morgan set up the camera inside his kitchen and the feeder just outside the kitchen window. The feeder had three holes for the birds to eat, which made it difficult for Morgan to anticipate where to focus his camera. To ensure that the birds were always around the point of focus, he closed the other two holes in the feeder.
Camera Settings for Hummingbird Photography
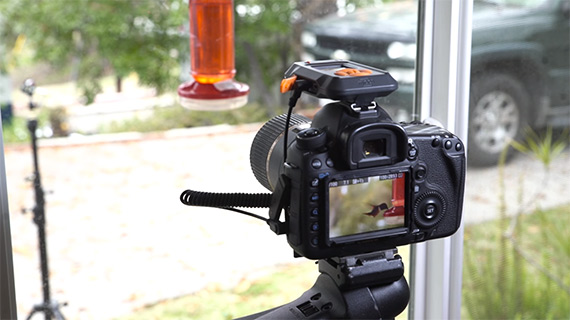
Camera Setup with a MIOPS Trigger
Morgan mounted his Canon 5D Mark III on a tripod, paired with a Tamron 90mm f/2.8 lens. He also attached a MIOPS laser trigger to the camera.
Initially the exposure settings used were ISO 1250, 1/50 of a second, and f/7.1. Morgan wanted to capture a lot of depth of field as well as freeze the bird in mid-flight. Since the bird was moving so fast, Morgan assumed at f/7.1 he would be able to get a sharper shot. Later on he changed it to 1/500 of a second and f/4.5. The idea was that 1/500 of a second has a much better chance of getting a sharp shot than 1/50 of a second.
Laser Triggers for Photographing Birds in Flight
Setting up the laser was the next step. It was set up at about 10 feet from the window and aimed right at the laser trigger. The problem that Morgan faced was that the birds were coming in underneath the path of the laser. So he adjusted the height of the laser. The trajectory of the laser fired was now lower down and thus came right in the path of the birds. The camera was set to fire 7 consecutive shots each time the path of the laser was broken.
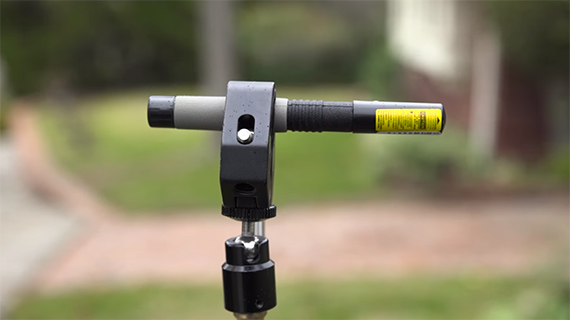
The laser was setup 10 feet from the camera, aimed at the laser trigger.
Composition for Hummingbird Photos
Setting up a composition like this requires some careful work. With a fast aperture lens the background was completely blurred. Yet, with some distractions in the background, such as a white production van, a little bit of tweaking was unavoidable.
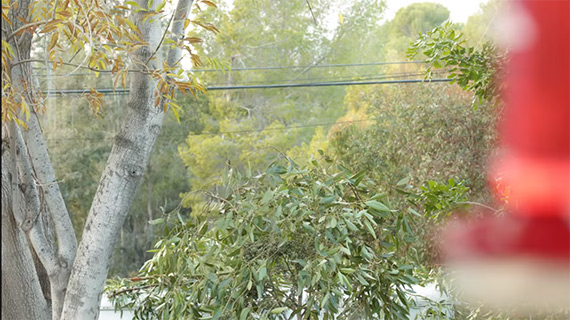
A bit of patching up was done to ensure a ‘cleaner’ background.
Lighting
The final ingredient of the setup was ensuring that the bird was not completely in the shadow by using lights. The metering was to expose for the background, which is very bright. However, the birds were at risk of being underexposed. Morgan brought in a Rosco LitePad Vector CCT LED light, which he set up close to the window and with just the right amount of power to open up the birds.
With all set and done Morgan left the camera and the laser trigger to capture the day’s action.
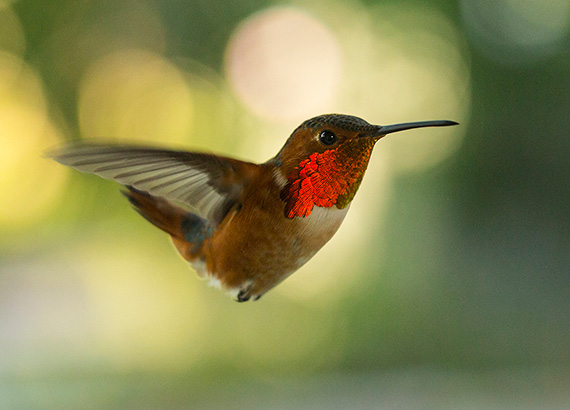
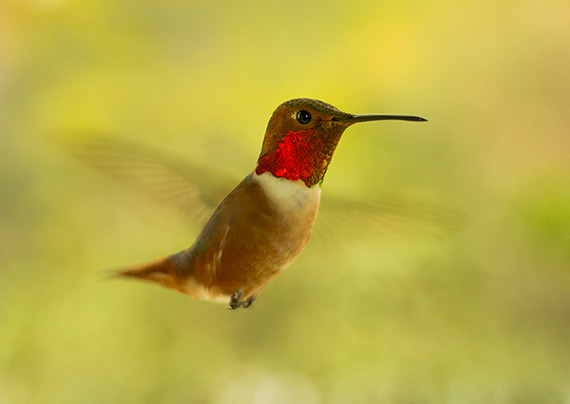
The final phase of the session was to select the best images from the session and enhance them with post-processing.
Go to full article: How to Photograph Hummingbirds with a Laser Trigger
What are your thoughts on this article? Join the discussion on Facebook
Article from: PictureCorrect