Don’t you hate when you realize that you spend more time in front of the computer than actually taking photographs? The realization is even more depressing when you are a travel and landscape photographer and, by definition, you are supposed to travel and discover the world’s beauty.
The Crisis
This is how I felt about 12 months ago during my second ever processing crisis as a photographer.
The first crisis happened about 10 years ago when I became more serious about photography, and started taking more photos. This was a time when 100% of my editing was done in Photoshop, which quickly led me to feel like I was drowning in gigabytes of digital images. What I did not realize at the time was that a majority of photographers who had switched to the digital realm, shared my pain.
This is when Adobe saved us all by releasing Lightroom, an application designed specifically for digital photographers. Lightroom not only offered non-destructive photo editing but a complete digital photography workflow with streamlined digital asset management as well.
I immediately embraced Lightroom by starting with the beta version, which allowed me to cut my photo editing time in half. With every new version, Lightroom became more sophisticated and versatile, almost completely replacing Photoshop in my workflow. After Adobe released Lightroom 6, I recognized that I could complete 90% of my processing in Lightroom, and my need for Photoshop was minimal (10%).
But, sophistication and versatility had its own price. Lightroom became much slower and its complexity skyrocketed.
Another factor that contributed to my second processing crisis was my switch from a Canon DSLR, to a Sony mirrorless. The new Sony camera (A6000) had a bigger sensor and produced much bigger file sizes, which slowed my editing down even more.
After a long trip to Hawaii, California, and the Southwest, I brought back more than 5,000 brand new photos. The process of Lightroom editing was slow and painful, making it obvious that I had to come up with the completely new workflow to reflect a higher volume of larger files.
The Solution
I started by analyzing my Lightroom editing habits, and soon enough, I made a discovery that became the foundation for my new workflow. Perhaps less of a discovery and more like a simple realization, I noticed that 80% of my edits are identical for every single photo I process, with only 20% varying from photo to photo.
The solution was obvious. By automating the 80%, I could radically reduce the time I spend in front of the computer. The use of preset functionality in Lightroom was an obvious choice.
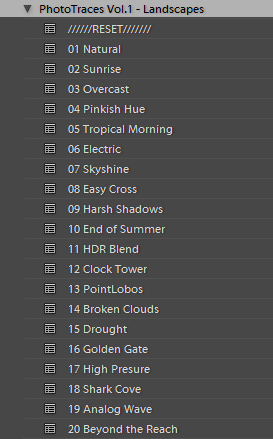
I dove into my Lightroom Portfolio Collection and selected the images that best reflected my personal style and artistic vision. I then created presets based on those selected photos.
At that point, I faced a challenge. As you have probably noticed, LR presets usually do not work out of the box; their settings are too specific for a particular photo to work with every image. Depending on the lighting condition of the scene, contrast level, shadow depth, and color saturation, the same preset can produce a completely different result across different images.
I managed to overcome this challenge by separating my presets into two categories, and using a two-level editing approach.
- Level One: I use presets from a STYLE category, to define an artistic style or the “LOOK” in a photograph. For example: cool or warm, cross processed or natural, contrasted or soft.
- Level Two: I use ADJUSTMENT presets to fine-tune a photo, compensating for the lighting of the scene, without changing the STYLE that I defined in the previous step.
Okay, enough theory, let’s get to the practical demonstration – here’s my new Lightroom editing workflow in action:
Here is a photo I took in Hawaii at sunrise. This is a typical landscape photo featuring the open sky and water, mountains, and foreground vegetation. In order to preserve the details in the highlights, I set the exposure for the sky area, as I normally do for the majority of landscapes. It resulted in an underexposed capture.
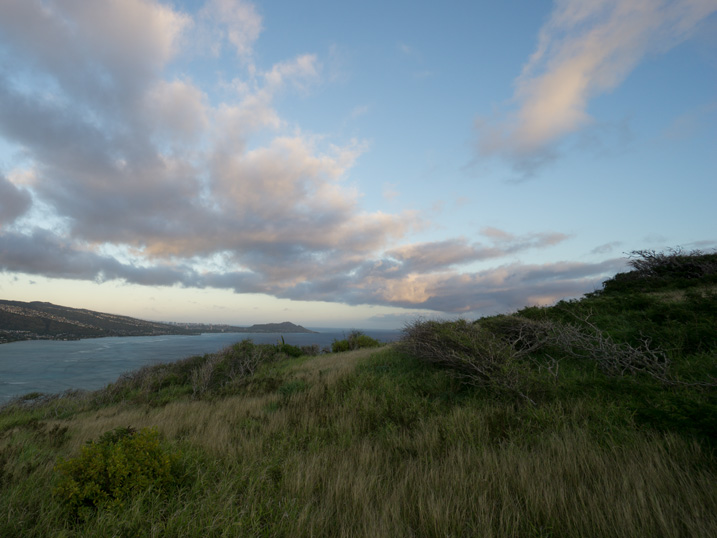
The goal here is to correct the exposure, recover the shadows, and bring back the rich colors of the tropical sunrise.
STEP ONE
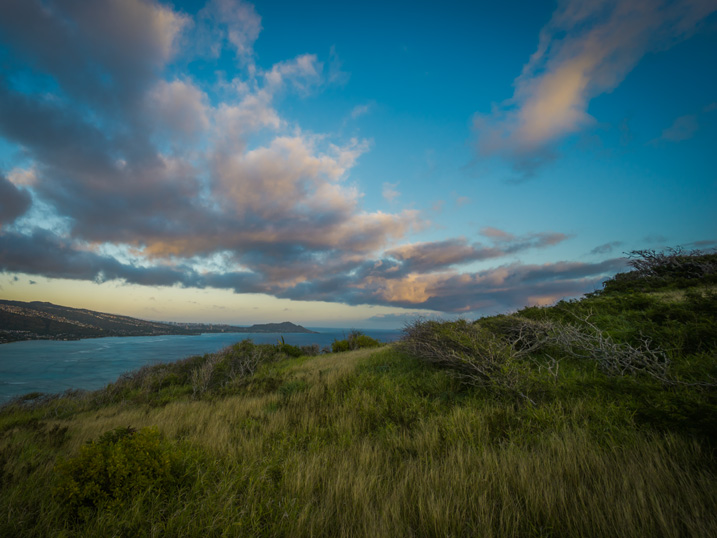
I always start my landscape editing by trying to achieve a natural look first by applying the NATURAL preset from my STYLE collection.
Even though I managed to boost the colors and define the sky, the result is far from exciting, as the photo is much too dark.
STEP TWO
This is when my ADJUSTMENT collection, which I call the TOOLKIT, comes into play.
The TOOLKIT is a selection of 40 presets where each is responsible for changing only one specific parameter, without changing the style of the image. Together, they help to fine-tune different aspects of the photo.
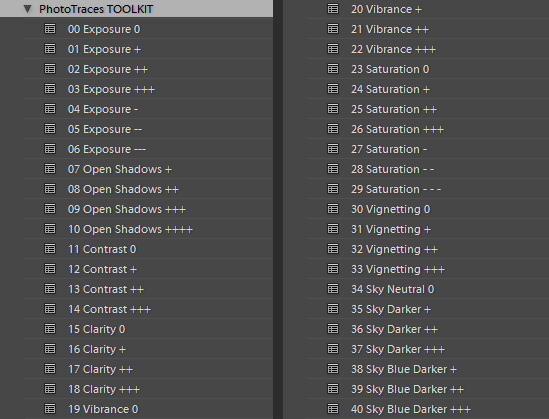
The TOOLKIT presets are stackable, which means that you can apply multiple presets to the image without the presets overwriting each other.
- To make the image brighter, I apply preset 02. Exposure ++
- To open up the shadows, I apply preset 10. Open Shadows +++
- To increase the local contrast, I apply preset 17. Clarity ++
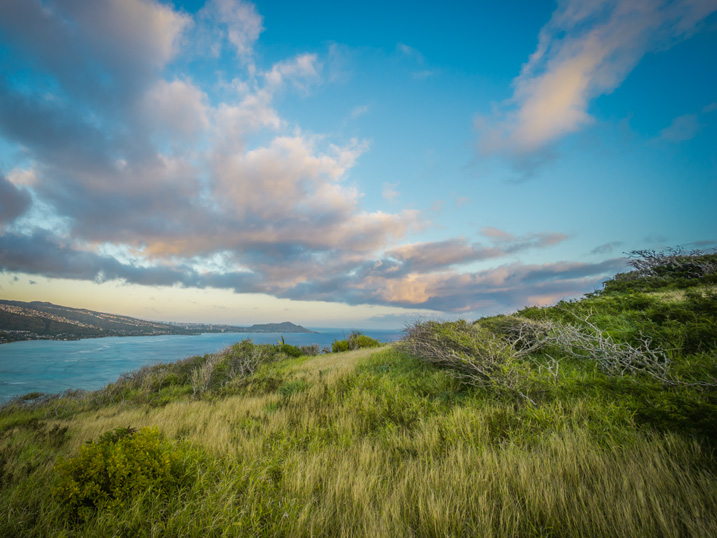
This is all I had to do. As you can see, I managed to complete 80% of my entire editing in five clicks, without touching the right panel of Lightroom where all of the editing tools are housed.
STEP THREE
The last step is to record the editing steps. I use the Snapshot functionality of Lightroom to save my editing steps as a new Snapshot. For the name, I use “Lightroom Editing Formula”.

The Lightroom Editing Formula starts with the name of the preset and follows with the numbers inside the brackets, where each number represents a specific ADJUSTMENT preset from the TOOLKIT collection.
If I edit a photo for my blog, I might stop here and export it as a JPEG; but, if I am working on a portfolio piece, I try to explore a variety of artistic styles. I follow a similar approach by going through the three steps of my workflow, but each time select a different STYLE preset.
Every time I achieve a result I like, I save it as another Snapshot.
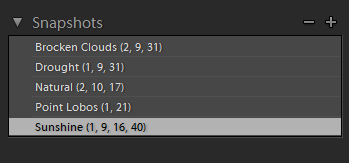
By the time I am done, I might have anywhere from four to five different editing versions for the same image.
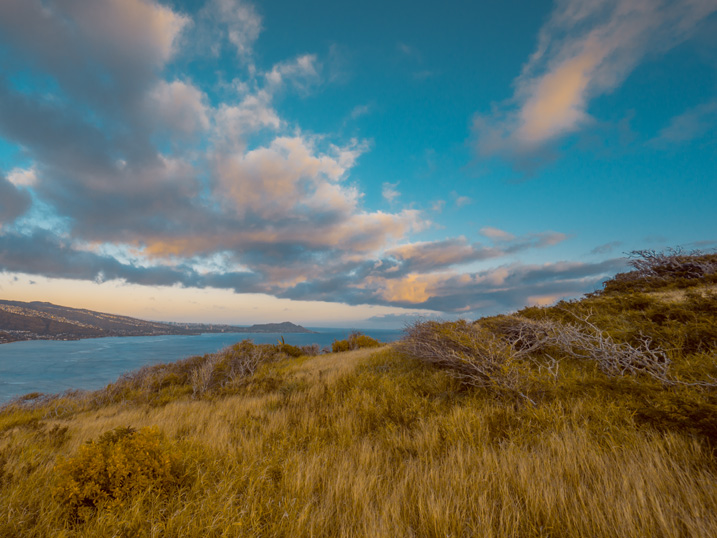
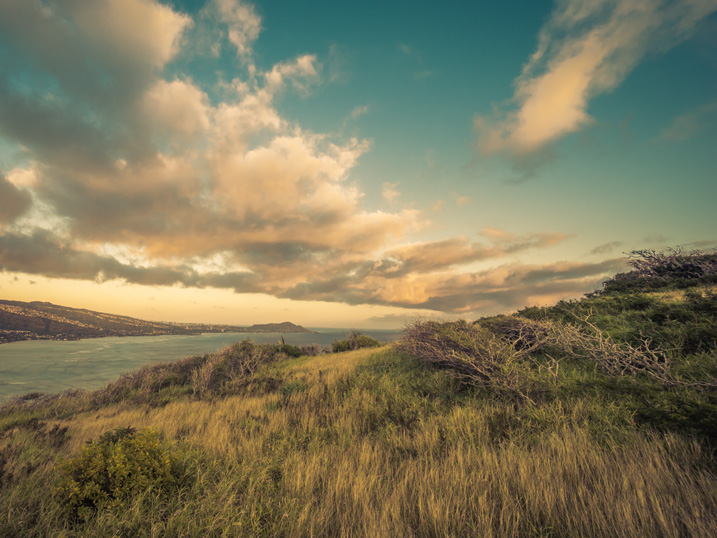
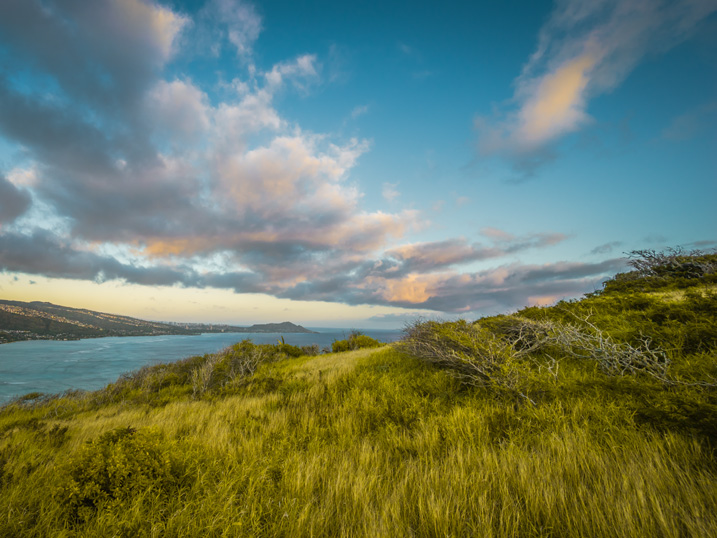
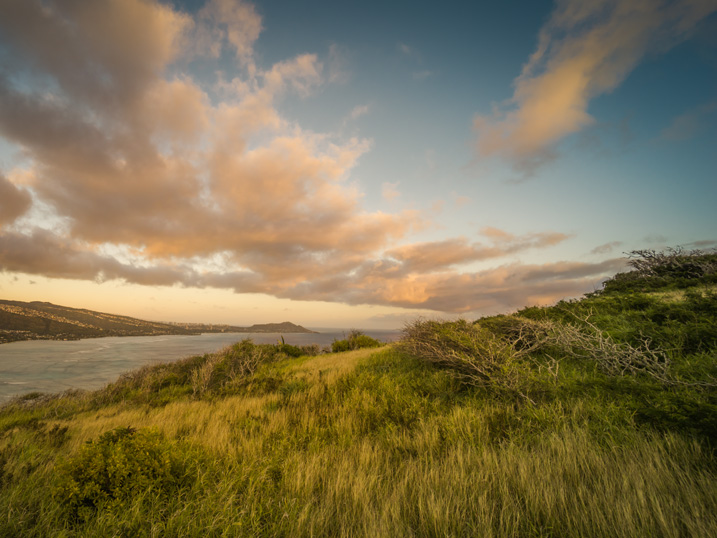
Here is the most exciting part; I get to select the most interesting version for my portfolio and perhaps another one for Instagram.
From here, I normally jump to Photoshop and perform the remaining 20% or so of the editing process. In Photoshop, I mostly clean up the image with the help of the Stamp Tool, and do noise reduction using Topaz DeNoise plugin.
Conclusion
The entire process of producing five different versions of the featured photo took me less than 10 minutes, and all without having to touch the main editing tools in Lightroom. I call it Lightroom Rapid Editing.
By streamlining and automating my Lightroom workflow, I managed to reduce the total editing time by more than half.
How can you use these tips to reduce your editing time? Do you have any other time savers you’d like to share? Please do so in the comments below.
The post How to Reduce Editing Time by Automating Your Lightroom Workflow by Viktor Elizarov appeared first on Digital Photography School.