Travel photography is a career for some. Most people, though, just want to bring back nice photos to show their friends and family. No image will replace the moment of being there; that’s why people still travel instead of browsing Google Images!

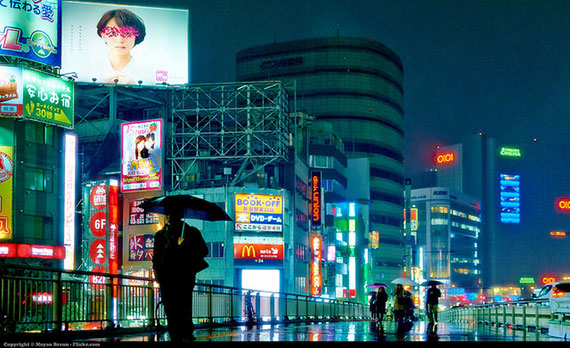
photo by Moyan Brenn
Choosing a Camera
Professional or amateur, the first thing you need is a camera. Yes, a camera, and a real one—not a phone or something you attach to your helmet.
Choosing the best camera requires a good amount of research. However, most modern cameras will do a good enough job, particularly if you don’t want to get too technical. Today, if you buy any mirrorless or DSLR, you will get a very good camera. Just skip the kit lens and buy a good general purpose one, but not a super-zoom as those compromise in image quality and low-light performance. For just making nice photographers, you can get a smaller fixed-lens camera. There are plenty of premium models offering one inch sensors—a huge leap in image quality from the typical ultra-compact and cellphone camera.
Better image quality only allows a photographer to show the images bigger. It does not improve a photograph itself. Even a low-end camera now offers much better image quality than what 35mm used to be like 20 years ago and many such images graced covers of National Geographic. So, make sure you have a camera, and let’s get started on how to make amazing photographs!
Planning
Actually, the second step to create stunning images starts without the camera! What your images need to do is share your amazement of a place. So what you need to do is look for what amazes you and investigate it well.

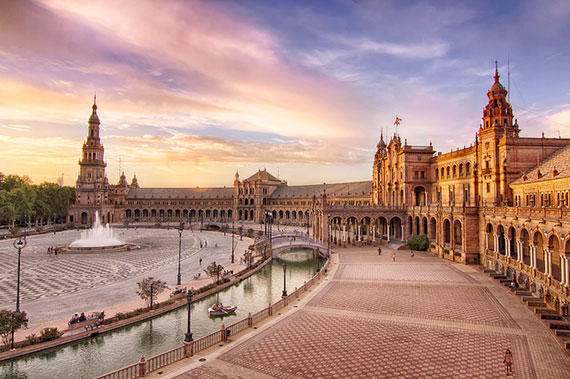
photo by Francisco Colinet
Say you just arrived in downtown Lima at the Plaza de Armas. The plaza is enormous. It’s surrounded by imposing historic buildings on three sides. There’s a huge fountain in the middle, lights, flowers arranged in patterns, and hordes of people passing through.
You feel amazed but you can’t snap a photo as soon as you step onto the plaza and expect a great outcome. An actual photo of the plaza is impossible from within it; you would need to seek a good vantage point for that. Instead, find each element and details that make the place amazing to you.
The cathedral, for example, on the east side of the plaza, is extremely imposing. It also has these spectacularly carved wooden balconies protruding from the stone walls. Get close to it, look at what element fascinates you the most. Once you have mentally noted elements that interest you, it’s time to start composing your image.
Composing
Composing means place elements together. Of course, you cannot move the cathedral or the fountain but you can move yourself to show elements together or separate them. This is where the camera lens makes the whole difference and where zooms greatly help. Place yourself where you can see the elements you thought of and bring the camera to your eye. Look and inspect the view. Adjust your position and zoom until what attracted you to make this photo is prominent and there is little to nothing else in the frame.
“Perfection is achieved not when there is nothing more to add but when there is nothing left to take away.” –Antoine de Saint-Exupery
Already if you get this right, your photos will have much more impact. Then you can further improve the composition by adding other techniques:
- Leave space in front of the subject. Either unoccupied space or something which establishes location, such as a patch of flowers.
- Let a complimentary subject in the frame. For example, a person or animal to show the scale of things.
- Include a leading line, something which points to the subject, a road, fence, etc.
- Tilt the camera up to exaggerate perspective for imposing subjects.

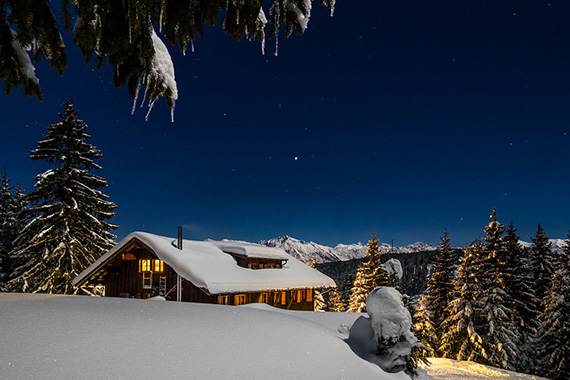
photo by Markus Trienke
Working with Light
The last thing that has the most impact is light. Photographs are made of light but not all light is equal for photography. Cameras can only capture a certain amount of contrast. Anything behind that results in over-exposed (completely white) or under-exposed (very dark) areas.
There are two ways to deal with natural light. One is to work with and the other is to wait for it. Travel photography is not studio work, so you cannot control the light much and without accessories.
Working with the light means to move yourself and the orientation of your camera to that what is shown in the viewfinder does not have a too high contrast. It’s pretty simple, just look at the darkest and brightest area of the scene. Move to exclude one or the other when they contrast too much.

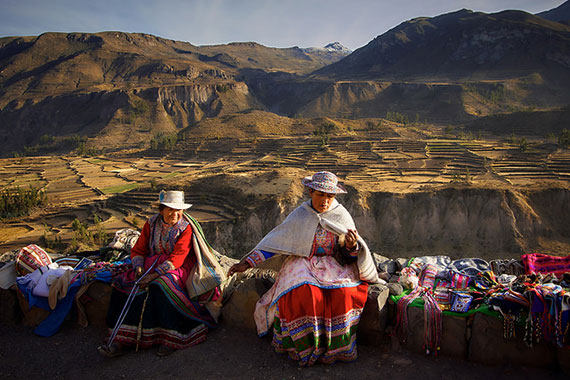
photo by Pedro Szekely
Working with the light often goes against the composition created in the previous step. This is why it is often much better to wait for the light. The sun does not move fast so this takes time but it is highly predictable. Take the time to see where the sun is and if it is moving towards a better position or not. Remember, the sun always moves toward the west. If the light is improving, come back later. If not, come back tomorrow.
Pay attention to sunrise and sunset times. Around then, plus or minus an hour, depending on where you are, the contrast is lowest and there is still color in the sky. This is the best time to take beautiful images. Over 95 percent of published travel images are taken during these times!
There you have it. Much better images to showcase with only three steps: get a camera, compose, and work with the light.
About the Author:
Itai Danan is a travel photographer with an extensive collection of fine art photography from around the world showcased on Neoluminance.
Go to full article: How to Take Amazing Travel Photography
What are your thoughts on this article? Join the discussion on Facebook
Article from: PictureCorrect
The post How to Take Amazing Travel Photography appeared first on PictureCorrect.