Do you love the idea of taking dramatic portraits in the pouring rain, but cringe at the thought of getting your camera and gear wet?
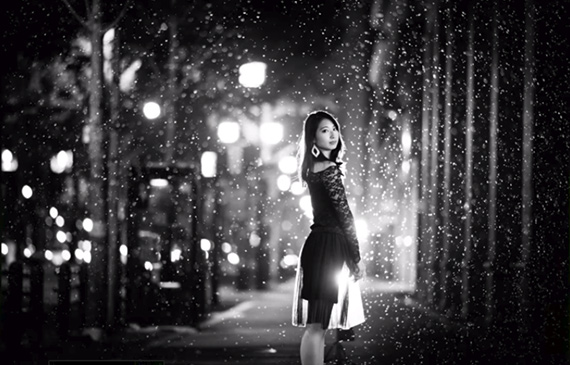
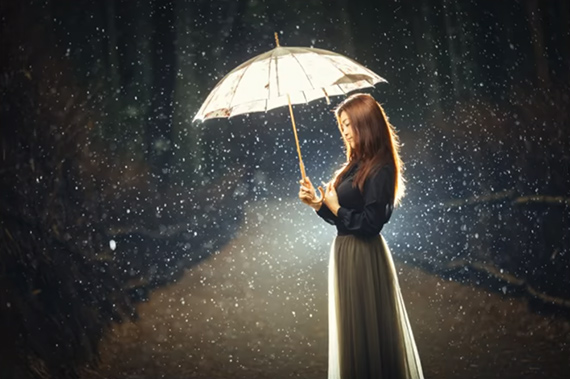
With some care and common sense, you can protect your camera and lights but still create some amazing rain portraits. Someone who loves shooting in the pouring rain is Ilko Alexandroff, who has created this twenty minute video to show us all how we can shoot great portraits in the rain:
Gear Needed for Rain Portrait Photography
If you decide this is something you want to try, make sure that both you and the model are comfortable with shooting in the rain. As Alexandroff says, you will both get very, very wet, and not everyone likes that!
Alexandroff sometimes uses a Canon 1DX and sometimes a Canon 5D Mark II. He’s had them get really wet many times, and they are still working well.
Alexandroff points out that using a weather-sealed lens is a must. He uses a Sigma 135mm f/1.8 a lot.

For lighting, he uses compact speed lights such as the Nissin MG 8000. A bare flash head is preferred for backlighting his models. For fill lighting from the front, he tends to use a softbox rather than an umbrella, because he has more control over the light direction. His favorite softbox is a Cactus 60 x 60 cm softbox.
Lighting Options for Rain Portraits
- Backlight with silhouette. This is probably the simplest setup.
- Backlight and reflector. This is simple one too, using a bare flash-head behind the model and a reflector at her front to bounce light back onto her face.
- Backlight and lit object (window). Place the model so that their facial shadows are lifted by light in a large shop window.
- Backlight and RAW editing for face. Take a shot without any fill from the front and lighten the face in post-processing.
- Front light and back light. Light the model’s face with a second strobe and add a backlight.
- Cross lighting. Place the light behind the subject, but not directly. The strobe comes in on the diagonal from the left or right, lighting one side of the model’s face.

Settings for Rain Portraits
- Shoot at the widest aperture possible for your lens.
- Shutter speed varies between flash sync speed and 1/50 or 1/30 second. If you want the background super dark, shoot at 1/200 second, but if you want to include some ambient light in the image, drop the shutter speed.
- Use ISO 800 or 1000. Alexandroff shoots rain portraits when it’s dark so that he can control the exposure of the rain to his liking.
- Use a white balance that matches the color temperature of your main light. If you use colored gels, you need to take this into account.

Tips and Tricks for Rain Photography
There are also a few other things you need to know to take successful rain portraits, such as always keeping your backlight hidden by the model’s body.
Try to avoid lighting the ground around the model and making it brighter than his/her face. People always look at the brightest area of a photo first, so that should be the face. To help solve this, set the strobe one meter or more off the ground, pointing upward past the model’s head.
If you want good raindrop definition, you need to have the strobe close to your model—five meters or less.
Protecting Your Camera from the Rain
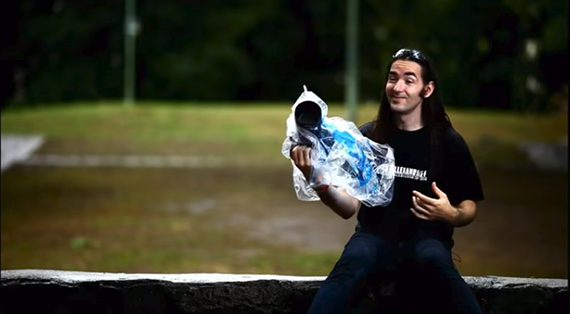
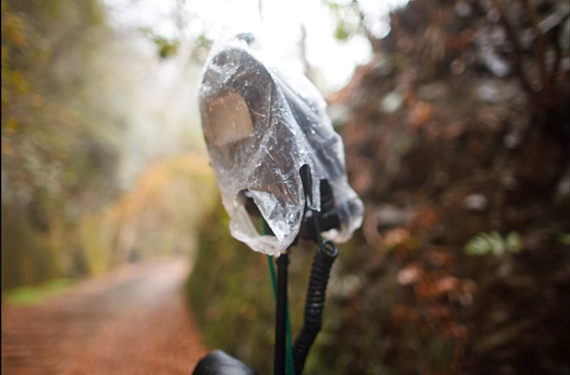
Last, but certainly not least, Alexandroff puts his camera in a clear plastic bag with a hole for the lens, and he covers his strobes with a clear or white plastic bag. Don’t use a colorful bag, or you’ll end up with some strange color casts!

Hopefully these tips will inspire you to get out there and shoot no matter the weather!
Go to full article: How to Take Portraits in the Rain
What are your thoughts on this article? Join the discussion on Facebook
PictureCorrect subscribers can also learn more today with our #1 bestseller: The Photography Tutorial eBook
The post How to Take Portraits in the Rain appeared first on PictureCorrect.