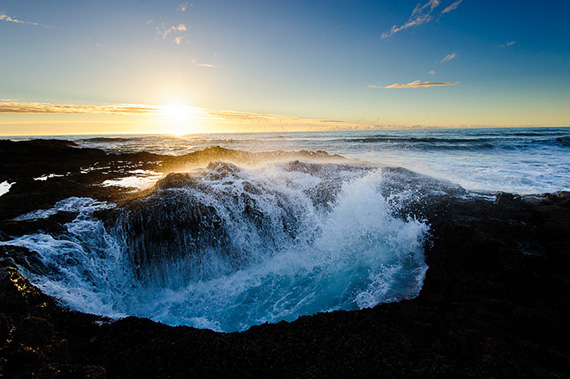
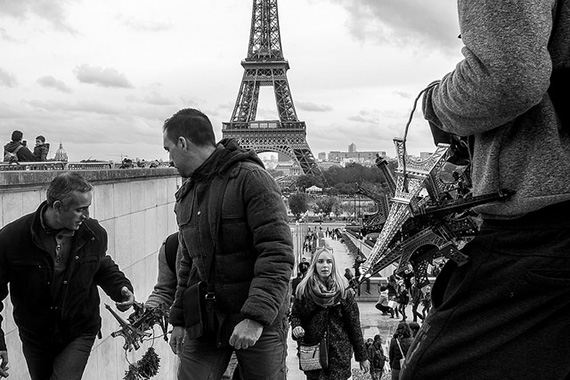
In this article I’m going to discuss the special focus condition called hyperfocal distance (HFD) and how you can employ it with today’s DSLR cameras to achieve the absolute greatest possible depth of field (DOF) for any given situation. Hyperfocal focus allows you to produce a depth of field that extends from the nearest possible point to the camera through to infinity.

photo by Andrew Roberts
Maximum depth of focus allows you to use relative subject scale as a creative aspect in your compositions while still keeping everything tack sharp. Since the relative size of objects projected on a flat plane (i.e., the film or the sensor) is dependent on their position relative to the camera. Objects close to the camera appear larger than distant objects. If you can focus on both, you’re able to produce a virtually tactile appearance of the near objects while making them scale noticeably larger than the distant objects. A good way to prove this to yourself is to place your camera next to a long fence while keeping everything in focus. Not only do you get a geometric convergence of parallel lines, but the close objects appear with maximum texture and detail.
Hyperfocal distance is that special focus condition in which clear focus is obtained from ½ the hyperfocal focus point to infinity. Put another way, if you know what the HFD is for the given lens focal length and f-stop and focus on it, then everything from ½ of that distance to infinity is in focus.
Now here’s the key point. HFD is calculated using only three numbers: the lens focal length, the f-stop used, and the circle of confusion.
The circle of confusion is a number you can get from a reference table and does not vary. As a practical matter if you want the DOF to extend from the closest possible point to infinity you’re going to be shooting at a small f-stop anyway so you don’t care about wider lens apertures. I’ve run the HFD table for a 50mm lens which I often use and have burned into my brain that at f/22 the HFD is 20 feet and that half of the HFD is 10 feet.
This then is my rule of thumb for this lens: at 50mm if I set the prime focus on 20 feet, I know that everything from 10 feet to infinity is dead sharp. By the rules of optics, I know that a 50mm lens, when focused on the HFD at f/22, produces a sharp image from 10 feet to infinity. I also know that I can’t get any closer than 10 feet and still have my focus extend to infinity; it will be something less, but not infinity. I don’t need any other tables or calculations for this lens when I’m at f/22, which I will be for landscape work. I have similar figures for all my other prime focal lengths and the whole thing fits on a laminated card that fits in my pocket!

photo by Waqas Mustafeez
To understand the implications of the above I recommend that if you have not already done so, go to dofmaster.com and print out a depth of field table for a 50mm lens. If you read the distance scale at the far left to 20 feet and then move right on the page to the f/22 column, you will see that the close focus point is 9 feet and 9.7 inches and the far focus point touches infinity. You can also tell from looking at an extract of the table below that if I focus on 18 feet my near focus point is 9 feet and 3.6 inches but my far focus point is 276 feet, far but not infinity! If I move to 20 feet which is the calculated HFD, I touch infinity. If I focus beyond 20 feet, my near focus point moves away from the camera and to infinity.
50mm lens at f/22
Focus Distance………………Near Focus Point……………Far Focus Point
18………………………………………….9′-3.6″……………………………276′
20………………………………………….9′-9.7″…………………………..Infinity
30………………………………………….11′-8″…………………………….Infinity
To round out your understanding of HFD, proceed to dofmaster.com and download their free HFD calculator. Input of all values required on the data screen is pretty straightforward except the circle of confusion which you should initially set at .019mm for most handheld digital cameras. If you want to know more about the circle of confusion, you can read further on their website. In any event, program the screen and output your HFD chart.
For my 50mm lens, setting the circle of confusion at .019mm, my chart reads the following and I calculate the near focus as ½ the HFD as:
f-stop………………HFD…………………….½ HFD
2.8…………………..150’……………………75′
4……………………….110’………………….55′
5.6……………………..80’…………………..40′
8…………………………55’……………………28′
11……………………….38’………………….19′
16………………………27’………………….14′
22……………………….20’………………….10′
I hope this has been helpful in understanding the useful arcana of focus in applied optics. Now go out there and shoot some (well focused) scenes.

photo by Sven Sven
Many thanks to Don Fleming for putting up and maintaining dofmaster.com, a wonderful site that has all sorts of free and info and goodies related to DOF and related subjects.
About the Author:
Jeremy Myers is a wedding officiant and is the owner of Lyssabeth’s Wedding Officiants at Marin Wedding Officiants and Monterey Wedding Officiants (montereyweddingofficiants dot com).
Go to full article: Hyperfocal Distance Photography: Calculations & Focus
What are your thoughts on this article? Join the discussion on Facebook
PictureCorrect subscribers can also learn more today with our #1 bestseller: The Photography Tutorial eBook
The post Hyperfocal Distance Photography: Calculations & Focus appeared first on PictureCorrect.