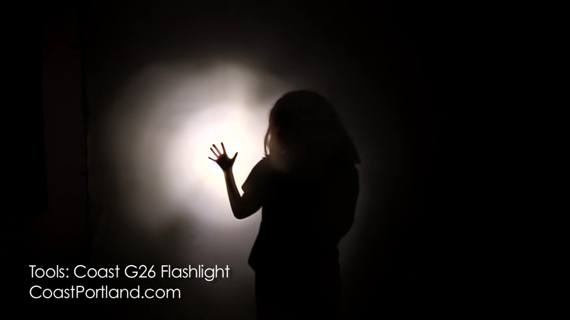
Light painting allows you to express the artist within you. This is a form of photography wherein you can create an image as you imagine. The space around you becomes a blank canvas and the light source is your brush. Light painting expert Jason Rinehart demonstrates how you can create amazing long exposure light painting effects using a bed sheet:
What You’ll Need
- white bed sheet
- clamps
- studio stands
- flashlights with around 100 lumens brightness
- color filter and hood set with universal connector
- unicorn plexiglass attachment
- black circular piece of cardboard
Setup
Before you start shooting, follow these steps to set up the bed sheet using two studio stands:
- Place the stands with a rod or a backdrop bar for the top frame.
- Clamp the sheet on the top frame making sure that the sheet is even with overlap on both sides to clamp.
- Extend the stands upward leaving some of the sheet on the floor for the subject to stand on. Make sure that the sheet is taut.
With the bed sheet ready, you now need to set up your camera. Rinehart recommends using f/8.0, ISO 200, in bulb mode as a starting point.
Light Painting Photo Shoot
Before you start, make sure your working area is completely dark. Then, have the camera record the images in bulb mode using a remote trigger (preferred method) or by pressing the shutter release button gently.
Ask the model stand close behind the sheet, hidden from the camera. Then, using the color filters and flashlights, start painting from behind the model to add color to the image. You can use different color filters to add multiple colors. Then, use just the flashlight without a color filter to trace the model. Slow down, pull the flashlight away, and then come back to areas you want to highlight by creating a nice silhouette.

By coming to the front and shining the flashlight into the camera, you can add flares to the image. To add further drama to the image, use the unicorn plexiglass attachment and draw out some patterns. However, before using it, be sure to use black cardboard to cover up areas you’ve already worked on. Doing so ensures proper overlapping of your light paintings.
Here is what Rinehart captured using this technique:

The result is absolutely stunning. I hope Rinehart’s method inspires you to create some beautiful light paintings!
Go to full article: Integrating a Bed Sheet with Long Exposure Light Painting
What are your thoughts on this article? Join the discussion on Facebook
PictureCorrect subscribers can also learn more today with our #1 bestseller: The Photography Tutorial eBook
The post Integrating a Bed Sheet with Long Exposure Light Painting appeared first on PictureCorrect.