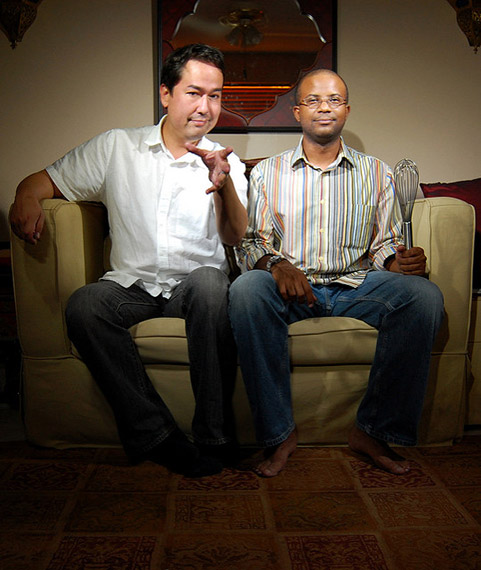
Light painting is a creative way to explore photography when you’ve gotten bored with taking all those standard or cliché photos and have gotten to grips with the features of your sophisticated DSLR camera.
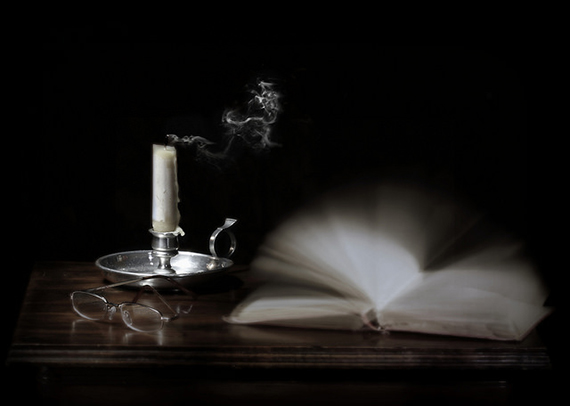
photo by Mike Tidd. f/13, 3 second shutter speed.
While the activity is most commonly referred to as light painting, there are actually two distinct styles:
Light Painting
This is where you take a light source, such as a flashlight, and shine it onto an object in your scene (e.g., a monument or the side wall of an interesting building).
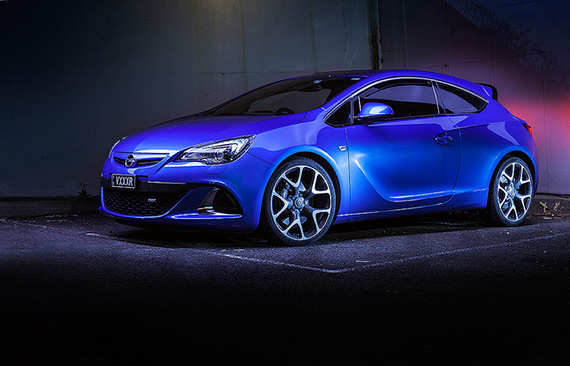
photo by Benjamin Galli. f/8.0, 10 second shutter speed.
Light Drawing
This is where you shine the light source directly towards the camera and you use the flashlight to write your name or to draw something. Throughout the remainder of this article, I will use the term “light painting”, but that will also include light drawing.
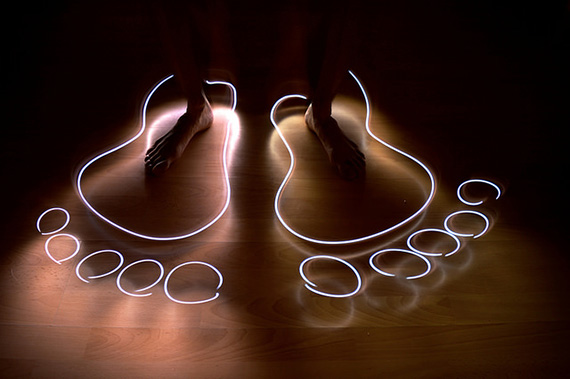
photo by Silke Remmery. f/3.5, 15 second shutter speed.
Light Painting Tools
Whichever of these styles you want to explore, you might need to get hold of the following tools:
1. DSLR Camera. The reason you want a DSLR is because you will need to be able to adjust the shutter speed to a special setting known as Bulb mode, which is typically marked with a “B” within the shutter speed range. When you set the camera to Bulb mode, you’re able to press the shutter button and, for as long as you keep that button pressed, you’re able to keep the shutter open. When you let go of the button, the shutter will close and the photograph will be taken. Whenever you take photos with a shutter speed of one second or longer, you’re effectively taking long exposure photographs, and this is central to being able to do light painting photography. You’re forcing the camera’s shutter to remain open, exposing the digital image sensor to all the light coming into it. This is when you get to work, painting light into the scene or standing in front of the camera to write your name or draw pictures with your light source (which we’ll get to in just a moment).
2. Remote Cable Release. You will need one of these because you can’t be out there painting light into your photo and be back at the camera, pressing the shutter button down, at the same time. In fact, you wouldn’t want to do this, anyway, because after a while you will start to fatigue and you will most likely begin to introduce a bit of vibration into the camera as your arms start to shake due to the growing physical effort. This will ruin your photos; you want any movement or dynamic effect to come from the light painting activity (this is the main focus of your light painting photos). To solve this, you can connect a remote cable release to your camera, trigger the shutter to open up, lock the remote so it keeps the shutter in the open position and then you can go off and spend as long as necessary to paint or draw with light into your image.
3. Tripod. This is used for the same reason as the remote cable release: to avoid introducing unwanted shake or vibration into the camera during the long exposure. Also, if you go out into nature, for instance, you may not find a sufficiently flat and/or high enough surface to rest your camera, for the scene you want to photograph. A tripod will give you both added height and a stable base.
4. External Flash (Speedlights). This is the first of a number of light sources that you can utilize for light painting. One really cool use for external flashes, that I’ve seen, is to take it off the camera and walk around your subject, such as a car, deliberately popping the flash as you walk around the subject. Also, if you’re able to remotely trigger your flash units, you can place them inside buildings or inside cars, so that they will be triggered when you press the shutter button. This will give your interior nice illumination, and then you can also introduce other light sources to illuminate the outside of your subject.
5. Standard LED Flashlight. The important thing is to get a flashlight with a tactical button that can switch 5h3 light on and off quickly. There are different types of flashlights on the market, some of which have multiple functions that are selected via a single button. In my experience, you don’t want this, because you will not have instant control over turning the flashlight on and off, as you will have to repeatedly press the button to cycle through numerous settings, either to switch the flashlight on or off. Single function flashlights are the ones you want – they let you switch the flashlight on, or turn it off again. These flashlights are often cheaper to buy than multi function varieties, so that’s an added bonus.
6. Omnidirectional Light Source. By “omnidirectional”, I mean you need some sort of torch or lamp that will give you 360 degrees of illumination. This can either be done with a camping lantern (such as the Coleman 2 Way Lantern, which is what I bought) or a non-LED flashlight, where you’re able to remove the cap, to expose the bulb to the elements. This is actually so that you can change the bulbs when they die out, but it’s something light painting photographers can take advantage of, to get the all-around illumination that we need. Actually, when I say “we”, what I should say is “what the camera needs.” This is because you’ll be doing light painting photography in the dark and you’ll be using this light source, not for light painting, but as a target for your camera’s autofocus system, which would struggle by itself in the gloom. When you’ve got your camera set up, what you’ll do next is walk to the point where you want to have your camera focus clearly; turn on your omnidirectional light source and place it on the ground or a flat surface, so it stands up. Then, return to your camera, target the light source with the autofocus system; switch out of autofocus mode (so you don’t inadvertently mess up the correct focus when you go to press the shutter button); and then go and retrieve your omnidirectional light source, so you can get it out of your scene, in order to begin your light painting work.
7. Rogue Flash Gels. These are colored plastic strips that are designed to fit over the head of an external flash, so when you pop the flash, you can add all sorts of color into your image. If you get hold of an elastic band, you can also carefully fix the Rogue Gels over your standard flashlights.
8. Experiment With Different LED Lighting Products. There are a ton of really cheap LED products on places like Amazon—from glow sticks, to light sabers, to gloves with LEDs in the fingertips, to fiber optic cables that have been turned into light painting kits. Waving them about in front of your camera can produce all sorts of interesting and colorful effects. Not all of them will necessarily have been designed for light painting, but with a bit of experimenting, they could add some really cool effects into your light painting images.
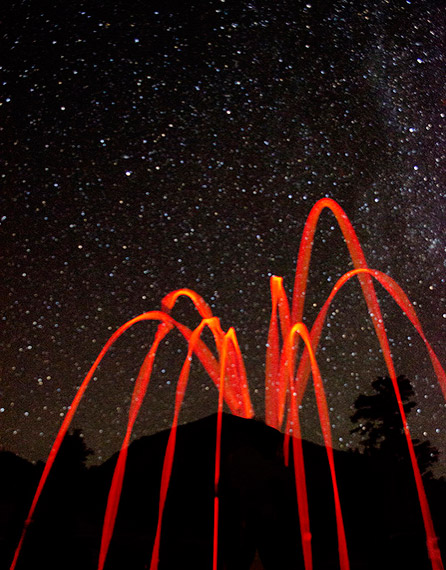
photo by LassenNPS. f/3.5, 25 second shutter speed.
And that completes the list of tools you might need for light painting.
About the Author:
Graham Wadden created and maintains the creative commons photography website, WaddenCCPhotography.com, specializing in creating stock photography primarily for home educators and those in education.
Go to full article: Light Painting Photography Tools
What are your thoughts on this article? Join the discussion on Facebook
Article from: PictureCorrect
