Back in the days of black and white photography, I worked in a darkroom as a lab assistant, and sometimes students would make the mistake of asking me what I thought. If they wanted to learn this was not a mistake, but if they just wanted me say how great their work was, that was when it became a mistake. Sometimes I would advise them to crop tighter or change their center of balance, but by far the most common problem they had was with shadows and highlights.
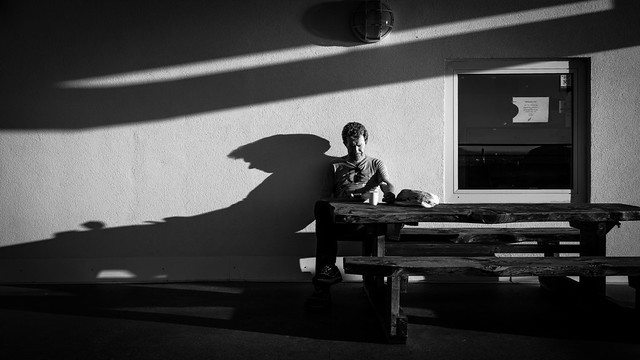
“The other me” captured by Giuseppe Milo.
I would ask a student to show me a pure white in their print and they would point to a cloud or something similar. I would say, “That’s not white,” and they would argue with me. Now admittedly this was done under safe lights, but once I asked them to fold over the edge of the print so they could see the back of the photo paper, that’s when I would say “Now that’s pure white.”
They didn’t argue, because they actually did have a pure white, they argued because that’s how they remembered the scene in their mind. I had to remind students again and again that unless you do something different, the camera only exposes at 18% gray. Likewise, in a darkroom, unless you do something different the prints that come out are also 18% gray. When you expose something at only 18% gray, you are using a middle of the road type exposure. That should be your starting point, not your final destination.
In the Zone System developed by Ansel Adams there are 10 zones—or shades—from pure white to pure black. If you take a close look at most exposure compensation settings, regardless if your camera is digital or 35mm, most of them only give you a plus or minus range of two f-stops. If the original setting that your camera uses (18% gray) is zone 5 and you can only expose at plus or minus two stops, that only gives you a visual range of five f-stops. What happened to the other five zones?
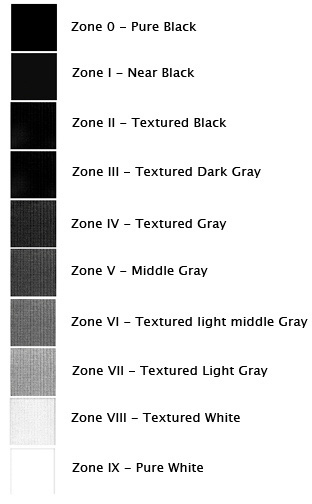
Image from Chris1122 on Wikimedia.
Camera manufactures keep coming out with bigger and better units every day, but to date, none of them have developed a sensor as sensitive as the human eye. You may remember those awesome white puffy clouds, but that is because your eye sees and comprehends a wider range of colors than just the standard 18% gray. Remember, if you want a subject to actually be white (a wedding dress, for example) you will have to give the shot more light than the camera suggests. If you want it to actually be black, a black cat for example, you have to give the shot less light than what the camera is indicating.
When it comes to light, it seems that many photographers become totally obsessed by the idea of controlling it. I mean, we buy studio lights so we can get more of it. We get reflectors and bounce things off the wall. Why? All for the mistaken idea that we need to get rid of the shadows. Let’s just take a moment, breath deep, and remember the classics.
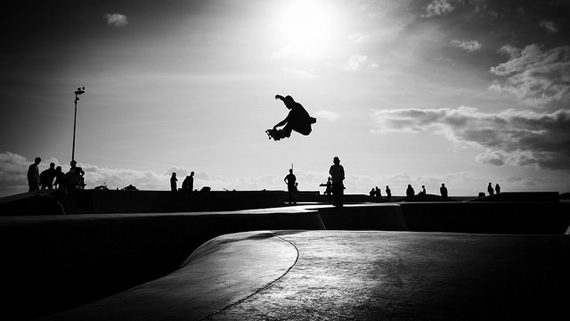
Photo by Giuseppe Milo; ISO 200, f/8, 1/2500 exposure.
When someone says they are going to use Rembrandt lighting or butterfly lighting what are they referring to? They are talking about studio lighting setups that allow you to control the shadows, not eliminate them. Shadows help to set the mood of a shot. When you think about it, all lighting patterns are defined by the shadows, not the light. If there were no shadows, there would be no patterns. All lighting would be the same.
Highlights are usually defined as the brightest area in a photo. As my students learned, what you shoot as white doesn’t always come out as white. This is often more obvious in black and white photography than with color, but when you lack highlights you also lack dynamics. When you shoot a snowy mountain top and nothing is truly white, you have what most of us to refer to as a “flat image.” We call it flat, because like a tire on your car, if it’s flat it just doesn’t take you anywhere.
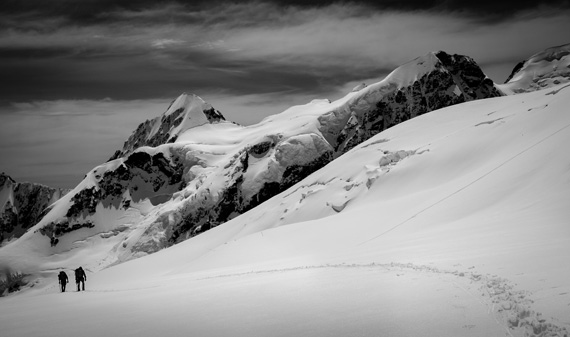
“Heading home” captured by Vern.
Fashion photographers often go to great lengths to play with the highlights in the eyes, or in the hair, or in a smile. A photo tip worth remembering is that sometimes in an effort to get better highlights, we overexpose the image and actually lose detail. That’s referred to as burn out, and it’s not the same as a well thought out highlight.
With that in mind, I would like to redefine highlights as the brightest area in a photo in which one can still see detail. The same is true of a great shadow. A shadow is defined as the darkest area of a photo in which you can still see detail. If you see a picture of a cave opening and all is black, you don’t really have any shadows (you have darkness). If you can see eyes and a hairy outline of some type of creature breathing the cool night air, you can honestly say you caught something lurking in the shadows.
The reason the masters went to such great efforts to include shadows and highlights in their photos is that it took their work to the next level. If all cameras shoot at 18% gray, which is a middle of the road type exposure, it is fair to assume that 90% of the people in the world today are getting middle of the road type photos (as far as exposure is concerned).
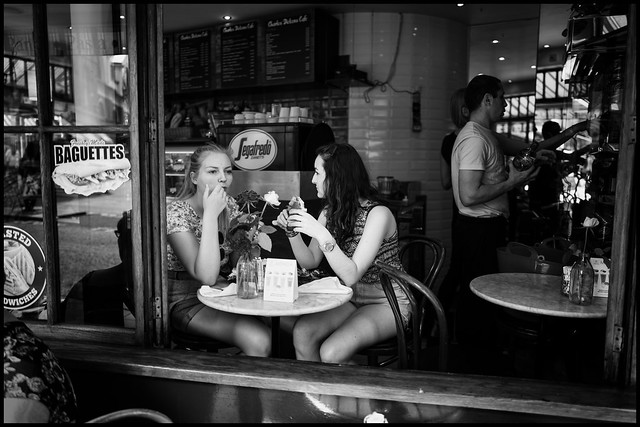
“A Quick Snack” captured by David Guyler.
Many advanced amateurs do use exposure compensation, but they’re still on the high or low end of middle gray. To ensure your images have the same richness as the masters, like Ansel Adams or Edward Weston, you too have to include shadows and highlights. Look again at the images that impress you, regardless of the subject matter. What do they have that you do not? I’m willing to bet that it’s in the details, and those kinds of details are often found in the shadows and highlights.
About the Author:
Award winning writer/photographer Tedric Garrison has 30 years experience in photography (betterphototips dot com). As a graphic art major, he has a unique perspective. His photo eBook “Your Creative Edge” proves creativity can be taught. Today, he shares his wealth of knowledge with the world through his website.
Go to full article: Shadows and Highlights: The Mark of Excellence
What are your thoughts on this article? Join the discussion on Facebook
Article from: PictureCorrect
The post Shadows and Highlights: The Mark of Excellence appeared first on PictureCorrect.