The Sony Alpha A5000 was the fourth compact system camera from Sony to appear after the company decided to drop its NEX name for E-mount cameras. Instead it uses the Alpha brand, often shortened simply to "A".
[Update: The Sony Alpha A5000 was launched at the start of 2014 and has since been superseded by the A5100, while higher models in the Alpha range have since become more competitively priced. A good entry-level option, but if your budget will stretch to it, you'd be better off with the 24MP Alpha A6000.]
The first model was the Sony a3000, an entry-level camera with a DSLR like design, more akin to the A-mount entry-level Alphas offered by the next company. The next two were the Alpha 7 and Alpha7R, two high-end, full-frame cameras.
Sony refreshes its range of compact system cameras, especially those at the lower – middle end of the ranges, roughly every 12 months. The a5000 was announced at CES and is a replacement for the NEX-3N. It sits below the NEX-5T, which is yet to be replaced, and the A6000, the camera which now sits at the top end of Sony's enthusiast APS-C range.
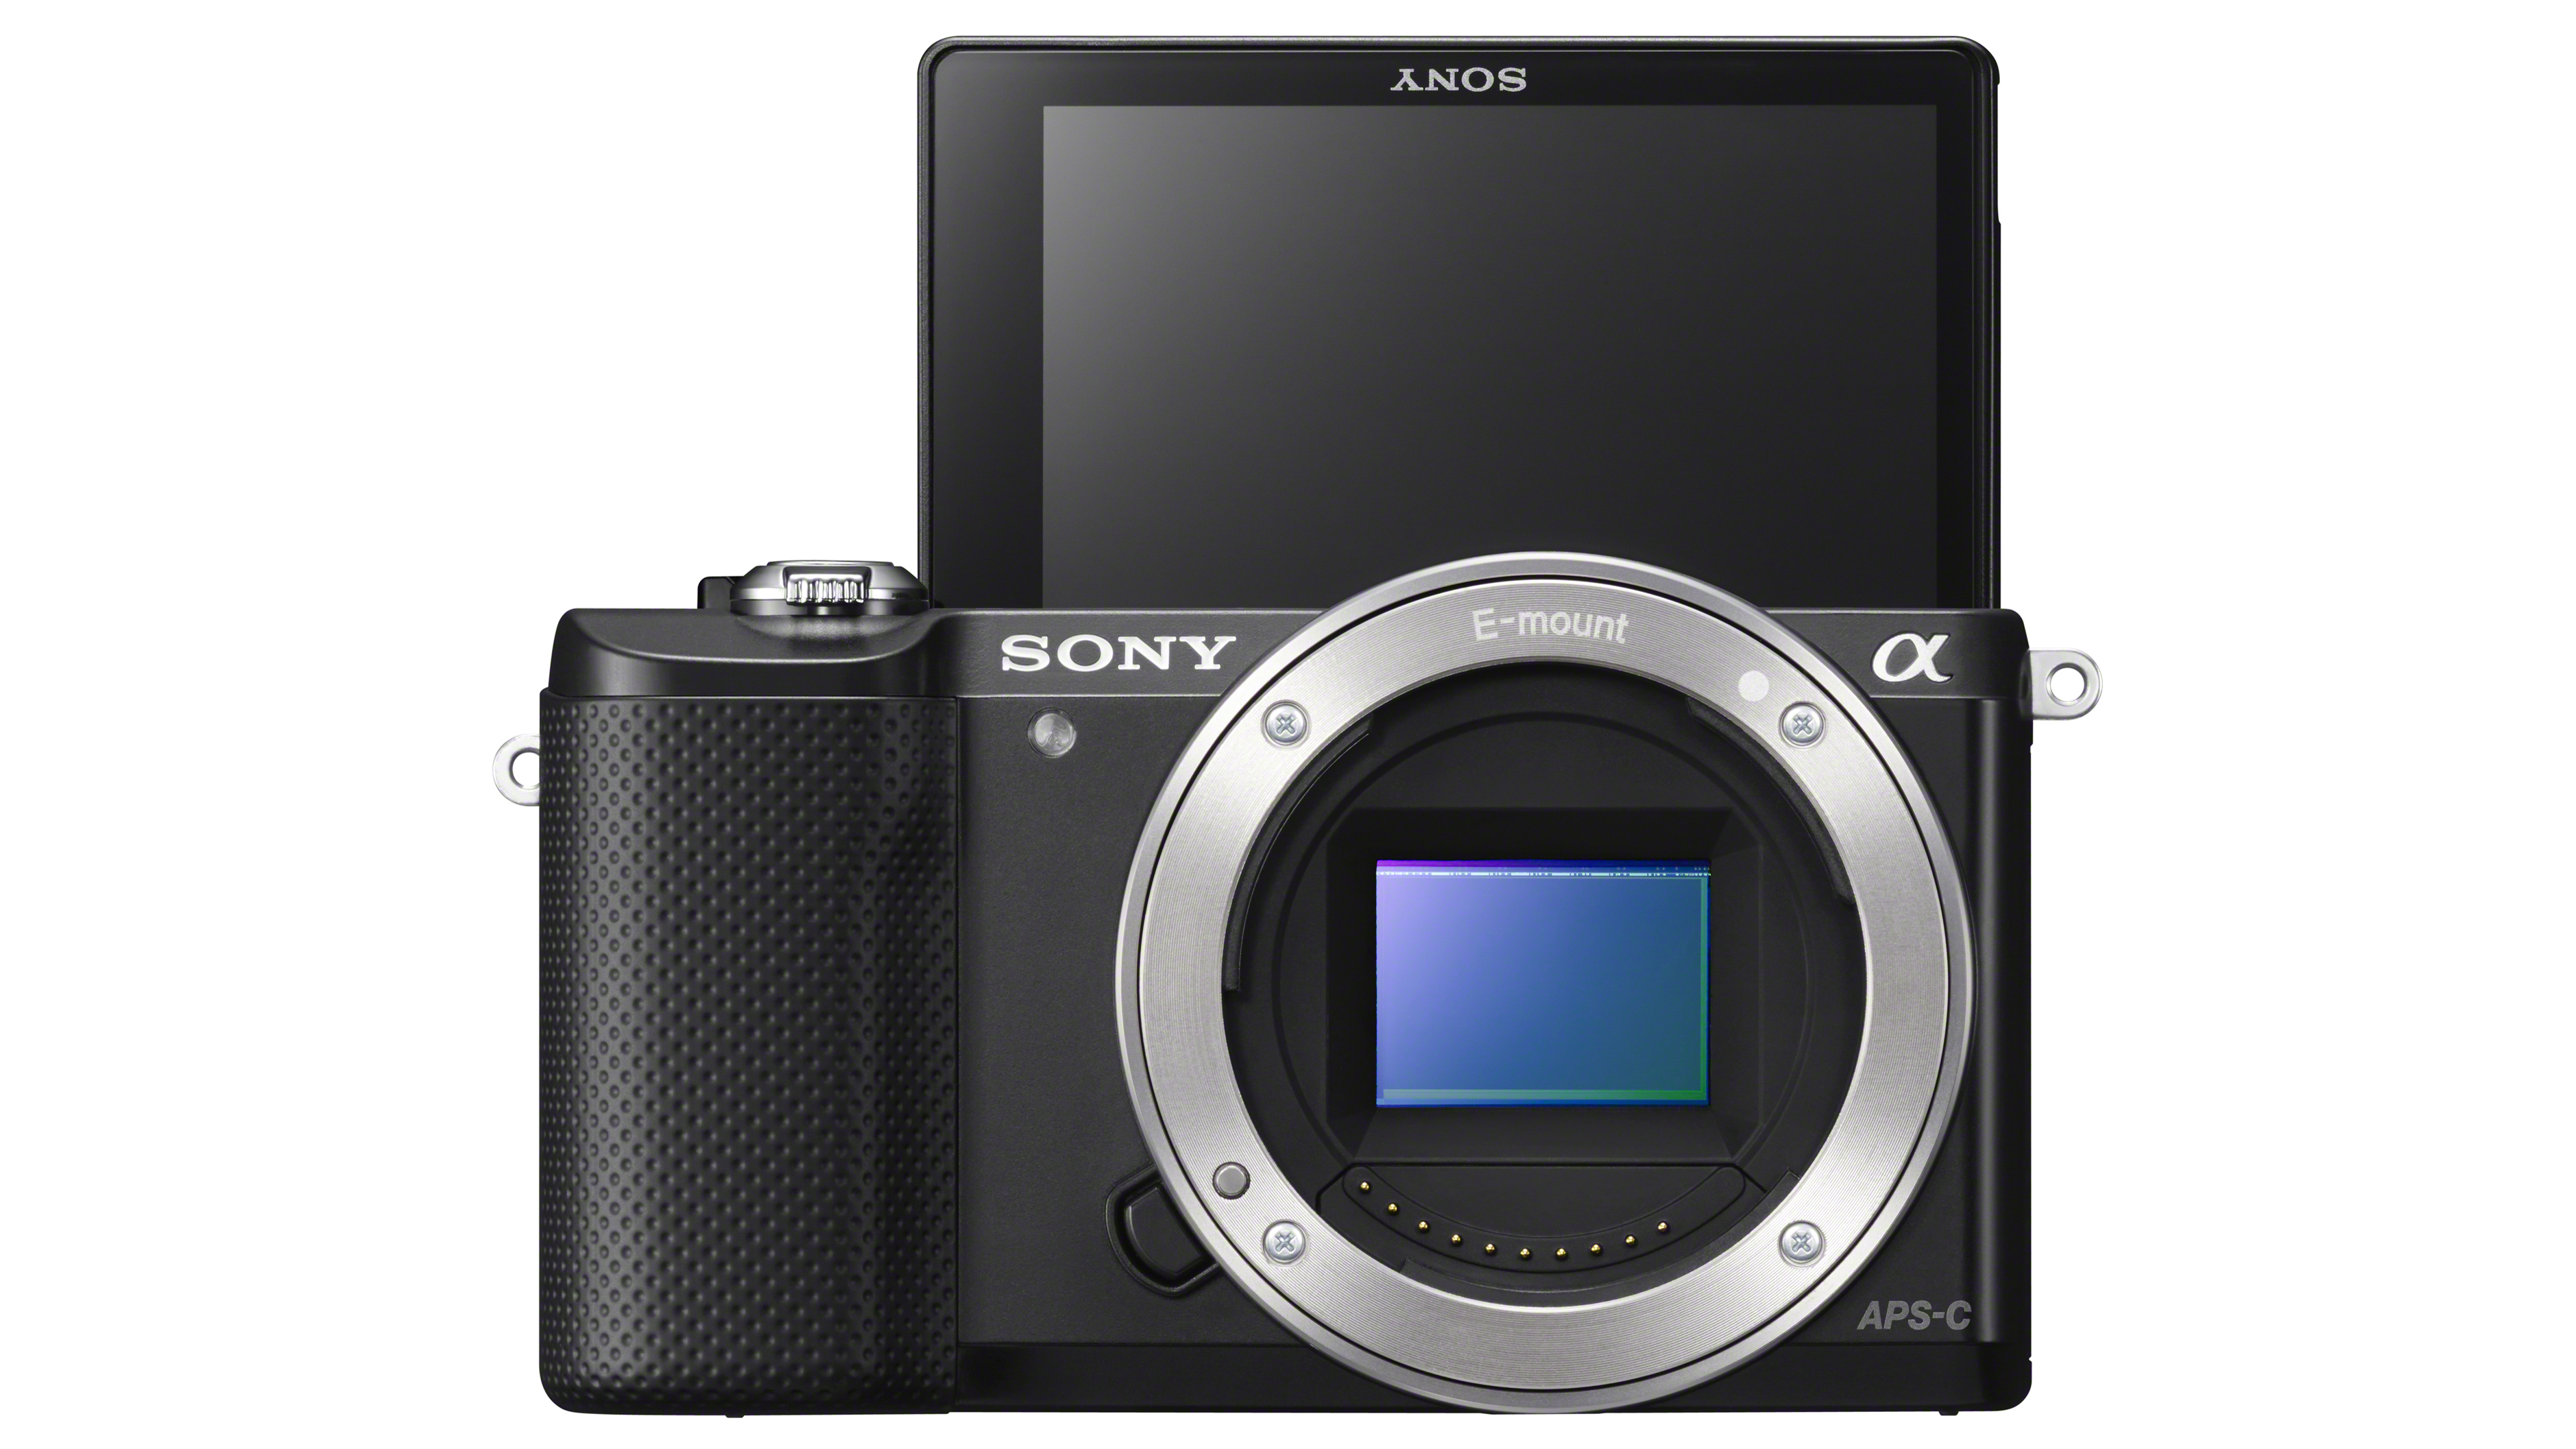
Whereas the A7 and A7R are aimed at enthusiast and professional photographers, the a5000 joins the a3000 at the entry-level end of the line-up. This camera however takes the familiar NEX shape we’ve been used to for some time now, with a flat, compact (body only) design.
That’s not to say it doesn’t feature some of the features from those cameras higher up in the range. Inside the Sony Alpha a5000 is an APS-C format Exmor APS HD CMOS sensor with 20.1 million effective pixels and the same Bionz X processor as found in the A7, A7R and the recently announced A6000.
This combination allows sensitivity to be set up to ISO 16,000, but the maximum continuous shooting rate is more modest at just 2.5fps, or 3.5fps in Speed Priority Continuous shooting mode.
Although aimed at novices, the Alpha 5000 has advanced exposure modes (program, aperture priority, shutter priority and manual) in addition to iAuto, Superior Auto, Scene selection and Sweep panorama for less experienced photographers. This means that users have room to grow as they learn about the camera.
Picture effects
There are also 13 Picture Effects such as High Contrast Monochrome, Toy Camera and HDR Painting that can be applied to JPEG images. Raw files can also be recorded, but not at the same time as using the Picture Effects.
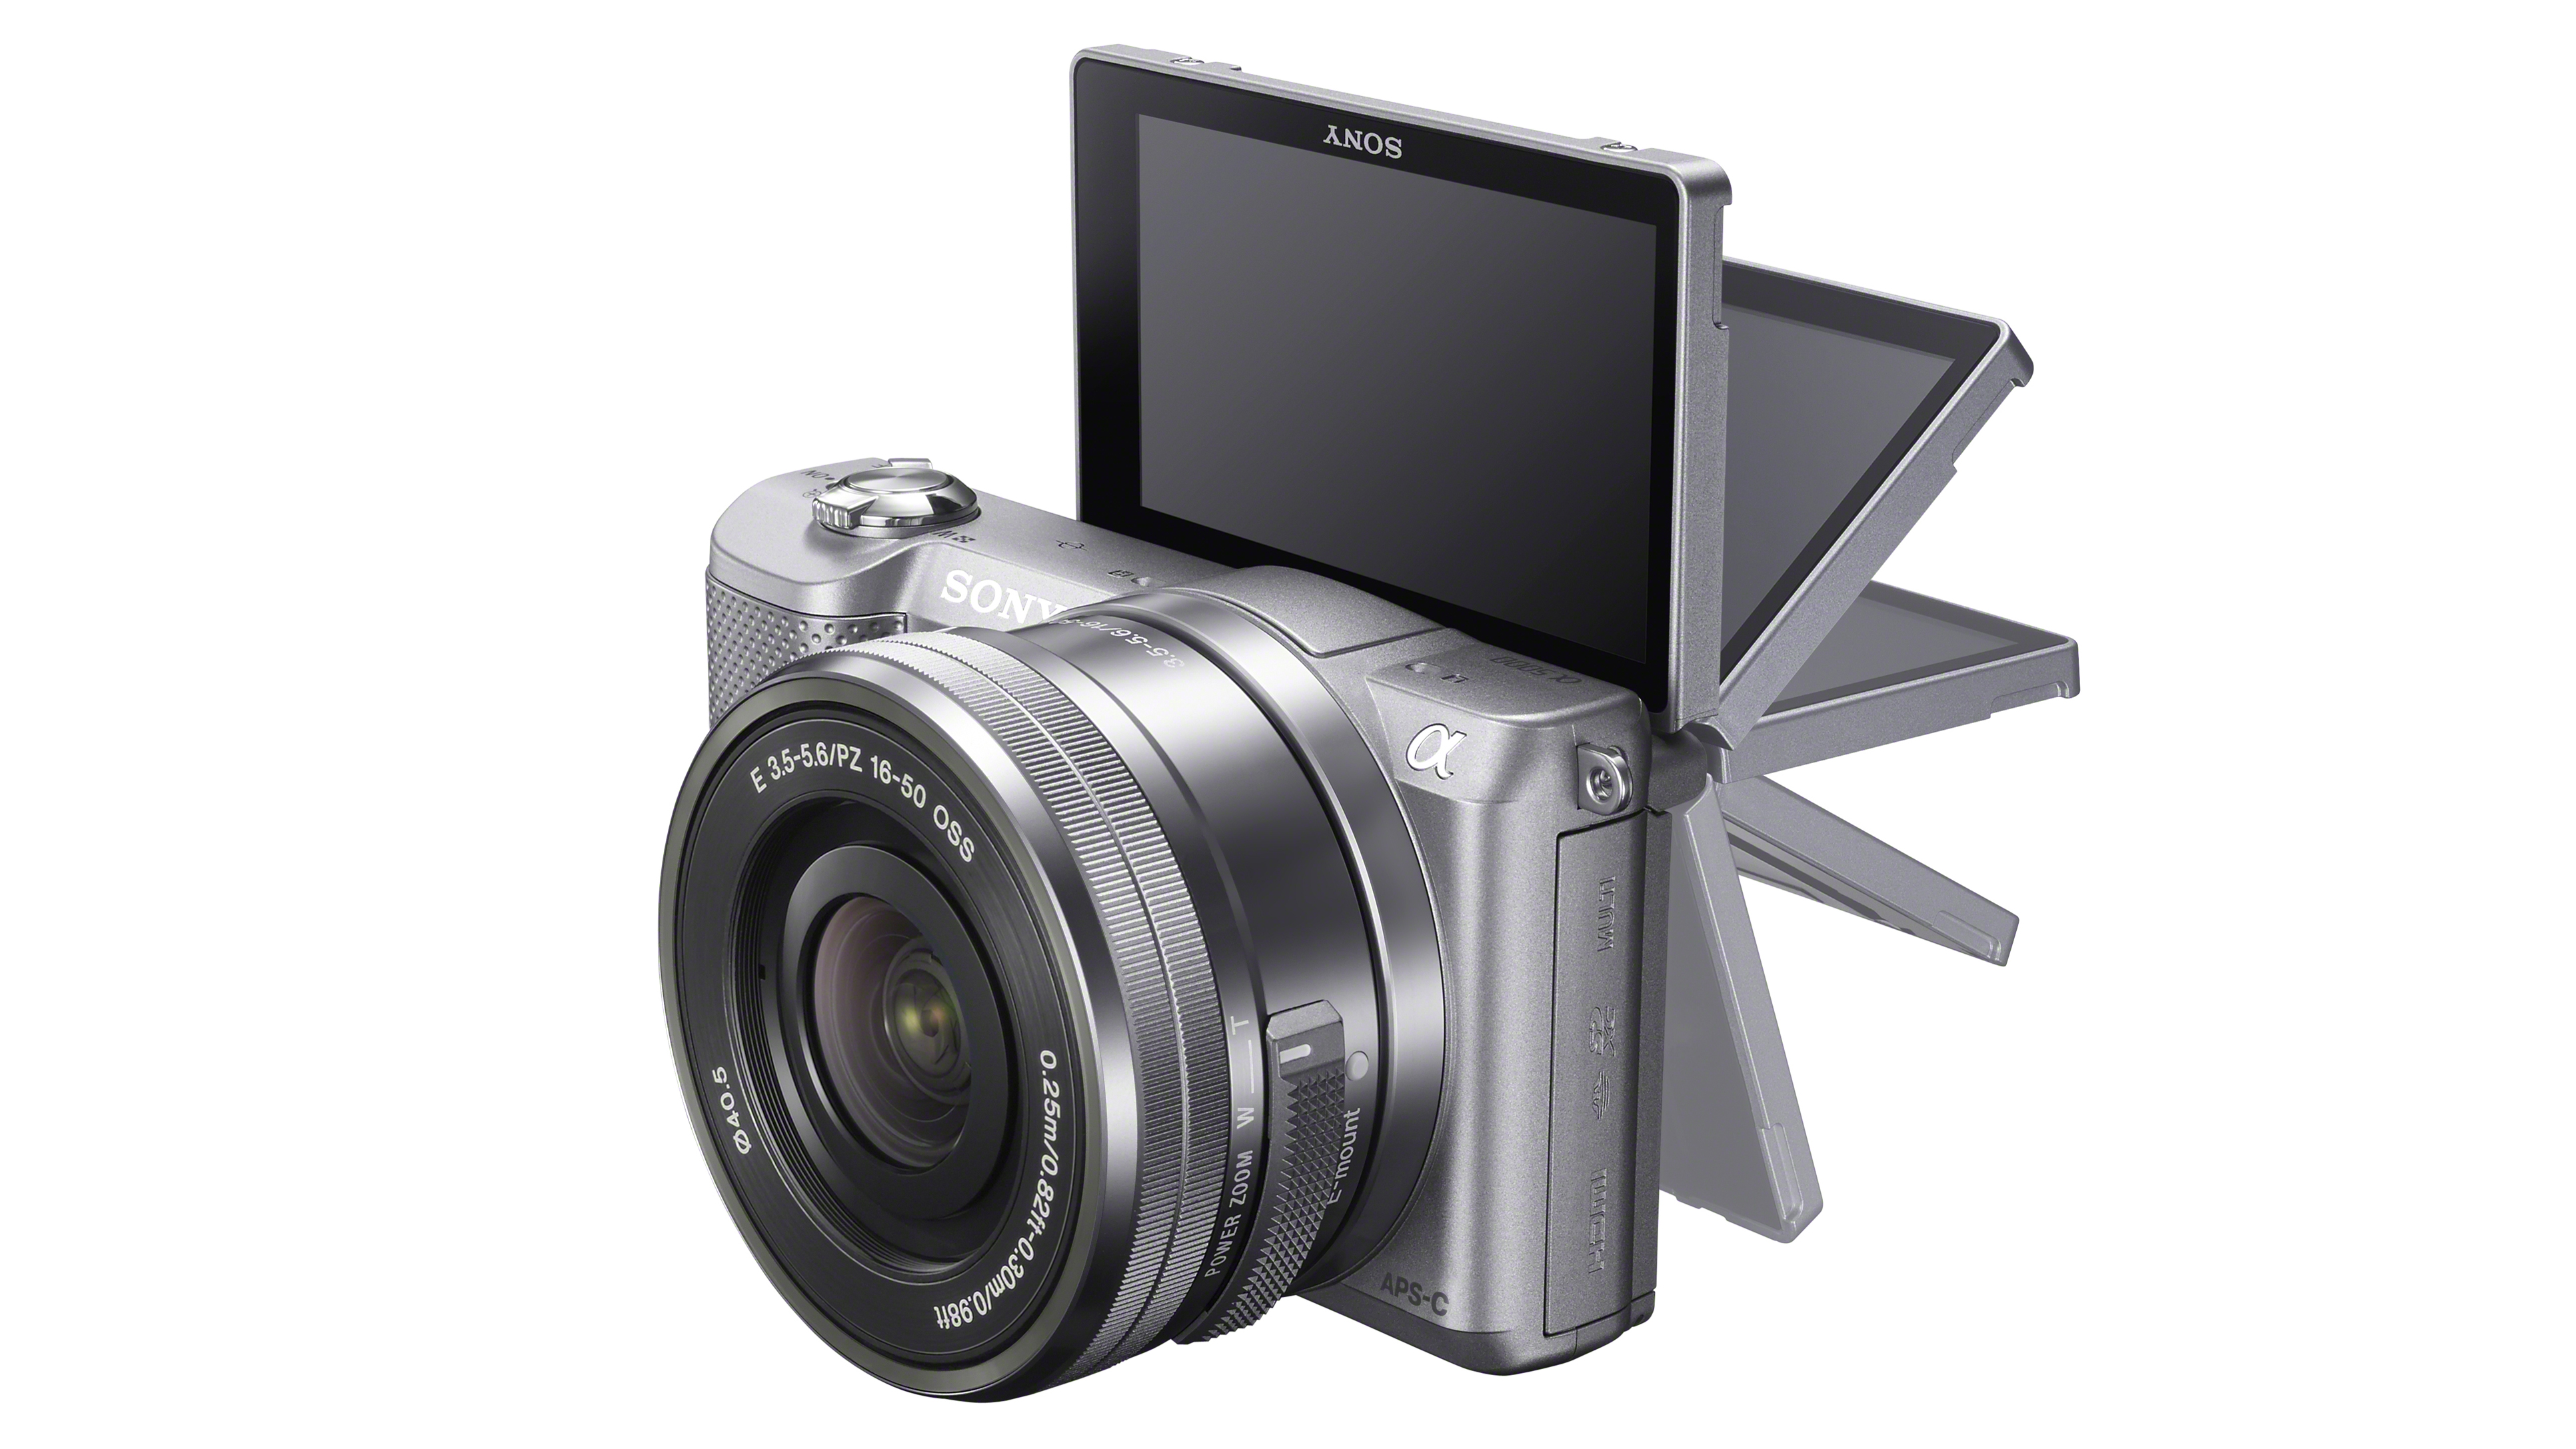
There is no viewfinder on the A5000, but the 3-inch 460,000-dot LCD screen is a tilting unit that can be tipped up through 180 degrees to help when shooting selfies. It’s worth noting that there is also no hotshoe or accessories port, so you can’t add any external accessories to the camera.
In addition, NFC and Wi-Fi technology is on-board, with the former allowing quick connections to be made to NFC mobile devices such as Android smartphones and tablets.
The Wi-Fi connectivity enables Sony’s PlayMemories Camera Apps to be downloaded to the A5000 to add extra functionality. These include options such as Direct Upload that enables images to be uploaded to Facebook, PlayMemories Online or Flickr; Smart Remote Control that enables the camera to be controlled by a phone or tablet; and Time Lapse to enable easy time lapse movie creation.
The a5000 is billed as the world’s smallest APS-C sized interchangeable lens camera. It’s not as small as the tiny Panasonic GM1, but that has a smaller (in comparison to APS-C), Micro Four Thirds sensor. The a5000 competes with other entry-level compact system cameras such as the Samsung NX2000, Panasonic GF6 and Olympus PEN E-PM2.
The a5000 is very similar in size, style and shape to the NEX-3N, which it replaces. Although the camera is in the flat, compact style of other NEX CSCs, it has a chunky grip which is textured and feels very secure in the hand. With heavy cameras, it’s fairly unlikely that you’ll often be using it one handed, but the a5000 is very light, so there’s a good chance you might – in which case that chunky grip really makes it feel steady.
Additionally, almost all of the buttons on the a5000 are grouped on the right hand side of the camera, making them easy to reach with the thumb, again a good indicator that the camera is designed to be used one handed.
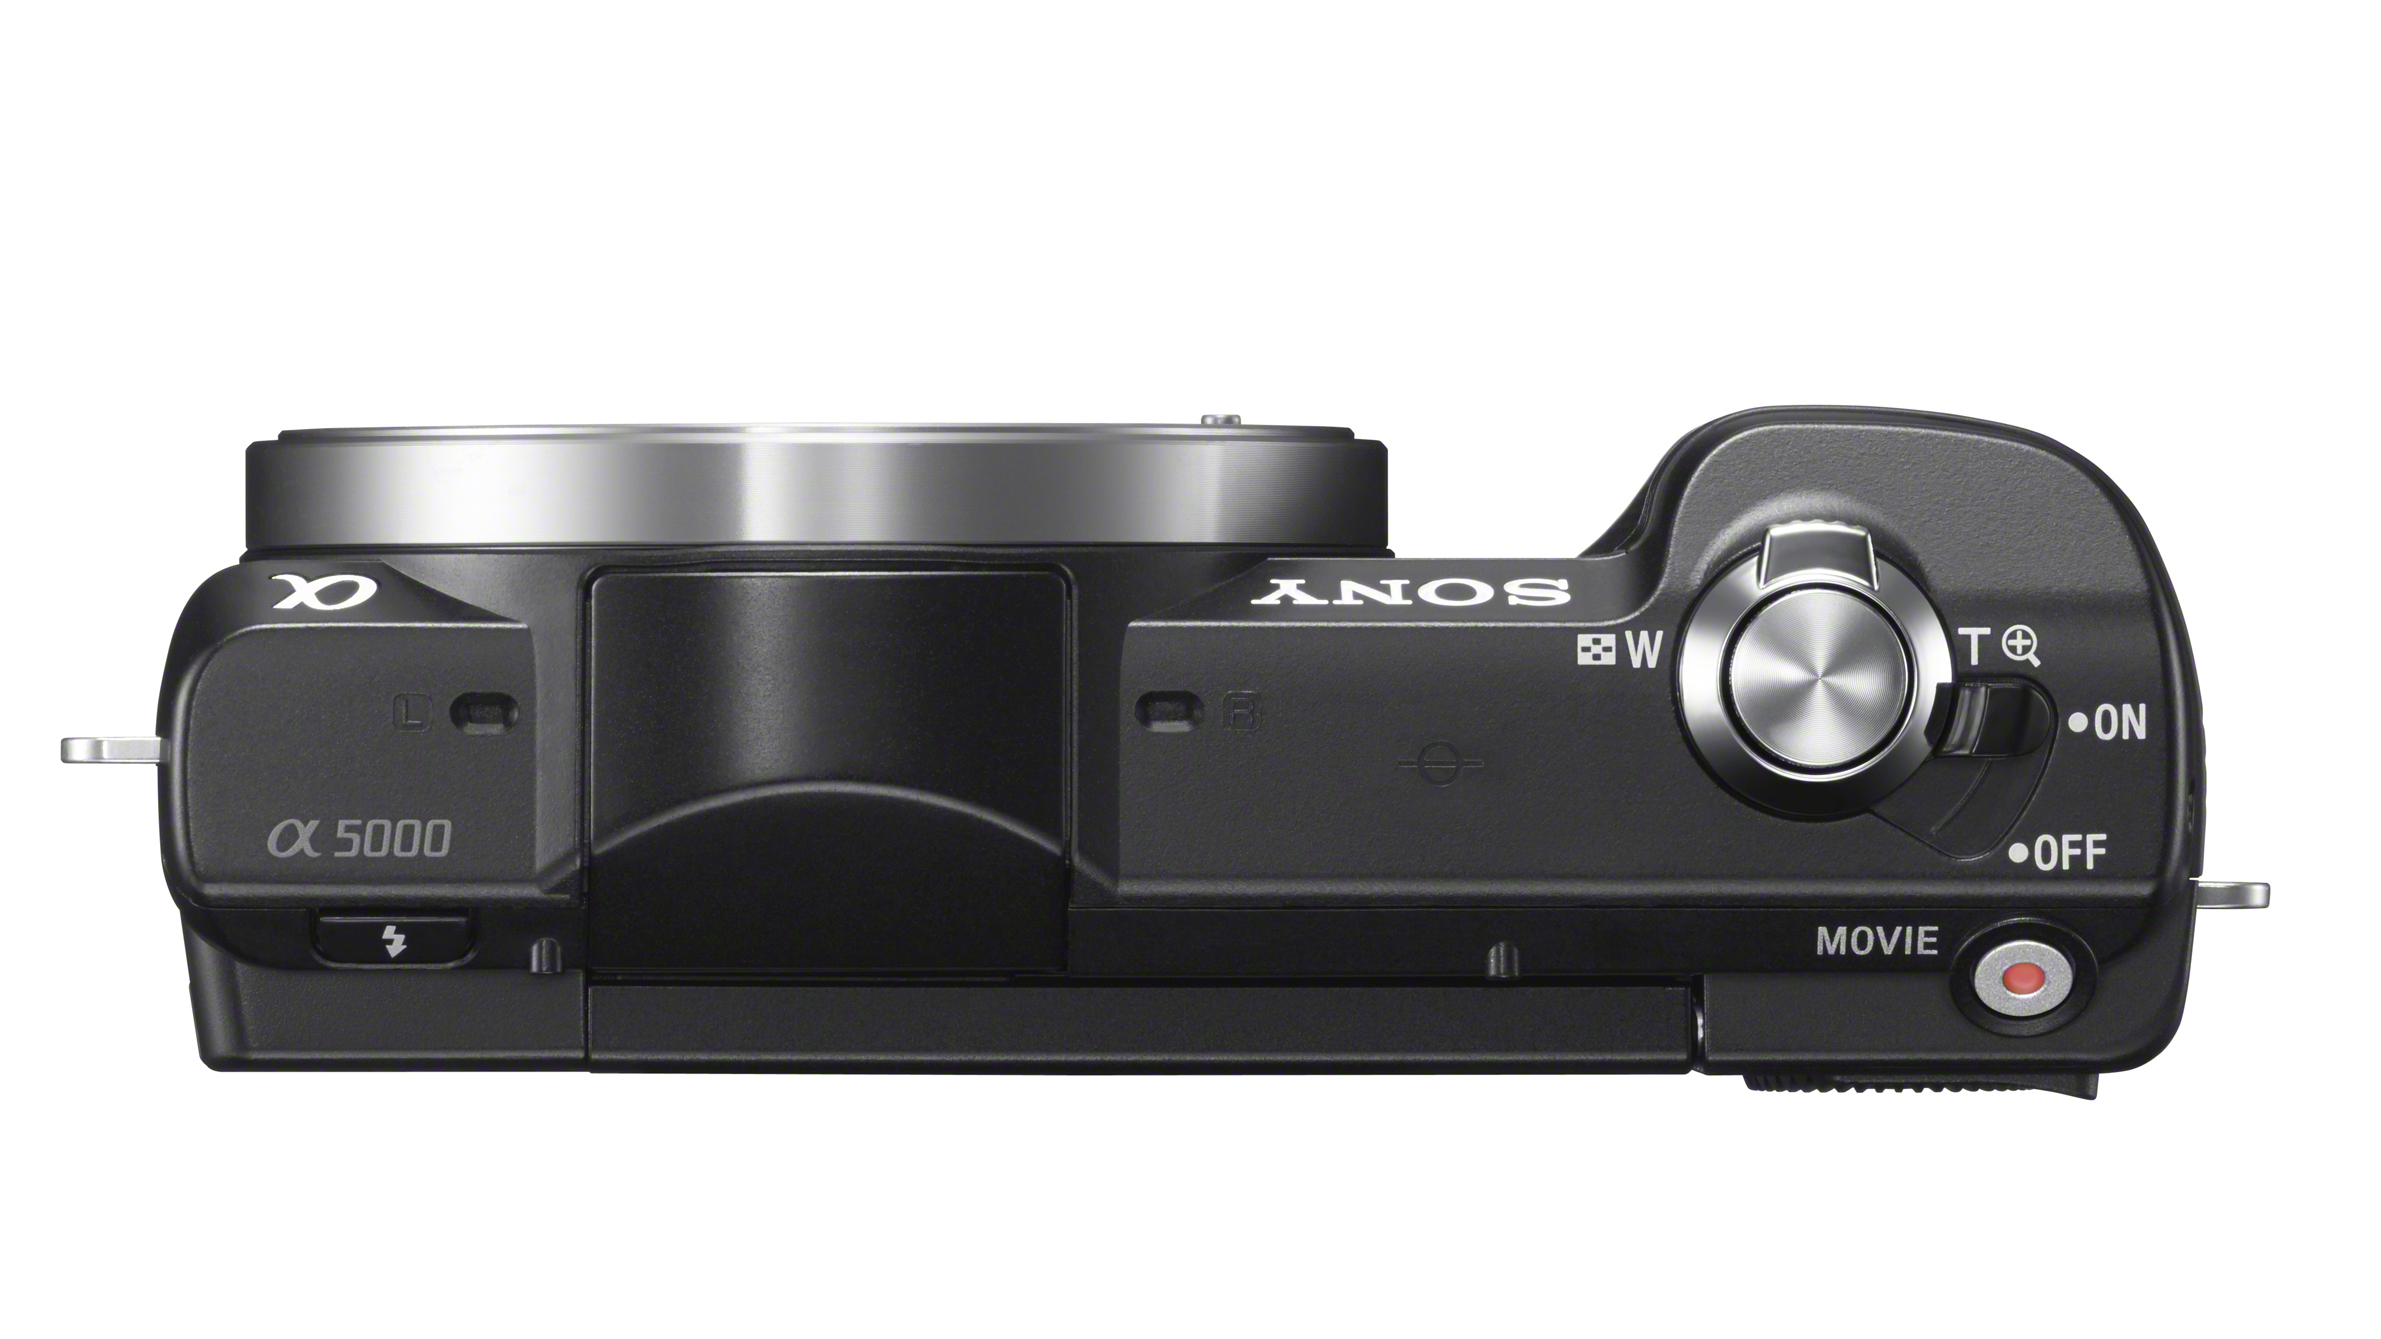
On top of the camera, around the shutter release button, is a switch for turning the camera on and off. There’s also a zoom lever which you can use when a power zoom lens is mounted to the camera, such as the 16-50mm kit lens – you can also use a switch on this lens itself if you prefer. The zoom lever on the top of the camera is also used for zooming into images in playback to check focus.
Also on top of the camera (but at an angle so as to not accidentally knock it) is a dedicated movie record button. The only button not to be grouped on the right hand side of the camera is the button which is pressed to lift the flash, which can be found on the left hand side of the camera, next to the pop-up flash unit.
On the back of the camera is the tilting LCD screen. This is neither touch screen, nor fully articulated. It only tilts up, which makes it useful for shooting from above, or for self portraits (it tilts so far as to fully face the front); but for shooting from above, or portrait format images, it’s less useful.
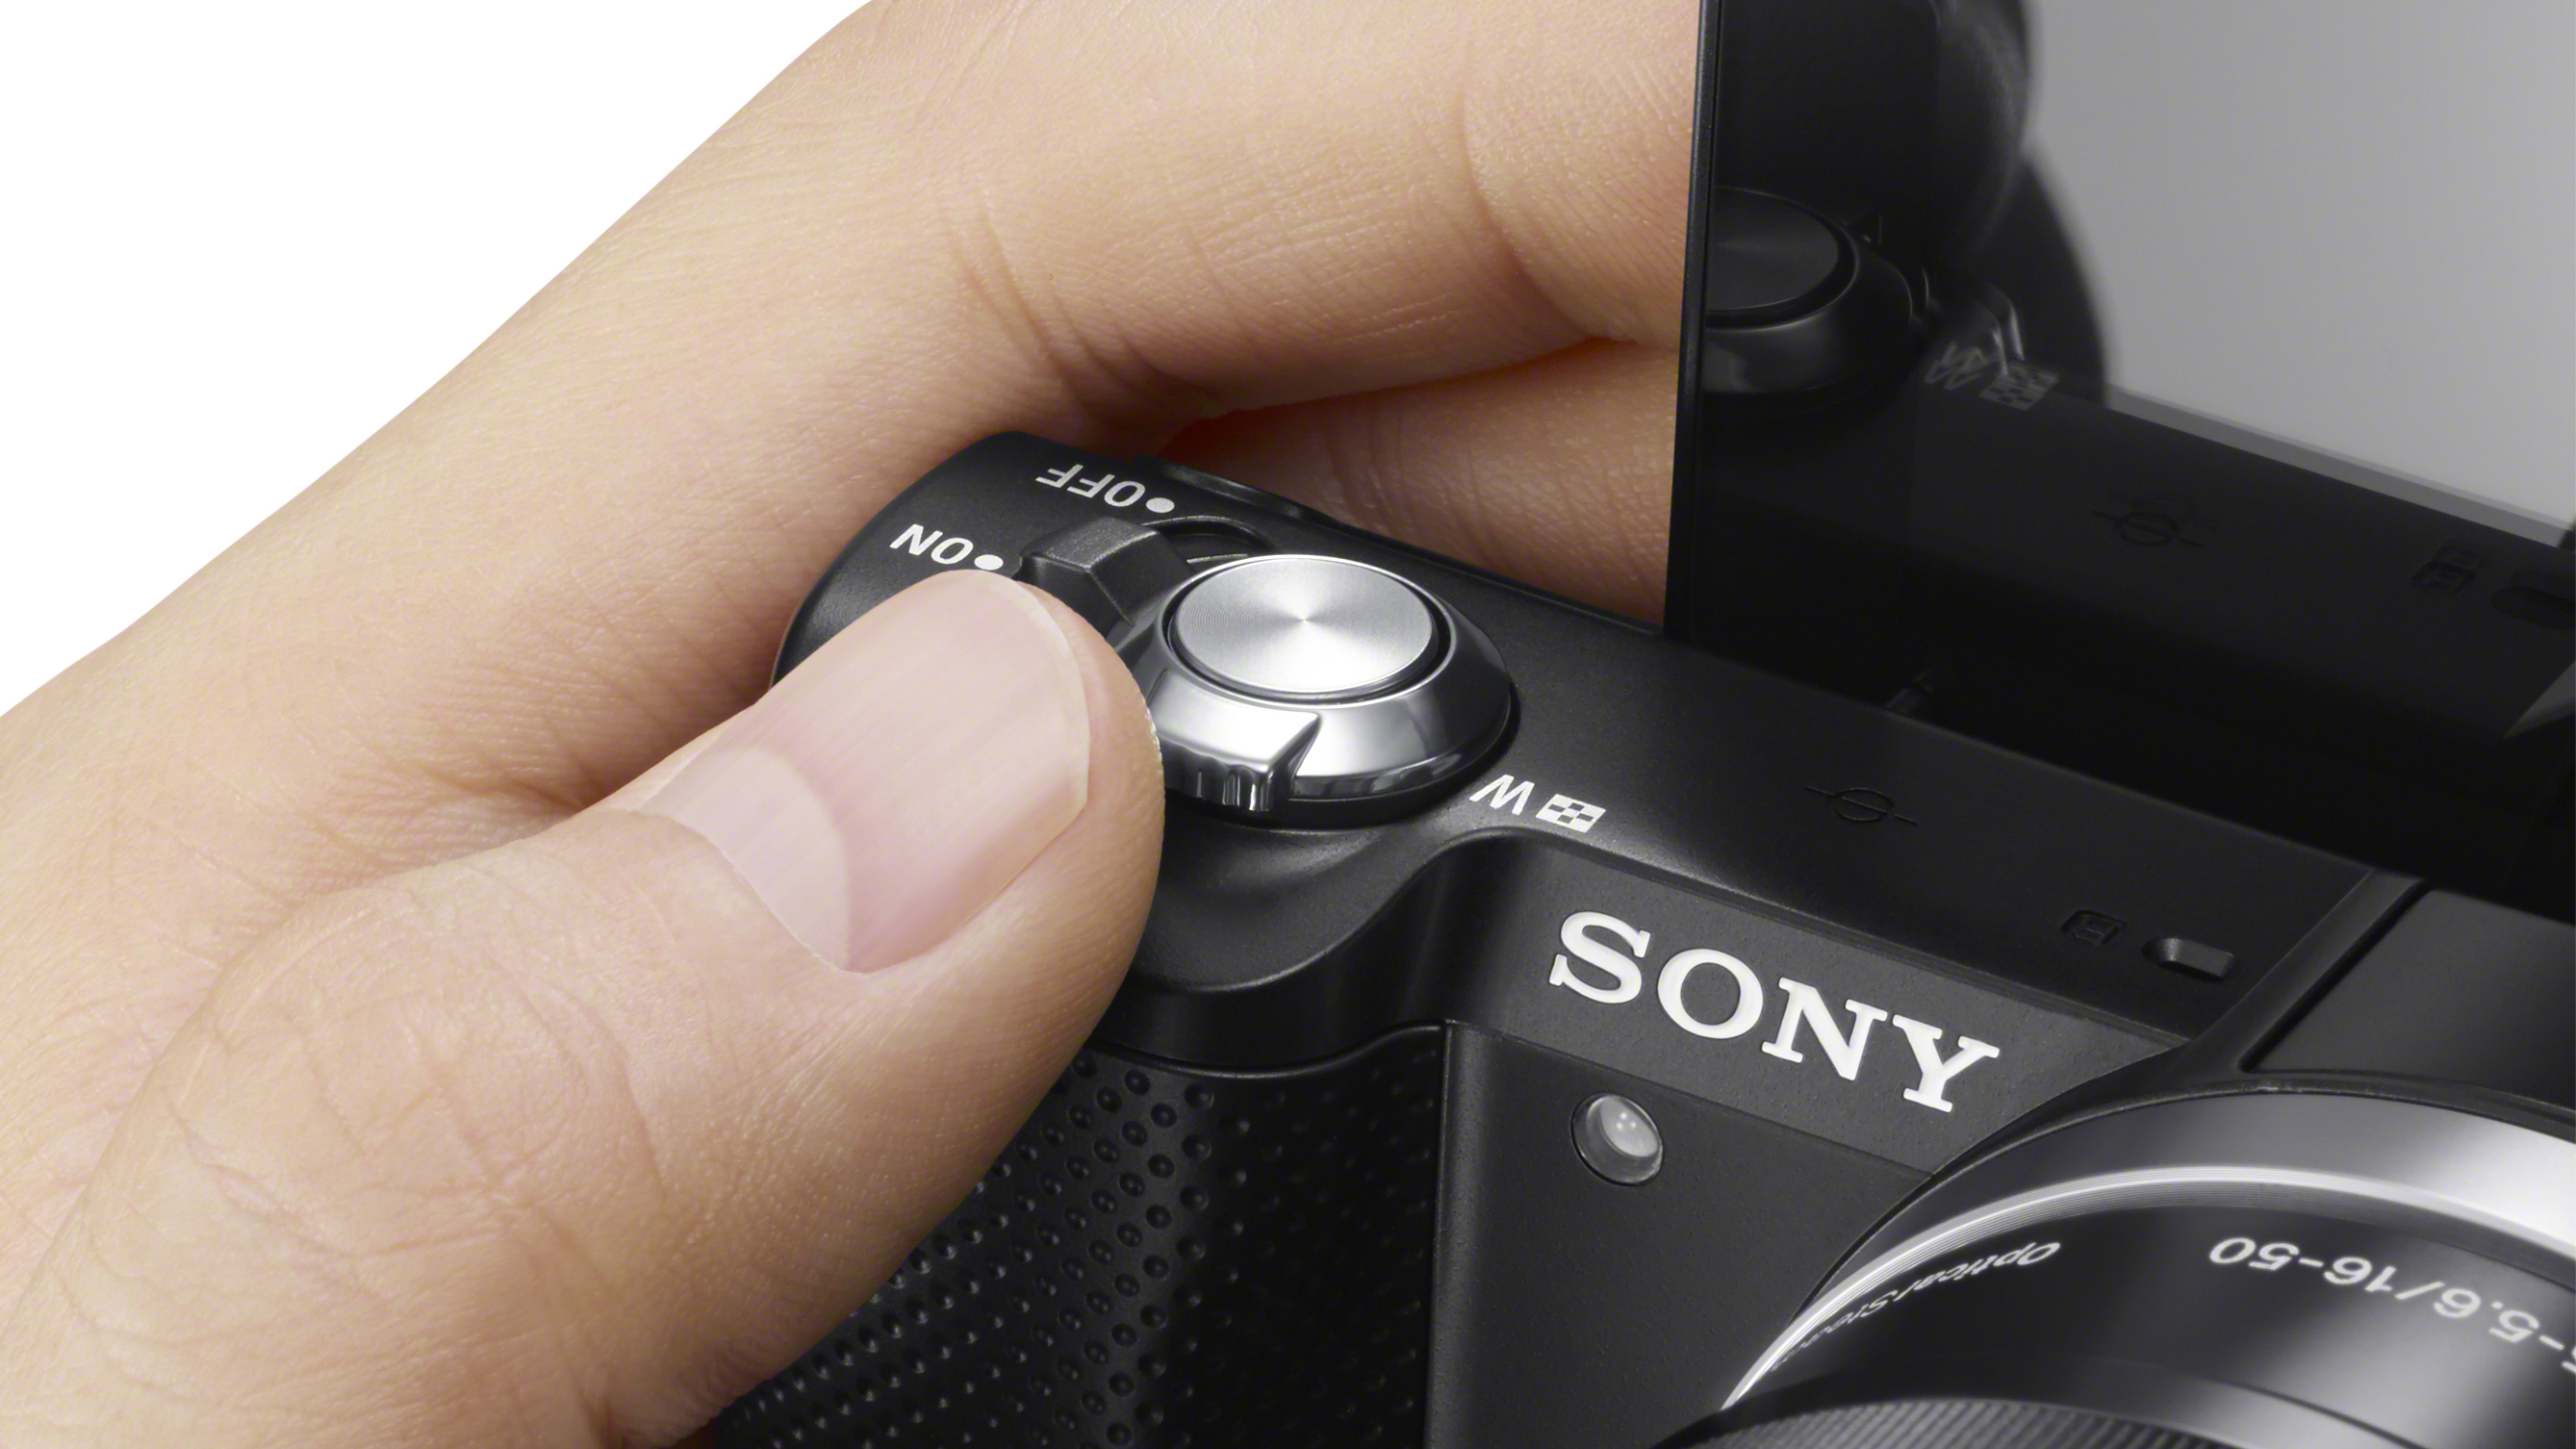
As with most other Sony cameras, many of the buttons on the back of the camera can be customised to the settings you use most often, which is useful. There is a dial which doubles up as a four-way navigational pad, each of the directional keys here can be customised, as well as the button in the centre of the pad.
There’s also another button in the bottom right of the camera, which has a question mark on it, which can be set to a particular function.
As there’s no dial anywhere on the camera to switch between different shooting modes, such as aperture priority, fully automatic, manual and scene modes, this can be done in one of two ways. You can either navigate to Shoot Mode in the main menu (via the menu button), or you can set one of the custom buttons to quickly access Shoot Mode.
The scrolling dial on the back of the camera is used for altering aperture or shutter speed, depending on the mode you’re shooting in. If you’re shooting in fully manual, you’ll need to press the down directional key (set to exposure compensation by default) to switch between the two parameters. If you’re shooting in shutter priority or aperture priority, press the down key to access exposure compensation then use the dial again to dial in or down however much compensation you need.
Autofocus
Setting the autofocus point, as we’ve found with other Sony cameras, can be frustratingly laborious. There’s no dedicated button for changing the autofocus point, but you can set one of the focus buttons to change the Focus Area, after which you’ll be able to move around the screen to the point you require.
There seems to be no quicker way to do this, and it’s a little annoying when you want to quickly move the spot. A touchscreen here would have made this very easy – but Sony seems very resistant to using this technology on all of its cameras. We’d recommend if you’re looking for speed, setting the autofocus point to the centre and focusing and recomposing, only changing the autofocus point if you have the time (or inclination).
Sony has decided to simplify its menu systems across the range, so the NEX menu of old is no more – something which we’re pleased about since that was a little confusing at times. Instead, the menu here is similar to those found on Alpha DSLRs, and will be the menu found on all Sony cameras from here on in.
This menu is sensibly laid out, being split up into different areas, such as camera settings, custom settings, playback and setup. It doesn’t take long to get used to, and it’s worth exploring the setup for some time to get used to the layout.
All of Sony’s recent cameras have impressed us a lot when it comes to image quality. Generally speaking, some of the quirks of handling are usually more than made up for by the fact that image quality is so good.
Happily, the a5000 has proven itself to be no different. Once again, images contain lots of fine detail, while colours are beautifully saturated.
We were similarly impressed by images from the NEX-3N, and saw no reason why the a5000 would be any worse. In fact, including the latest Bionx X processor, should have a positive impact on results.
Bionz X processor
One of the benefits of the Bionz X processor is a reduction in noise when shooting at higher sensitivities. At ISO 800, noise is controlled very well, while lots of detail is kept. A small degree of image smoothing can be seen at the lower end of the sensitivity scale, while this increases as you move through the ISO range.
At ISO 3200, noise is apparent when zooming in to 100% – some areas of an image start to have a painterly effect, but, when viewing images at normal printing or web sizes, such as A4 or below, images are very good and more than acceptable to use. We’d happily use up to ISO 3200 for any images that weren’t going to be printed at a very large size.
The automatic white balance setting is very good, producing accurate colours even under artificial lighting in the majority of instanceswe used it. You can alter the specific setting if you find it’s not quite matching up to the correct whites, but we found that this wasn’t necessary most of the time.
It’s great to see accuracy in this area, where previous cameras tended to err towards orange or warm tones under artificial lights. Similarly, all-purpose metering does a good job in the majority of conditions in helping to produce a well-balanced exposure.
Although the A5000 doesn’t claim speeds as quick as its more advanced stablemate, the A6000, or indeed Micro Four Thirds cameras, it is still pretty quick to focus, especially in good light. Focusing speeds drop a little in lower light, sometimes hunting around for a while before locking on, but it’s rare for a false focus to be presented.
The kit lens supplied with the A5000 is a 16-50mm PZ lens which we have seen before on other models including the 3N and the 5T. It’s a decent all-round performer, offering a flexible focal length that will suit a good variety of subjects. Even though the maximum aperture of this lens is f/3.5 you can still get some nice shallow depth of field effects, thanks to the camera’s large sensor.
Sony has some good additional lenses in its line-up, and while that number isn’t quite as large as the number of proprietary Micro Four Thirds optics, there are quite a few useful additions.
During this test we also used a 50mm f/1.8 lens, which is great for shallow depth of field effects, portraits, or if you’re shooting in low light, and would make a good second lens. We also used a 30mm f/3.5 macro lens, which is good for shots which require a lot of detail, such as still life.
A number of digital filters, such as Toy Camera, can be found on the A5000, which are worth experimenting with. It’s a shame that you can’t shoot these in raw format, so if you decide that you don’t like the filter down the line, then you’ll be stuck with it. If you want to be a little more flexible, then you can choose different Creative Styles. These allow you to shoot in raw format, and include settings such as Monochrome, Vivid and Portrait.
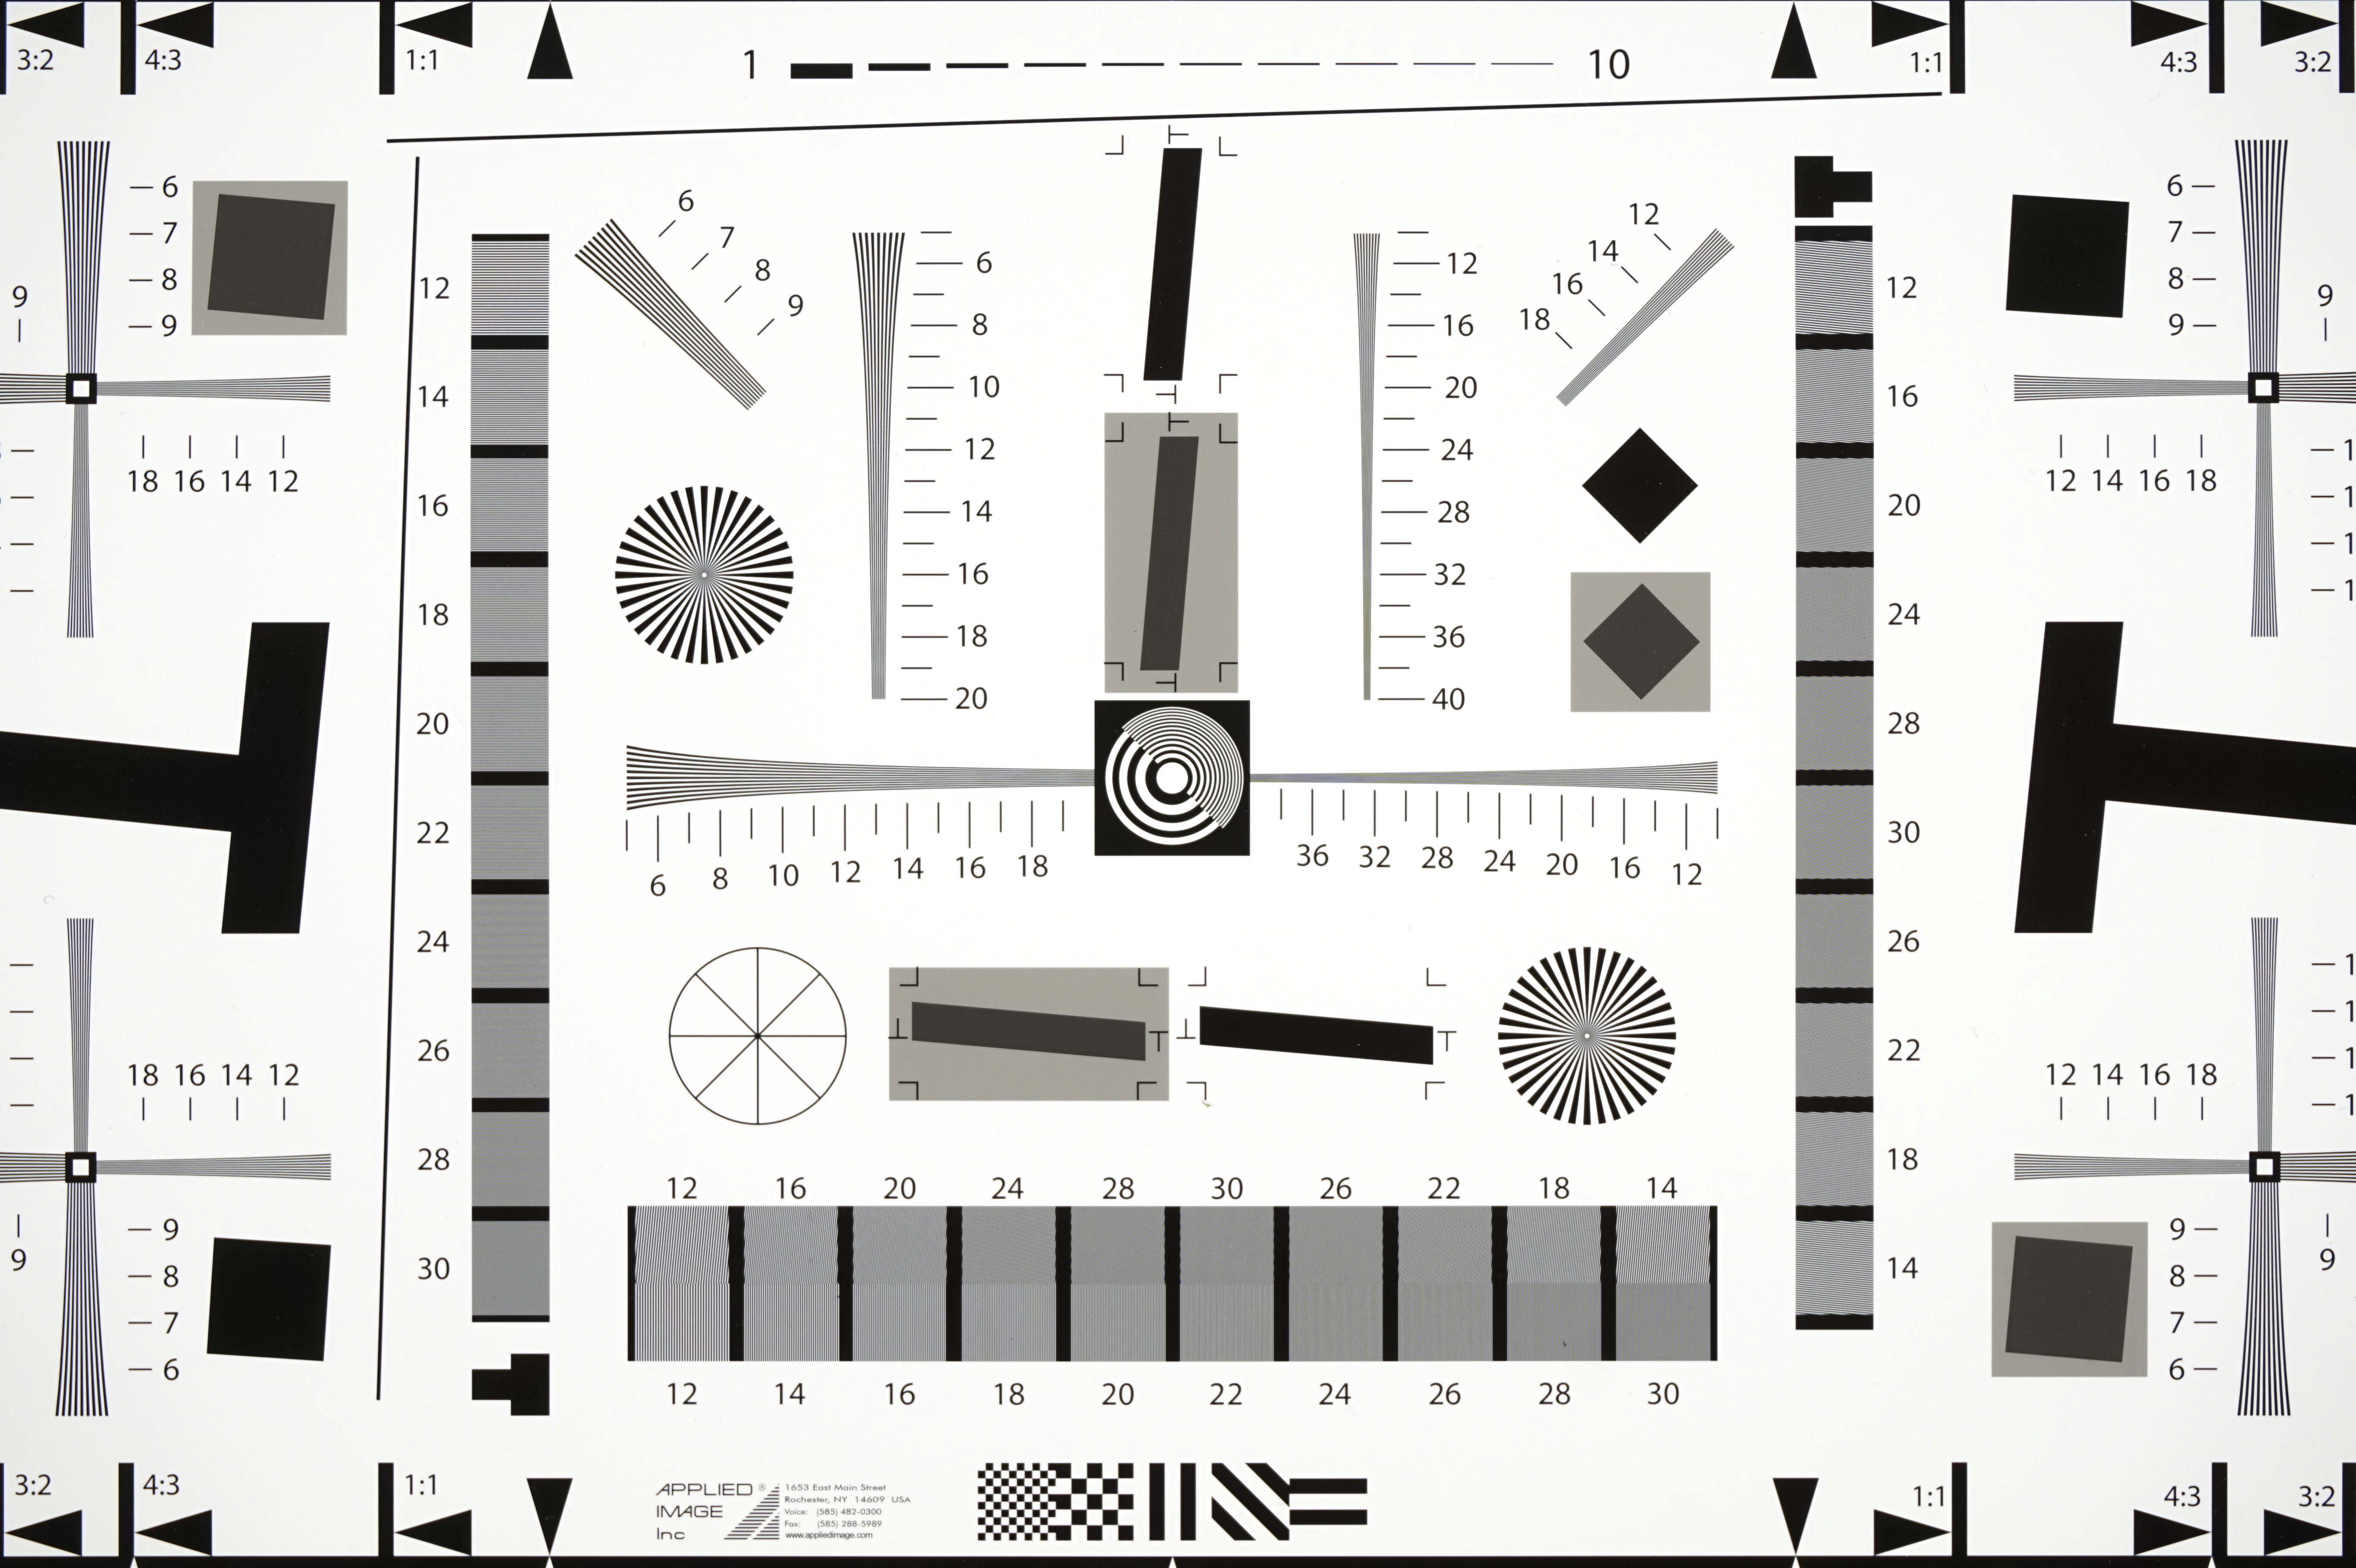
As part of our image quality testing for the Sony A5000 review, we’ve shot our resolution chart. These images were captured using a full-production sample of the camera.
For a full explanation of what our resolution charts mean, and how to read them, check out our full explanation of our camera testing resolution charts.
Examining images of the chart taken at each sensitivity setting reveals the following resolution scores in line widths per picture height x100:
JPEG
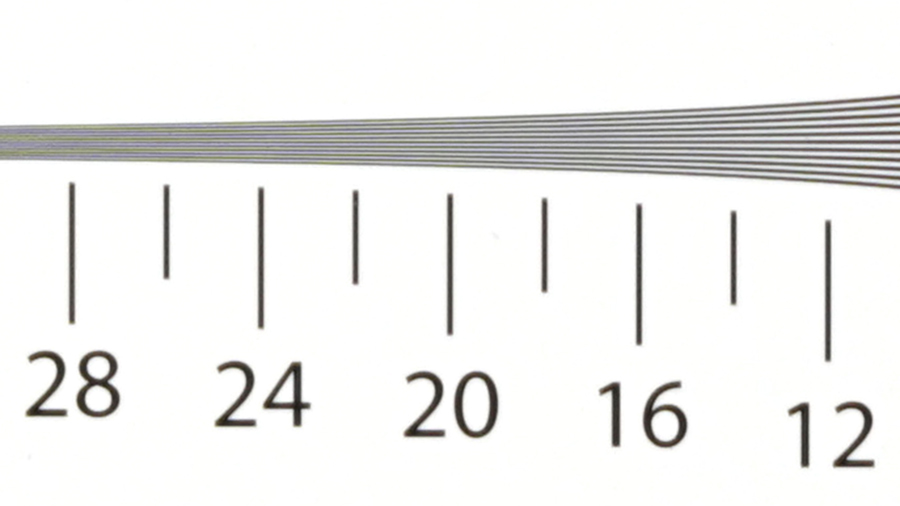
ISO 100, Score: 26. Click here to see the full resolution image.
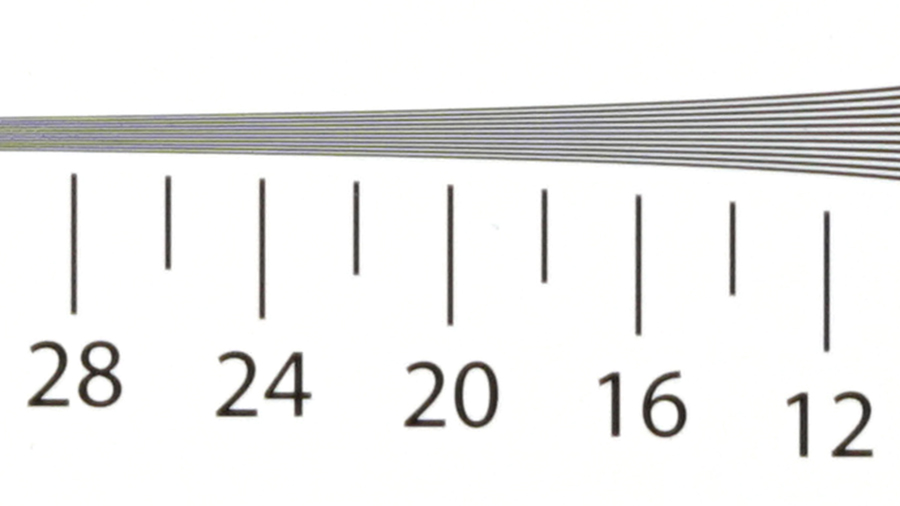
ISO 200, Score: 26. Click here to see the full resolution image.
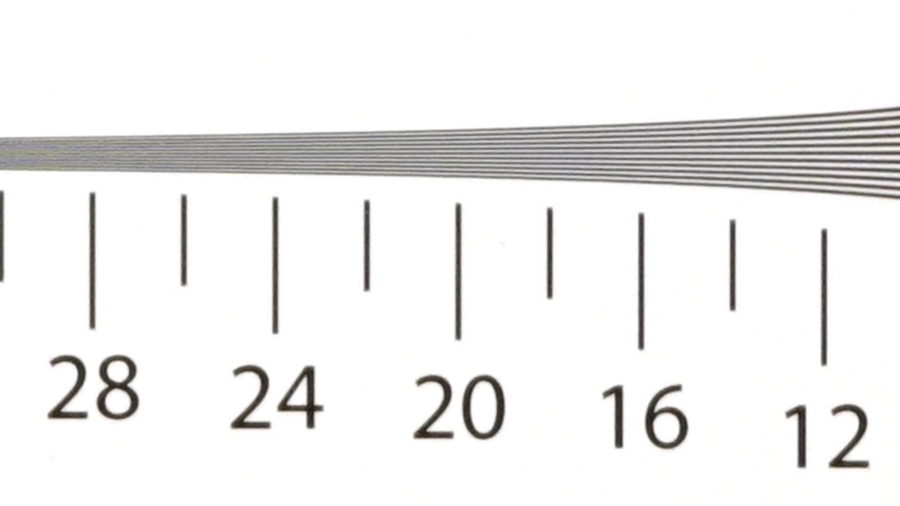
ISO 400, Score: 26. Click here to see the full resolution image.
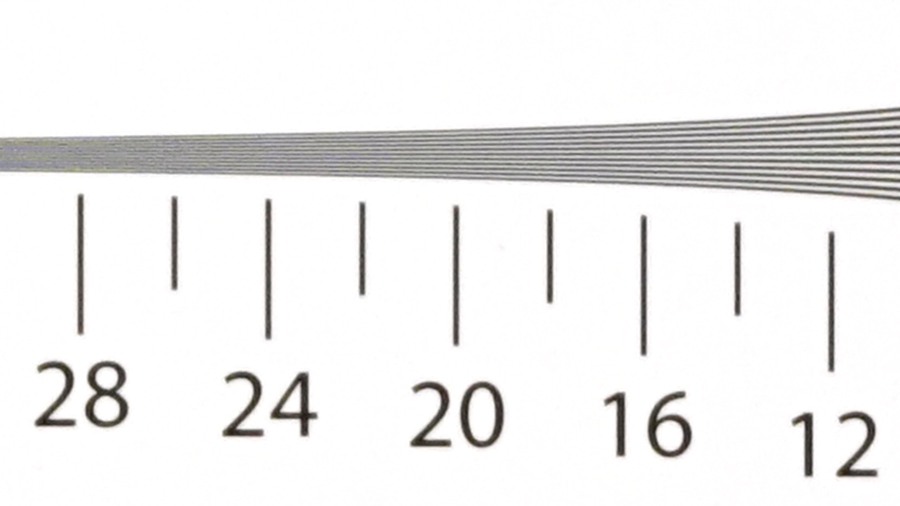
ISO 800, Score: 24. Click here to see full resolution image.
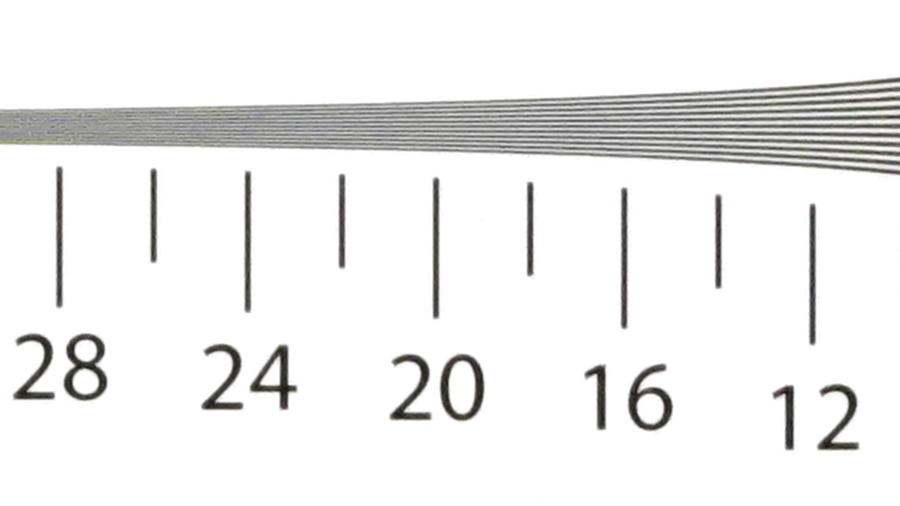
ISO 1600, Score: 24. Click here to see full resolution image.
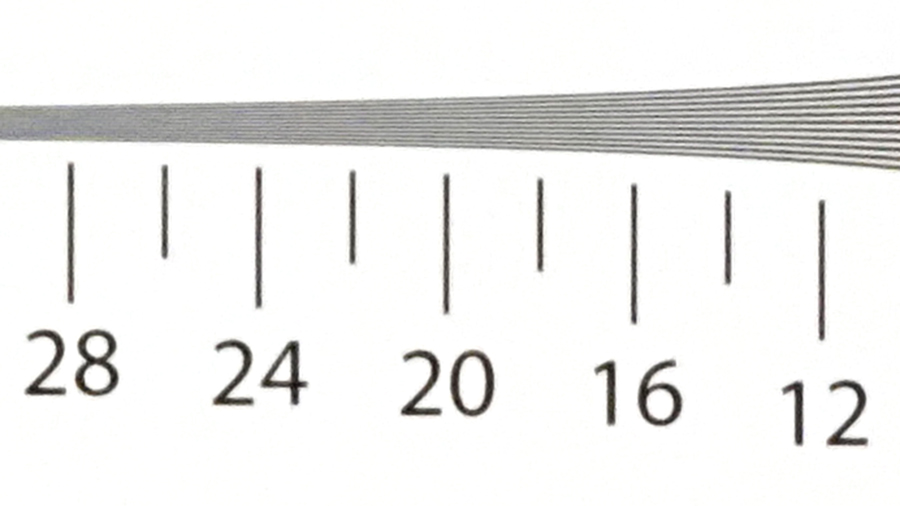
ISO 3200, Score: 22. Click here to see full resolution image.
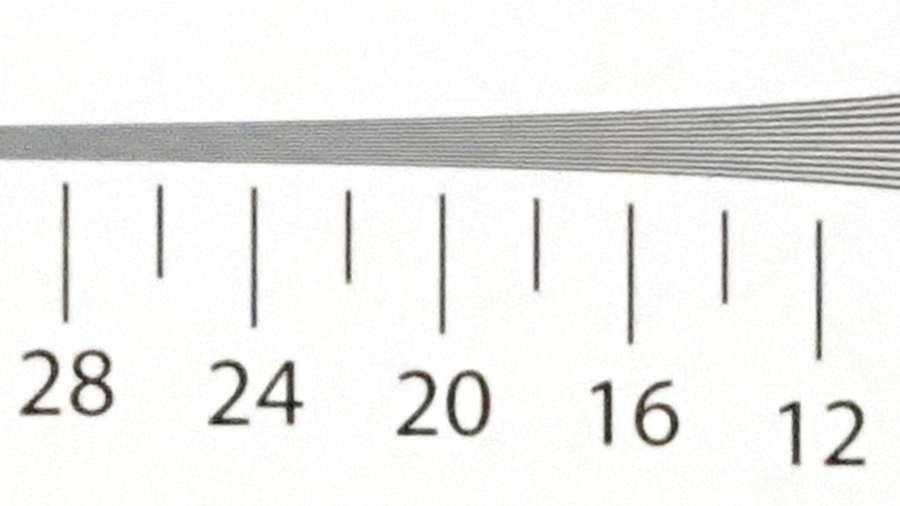
ISO 6400, Score: 20. Click here to see full resolution image.
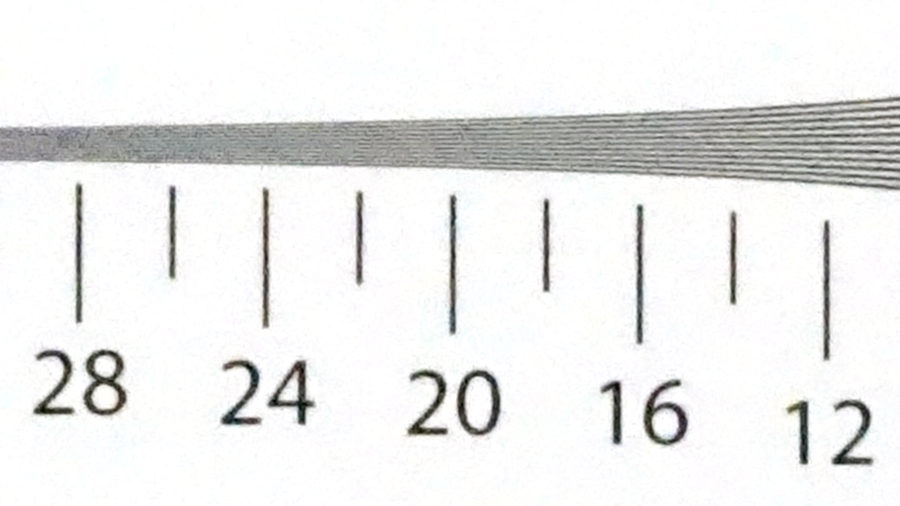
ISO 12800, Score: 16. Click here to see full resolution image.
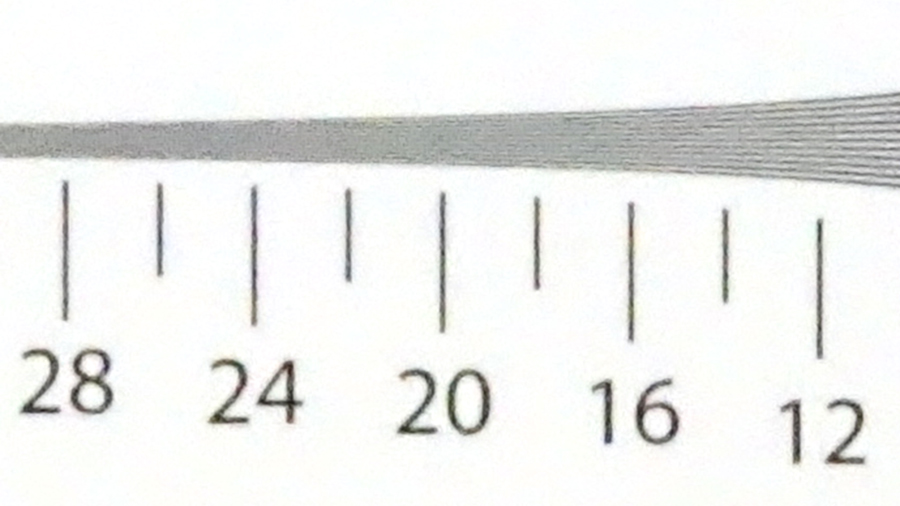
ISO 16000, Score: 12. Click here to see full resolution image.
RAW
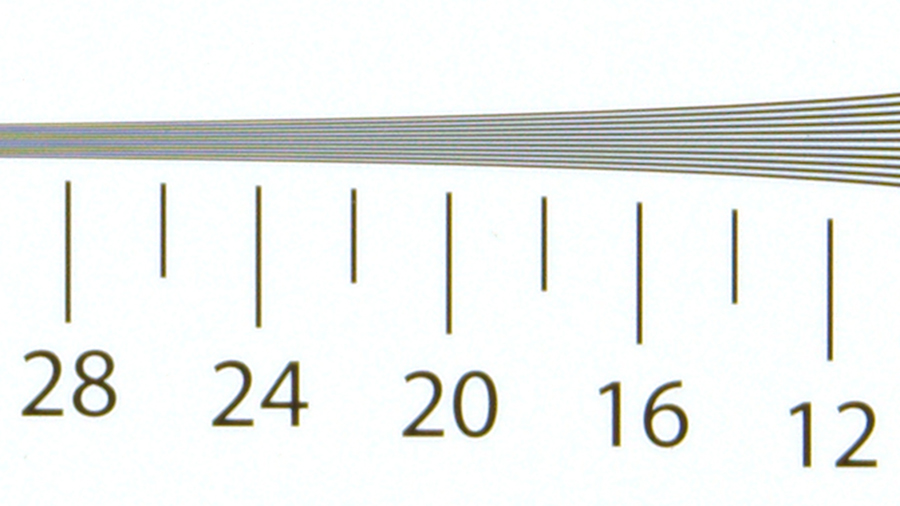
ISO 100, Score: 26. Click here to see full resolution image.
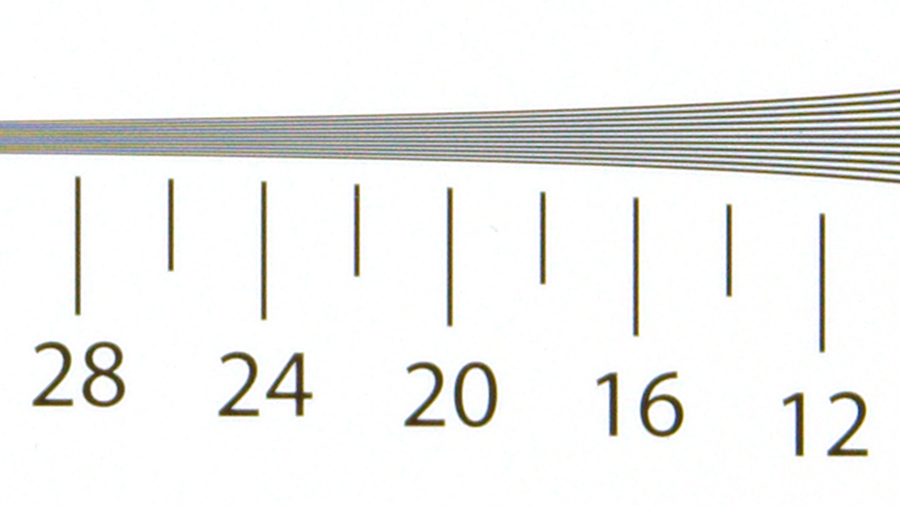
ISO 200, Score: 26. Click here to see full resolution image.
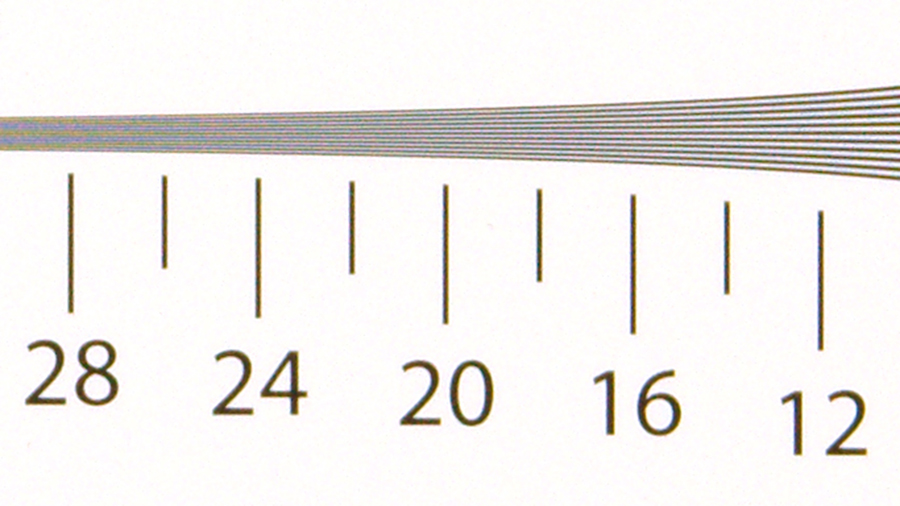
ISO 400, Score: 24. Click here to see full resolution image.
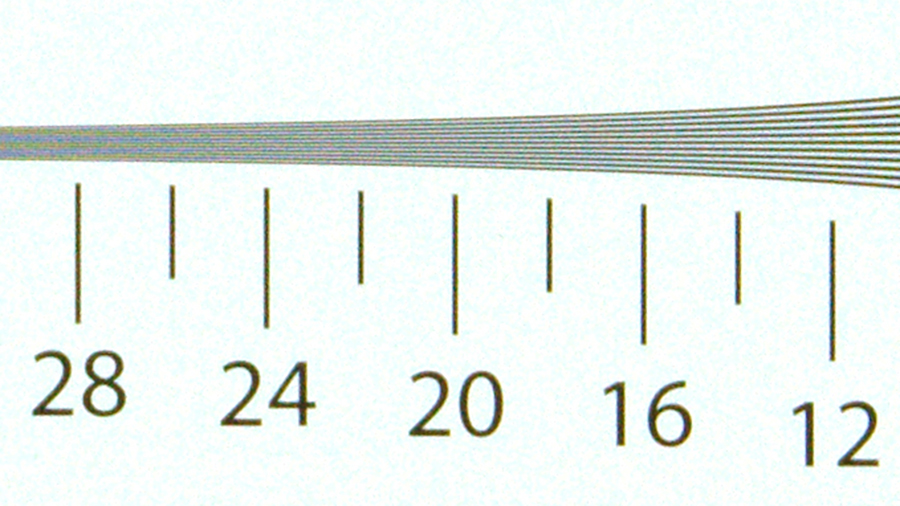
ISO 800, Score: 24. Click here to see full resolution image.
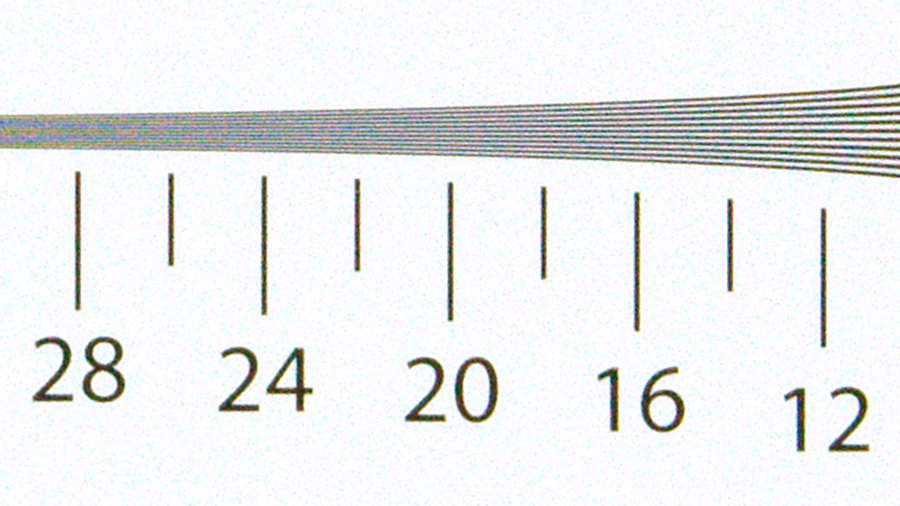
ISO 1600, Score: 24. Click here to see full resolution image.
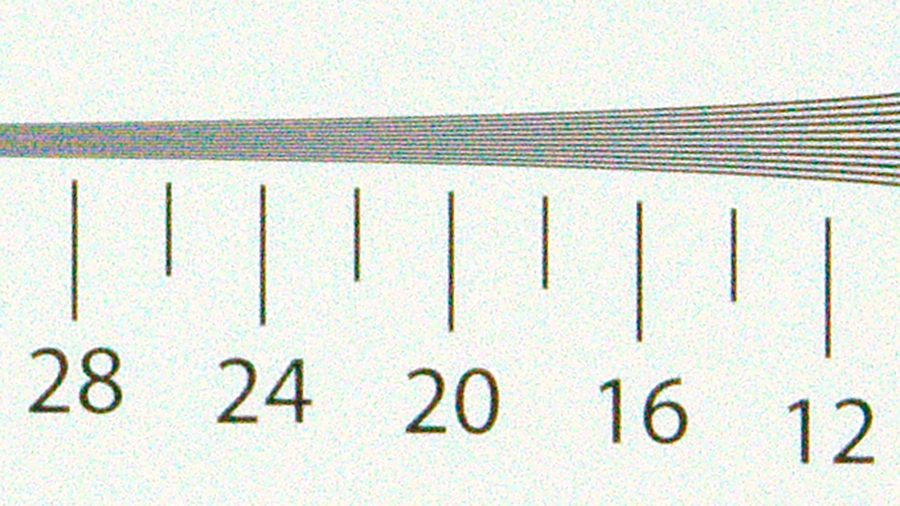
ISO 3200, Score: 22. Click here to see full resolution image.
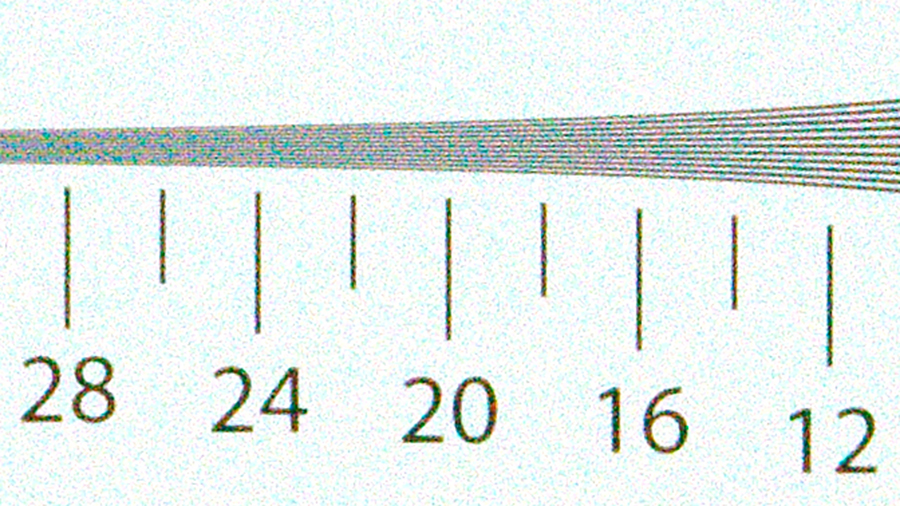
ISO 6400, Score: 22. Click here to see full resolution image.
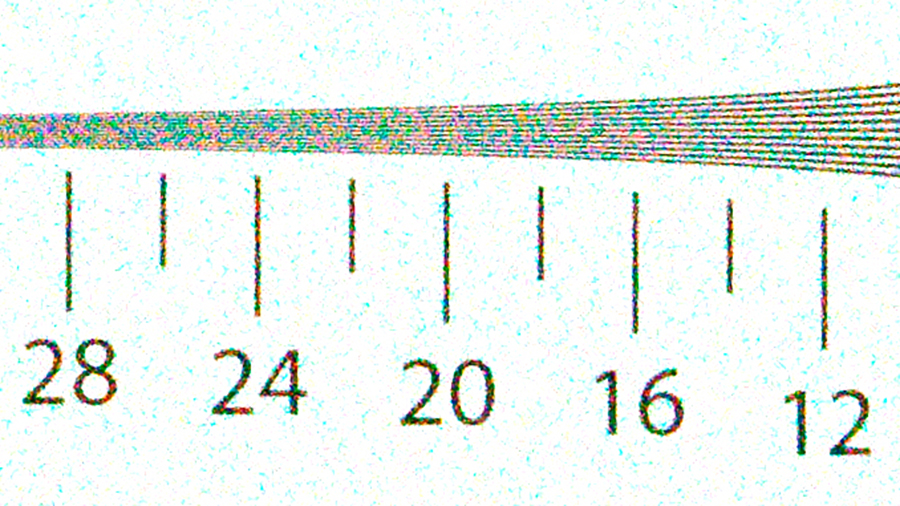
ISO 12800, Score: 18. Click here to see full resolution image.
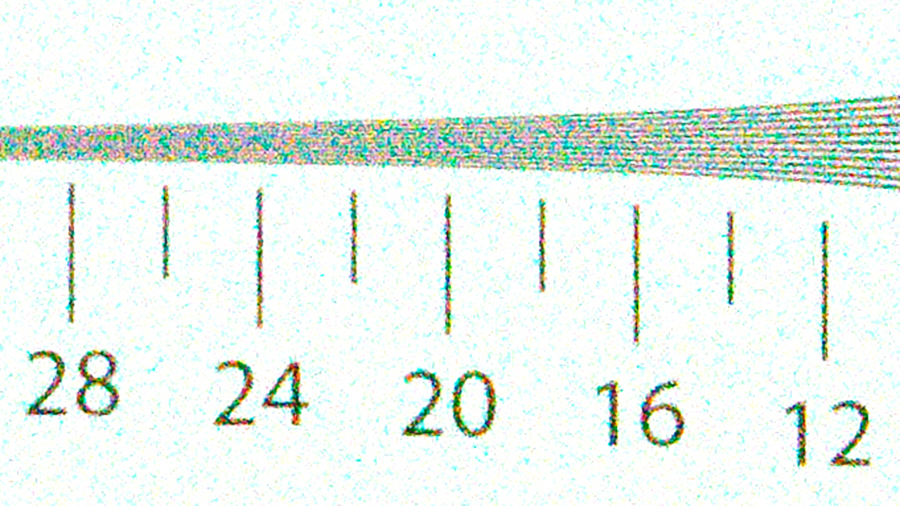
ISO 16000, Score: 12. Click here to see full resolution image.
We shoot a specially designed chart in carefully controlled conditions and the resulting images are analysed using DXO Analyzer software to generate the data to produce the graphs below.
A high signal to noise ratio (SNR) indicates a cleaner and better quality image.
For more more details on how to interpret our test data, check out our full explanation of our noise and dynamic range tests.
Here we compare the Sony A5000 with the Fuji X-A, the Panasonic GF6 and the Olympus E-PM2.
JPEG signal to noise ratio
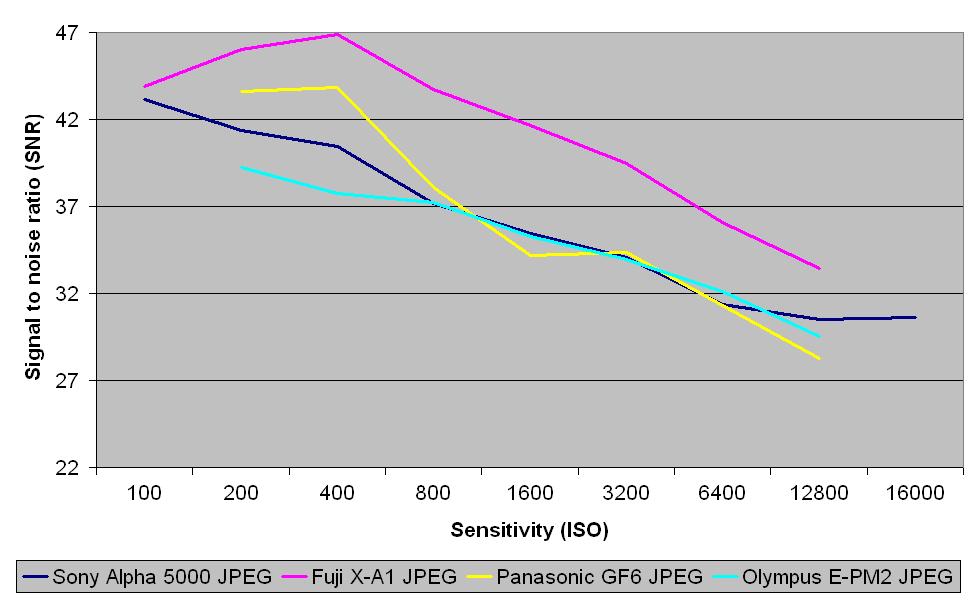
In this graph we can see that the A5000 puts in a relatively consistent performance which is pretty closely matched with the Panasonic GF6 and the Olympus PEN E-PM2. It is the Fuji X-A1 which really storms ahead here though, producing better results, by quite some margin, at every sensitivity setting.
Raw signal to noise ratio
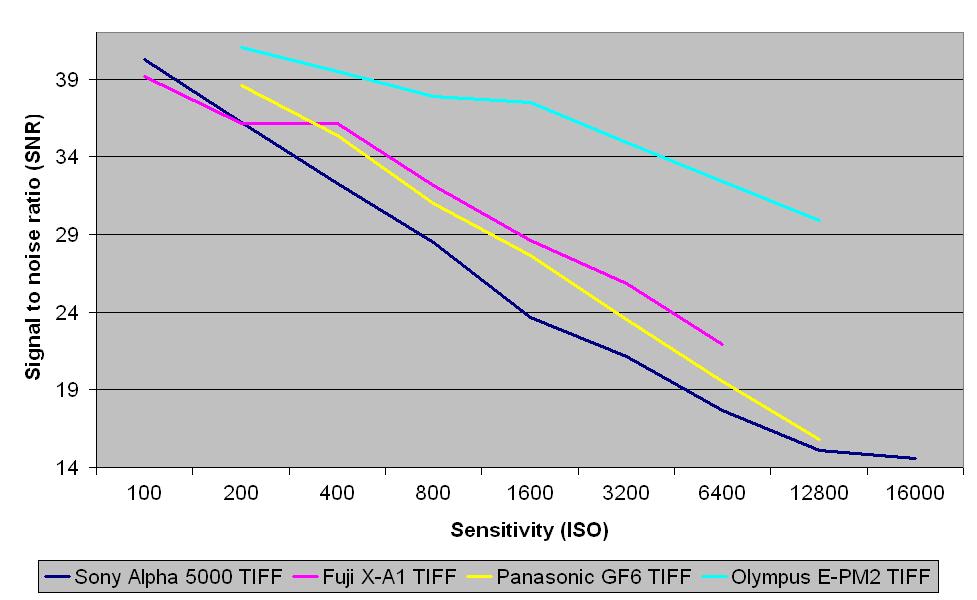
For the raw (after conversion to TIFF) files, it’s a similar story here, with the A5000 putting in a decent performance. It is however beaten by the Panasonic GF6 and Olympus PEN E-PM2at the same sensitivities. At the very lowest sensitivity (ISO 100), it is almost exactly tied with the Fuji X-A1, but the Fuji takes over from ISO 400 and above.
JPEG dynamic range
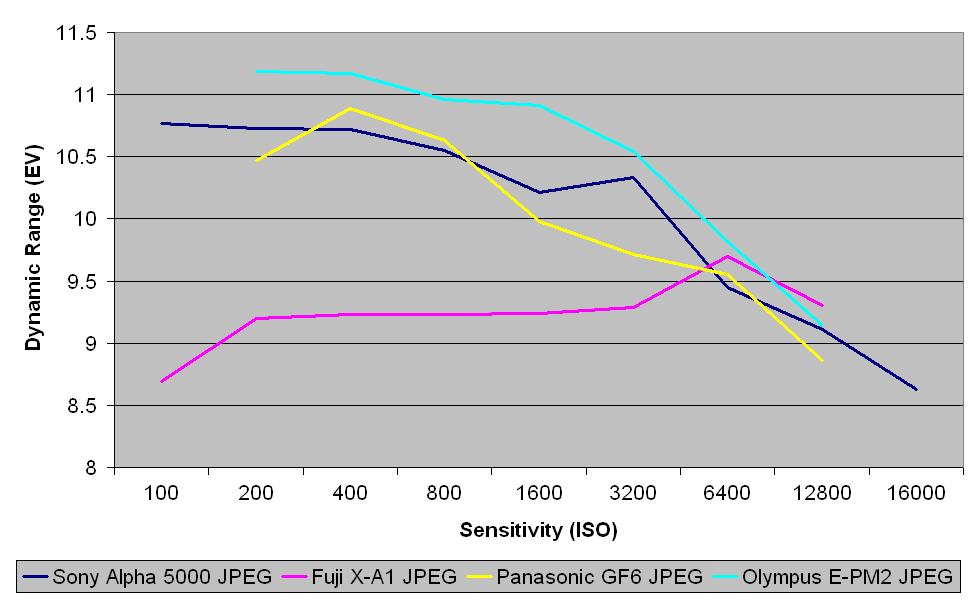
For dynamic range, the Sony A5000 puts in a good performance in JPEG files across the sensitivity range. It is beaten by the Olympus PEN E-PM2 at every sensitivity, but it comfortably beats the Fuji X-A1, which has a much flatter dynamic range. In the Fuji’s defence, this type of graph is borne out by warmly saturated, pleasing to the eye images, whereas the Sony’s are more accurate.
RAW dynamic range
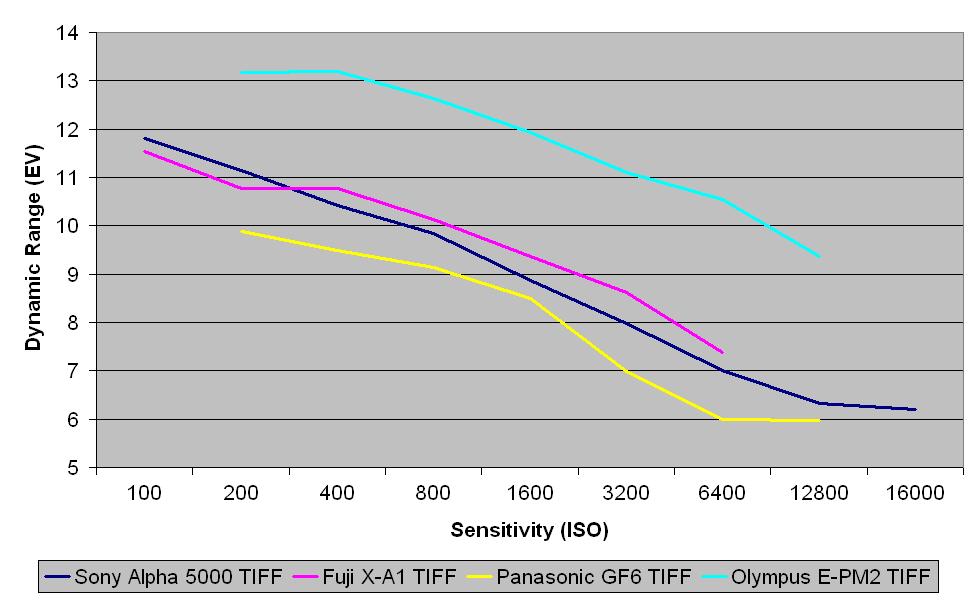
In terms of the raw files (after conversion to TIFF), the A5000 is very closely matched with the X-A1, demonstrating the processing that Fuji cameras apply to its JPEG images. This suggests that colours from the A5000 are very natural and true to life, something which I have found to be true in real-world testing. It is however the Olympus PEN E-PM2 which steals the show here, beating all of the cameras on test by a considerable amount, at every sensitivity.

Click here to see the full resolution image
The A5000 copes well when shooting in low light, producing bright, detailed images while keeping noise to a minimum.

Click here to see the full resolution image
The 16-50mm f/3.5-5.6 kit lens is a decent optic for a carry around lens, and seems likely to be the lens that most users will stick with.

Click here to see the full resolution image
The A5000’s metering system copes well in the majority of conditions, sometimes slightly under exposing meaning you need to dial in some positive exposure compensation.

Click here to see the full resolution image
Creative Styles allow you to experiment with a different look for your images, without losing the ability to shoot in raw format. If you decide you want a colour version down the line, you’ll be able to rescue it from the raw file.

Click here to see the full resolution image
The A5000’s sensor is capable of resolving lots of fine detail.

Click here to see the full resolution image
Colours straight from the camera are bright and punchy, showing a nice level of vibrance and saturation without looking unnatural.

Click here to see the full resolution image
There is a good range of lenses available for the Sony E mount. Since Sony has removed the NEX branding from its E-mount range of cameras, be careful which type of lens you’re buying. This was shot with a 30mm f/3.5 macro lens.

Click here to see the full resolution image
You can get attractive shallow depth of field effects from the A5000, thanks to its larger sensor.

Click here to see the full resolution image
Another image shot with the 30mm f/3.5 macro lens. This kind of lens makes for a good second lens as it offers a 45mm equivalent focal length – a classic length for a variety of different subjects.

Click here to see the full resolution image
Noise at mid-range sensitivities, like ISO 640, is hardly present at all – even when zooming in at 100%.

Click here to see the full resolution image
At higher sensitivities, such as ISO 3200 here, noise is much more apparent when examining an image at 100%, but at normal printing and web sizes, it’s much harder to see.

Click here to see the full resolution image
The camera’s automatic white balance system copes well in the majority of conditions to produce accurate colours.

Click here to see the full resolution image
Another example of pleasingly saturated colours, straight from the camera.

Click here to see the full resolution image
If you want to boost the saturation of images, you can alter Picture Styles to up the contrast. This has the advantage of being able to be shot in raw format, meaning you can view a “clean” version of the image.

Click here to see the full resolution image
The 50mm f/1.8 lens for E mount is useful for shooting portraits, offering an equivalent focal length of 75mm.

Click here to see the full resolution image
The 50mm f/1.8 lens also makes a good walkaround lens for street photography and so on, helping to isolate the subject from the background.

Click here to see the full resolution image
The A5000 is suited to a wide range of subjects, including landscapes.
JPEG

Full ISO 100 image. See 100% crops below.

ISO 100. Click here to see full resolution image.

ISO 200. Click here to see full resolution image.

ISO 400. Click here to see full resolution image.

ISO 800. Click here to see full resolution image.

ISO 1600. Click here to see full resolution image.

ISO 3200. Click here to see full resolution image.

ISO 6400. Click here to see full resolution image.

ISO 12800. Click here to see full resolution image.

ISO 16000. Click here to see full resolution image.
Sony has been making cameras for long enough to know what its doing, and it hasn’t produced any duds in some time. The a5000 joins the list as another reliable, solidly built compact system camera which will particularly appeal to beginner cameras.
It’s ideally pitched at those looking for their first interchangeable lens camera, while its size and body shape make it likely to appeal to those who are stepping up from a mobile phone or compact camera.
The a5000 is capable of producing some great quality images which are packed with detail, are great at high sensitivities and have beautiful, warm colours. The kit lens is a decent performer, while the lens range for Sony E-mount cameras is good, and growing, so it’s a system you can buy into and grow with.
On the one hand, it’s true that Sony puts a lot of thought into the way that people want to use its cameras, with options to customise buttons being a welcome one. On the other hand, some options are just that little bit more difficult than they should be. It shouldn’t be so fiddly to change the autofocus point for instance.
We feel like we’re repeatedly banging the same drum here, but a touchscreen would make this operation so much easier. Given that this camera is aimed at beginners who are probably used to touchscreens and Sony has this technology at its disposal, it’s pretty disappointing that it chooses not to include one on its cameras.
It’s nice though that the camera includes a tilting screen. As it only tilts up, it’s not particularly useful for several angles, but for users who want to take self-portraits or shoot video, it is helpful.
There’s plenty here to appeal to the creative photographer, with a range of digital filters being particularly appealing. It’s also nice to have a panoramic mode, and Creative Styles for when you want to shoot in raw format. Again though, it’s disappointing that digital filters can only be shot in JPEG only, not least because you’ll need to dive into the menu and switch raw shooting off when you want to use them.
If you can possibly stretch to the extra cash, then the NEX-5T might be a wiser investment for those who might want something a little more advanced in the future. Not only does it produce great images, but it also has a touchscreen and an accessories port if you did want to attach a viewfinder or external flash.
We liked
This camera’s small size is its headline feature, and Sony has done a good job of miniaturising to make a very small APS-C format camera. Although it’s not as small as the Panasonic GM1, the sensor size is also significantly larger, so that’s worth bearing in mind. The kit lens also retracts into itself, making the overall package small enough to fit in a large jacket pocket, and very neatly into a kit bag.
We disliked
Although this is an entry-level camera, it would be nice if Sony gave a little bit more for your money at this end of the range. While we appreciate that adding a touchscreen potentially bumps up the cost, it would make some of the frustrations of using the camera virtually non-existent. That aside, images are great, so if you can live with some of those quirks, or you’re not the kind of user that is changing settings all that frequently, it is a good buy.
Final Verdict
Another decent, well performing camera from Sony here. The A5000 is a good buy for those looking for their first compact system camera, offering a decent range of options for both beginners and those who are a little more experienced.