Related note: only a little while left for the Topaz Sharpen A.I. at 25% Off
Because you’re often working quickly and stealthily, the matter of focusing while doing street photography is important. Here are some tips.

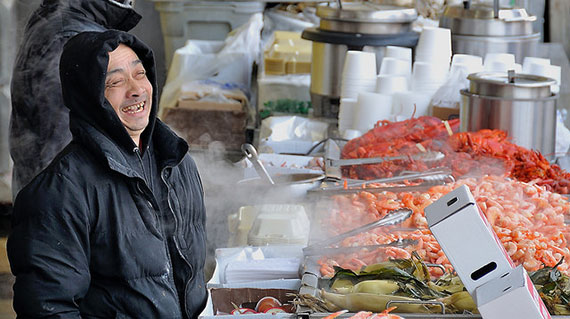
Photo by Heidi; ISO 320, f/5.6, 1/100-second exposure.
Hyperfocal Distance Technique
Hyperfocal distance is a popular technique used mostly with rangefinder cameras. If you are using a Leica or Contax manual focus rangefinder, you’ll find the lenses marked and easy to read the hyper focal distance.
Look at the lens and see foot and meter distance measurements for a given F-stop. Since most street photography is done between 7 and 15 feet you can easily set the lens so that everything that falls within this distance will be in focus for a given f-stop. It’s not what I’d call exact focus, but it’s close enough so that focus will seem fine. After that you can walk around and know that if your subject is within your hyper focal distance you’ll be fine. Obviously, you need to be able to judge distances, and it will not be possible if you are shooting “wide open” at say f/1.4. There just isn’t enough depth of field (DOF).
Modern SLR lenses don’t usually show the hyper focal distance (because they’re auto-focus). I like to have the foreground and/or background out-of-focus. In other words, even when I was shooting with a Leica M, I would tend to pre-focus and use a lower f-stop. In fact, I brought neutral density filters with me (since I usually shot a fast film) so that I could shoot at a wider, more-open f-stop if I wanted to.
Pre-Focusing Technique
Pre-focusing, whether with a manual focus camera or an auto focus camera involves anticipation. You have decided what your shot is going to be and find an object that is at an equivalent distance to focus on. With a manual camera, once you’ve pre-focused the lens, just leave it as is, and point it at your subject and take the shot.
With an auto focus camera, you need to know how to lock focus. On the Canon line of digital cameras (both digital and film) you can move focus lock to a button on the back of the camera and keep your thumb on it to lock focus or even flip off the auto-focus once you know the general area you are aiming for.
You can also just work with the built in focus. I use the center spot only. I don’t want the camera to make the decision as to what is going to be in focus. Though the Canons also have an interesting Depth of Field setting that will attempt to emulate hyper focus, I haven’t used that much.

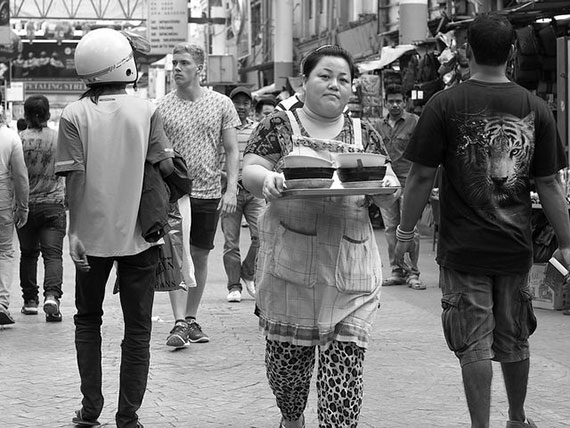
Photo by John Ragai; ISO 200, f/4.0, 1/200-second exposure.
If all of you were interested in shooting was street stuff, then I’d have to give the rangefinder a strong edge. If you’re (like me) a generalist, you could have two cameras. One for your scenic work and another for street work. But I have a problem with that; I like to stick to one camera at a time and let it become a part of me. I don’t want to have to think about what switch to hit or where such-and-such is buried in the menus. I set the camera up once, and that’s usually it.
There are other techniques for street focusing that can be used in combination with these focus techniques. One of these I’d call the street ballet.
The Street Ballet Technique
You’re walking down the street and about 20 feet away you see someone approaching that you want to photograph. Just point the camera at a spot on the sidewalk where you’re planning to photograph them and lock focus. Then turn around with your back to the subject. If you hold the DSLR in the right position you can see the reflection of your subject approaching. You still have focus lock on. As they are approaching the spot you locked focus on, turn slowly with the camera already to your eye, as if you’re just looking through the camera at just about anything. If your timing is good you can take your shot and keep moving so that they’re puzzled by what you are doing.
Takes some practice, but works well. It’s sort of a street ballet.
Remember, as I’ve said before, never lower the camera from your eye after taking your shot because this is a dead giveaway.
Yes, it’s sneaky, but if you’re attempting to photograph people at a close distance without alerting them, this is a useful technique.
Another Caveat
The shot from the hip has been around forever. And there are times and places when you may need to do this. But as a general rule, I’m in favor of looking through the viewfinder. Especially when you’re starting out. You should get used to various techniques that allow you to take a quick shot with time to frame.

Photo by Susan Sermoneta; f/7.1, 1/160-second exposure.
Practice Exercise
Find a busy corner where you can practice this technique. You don’t need to stand in the same spot but can move around but try it about ten times to see if you can master it. It’s most useful on a deserted street where there’s only one person walking towards you. So once you think you’ve got it down, try it on a quiet street.
About the Author:
http://www.beckermanphoto.com (The black and white photography store)
http://dbeckerman.wordpress.com (My main photography blog)
For Further Help Achieving Crisp, Sharp Photos:
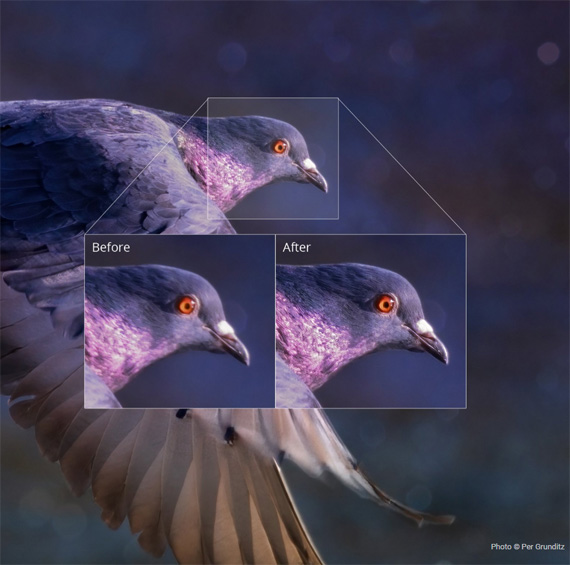
Just released, Topaz Sharpen A.I. is the first sharpening and shake reduction software that can tell difference between real detail and noise using artificial intelligence and neural networks. It was trained with millions of images so it could learn the characteristics of detail vs. noise – and then enhance just the detail. In some cases, it can even recover image detail.
It is currently 25% off for the launch sale which ends soon, plus our readers can save even more by using the coupon code picturecorrect at checkout.
Launch sale ending soon: Topaz Sharpen A.I. at 25% Off
Go to full article: Street Photography Focus Tips
What are your thoughts on this article? Join the discussion on Facebook
PictureCorrect subscribers can also learn more today with our #1 bestseller: The Photography Tutorial eBook
The post Street Photography Focus Tips appeared first on PictureCorrect.
