There are two sides to ‘underexposure’. There’s a technical side, where you can look at a photo’s histogram – a graphical representation of tones in the picture – and see if the darker tones have been cut off, or ‘clipped’.
But there’s visual side too, where a picture just looks darker than you intended. That’s a creative choice that’s not always the same as getting a picture ‘technically’ right. Sometimes you want a picture to look dark and moody because it suits the subject, and sometimes you want an image that’s airy and light for the same reason.
So how does underexposure happen, and what can you do about it when it does?
How your camera’s exposure system works
Cameras have very sophisticated ways of measuring the light in a scene. They try to anticipate the kind of thing you’re photographing and how you might want it to look, but they don’t always guess right.
For example, if you’re taking a portrait shot with a sunset in the background, the camera has to guess whether you want a silhouette, with your subject in darkness, or whether you want your subject’s face properly exposed and the background washed out. In fact it could be either. There’s often no single ‘correct’ exposure for a scene because it all depends on what you want that particular picture to look like..
Shots taken into very bright light are a very common cause of underexposure, though different cameras may be able to ‘intelligently’ compensate for this, so it depends on your camera. But there’s another cause of underexposure – intrinsically light-toned subjects.
In-camera light meters have a key limitation; they can only measure the light reflected from your subject, not the amount of light generally. So if you’re photographing a snow scene or a bride wearing a white wedding dress, the camera will simply measure a high light value and reduce the exposure to compensate. It has no way of knowing these things are meant to be a bright white. This means those brilliant whites you wanted to capture will come out a muddy, underexposed grey.
So this is another common cause of underexposure. The camera thinks it’s got a technically correct exposure, but you know it hasn’t because your it’s your subject that’s bright, not the lighting.
This is where you have to step in. Ultimately, it’s up to you to say how bright or dark you want each picture to look, and sometimes you have to compensate manually when the camera gets it wrong.
How to override your camera

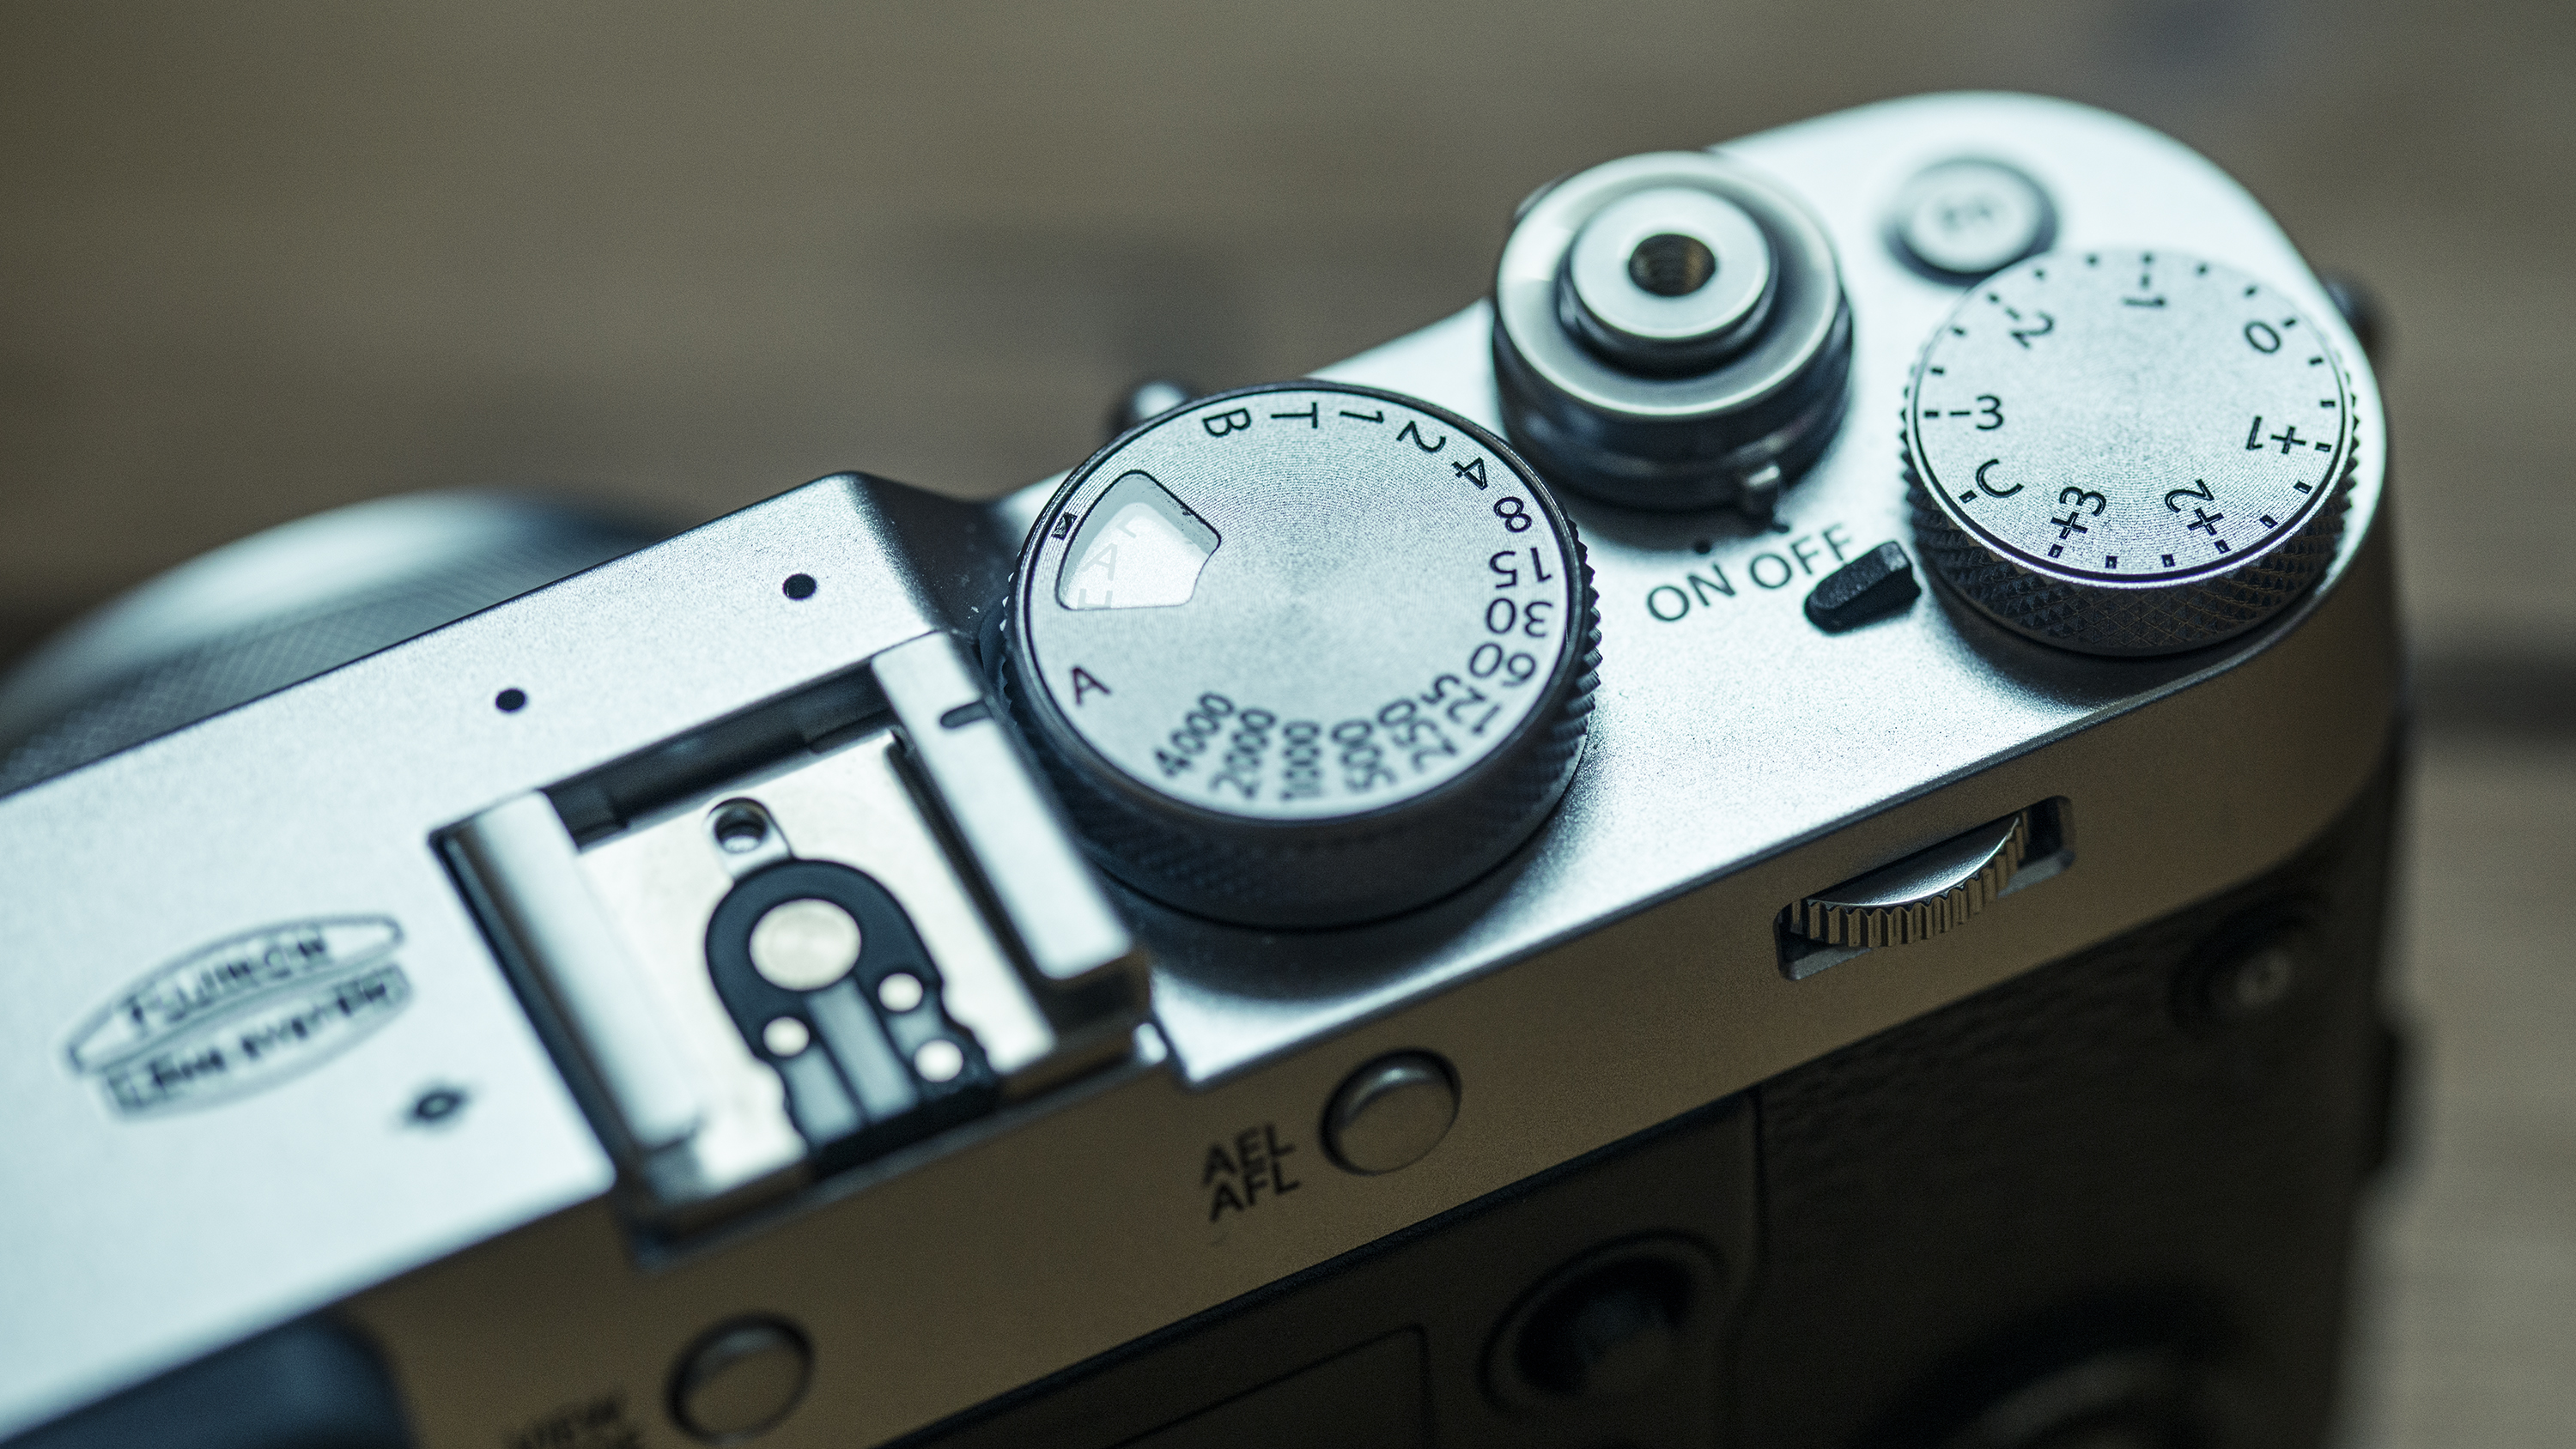
You can use your camera’s exposure compensation dial to correct for your camera’s metering
This might sound a lot more difficult than it actually is. With digital cameras you get to see the picture you just took on the screen straight away, and if it looks too dark you can simply increase the exposure and take the picture again.
The simplest way to do this is with the camera’s EV (exposure value) compensation control. You can usually increase the exposure in 1/3EV increments, but often it takes an increase of +1EV or more to make a big difference.
Phones operate on a similar principle. It does depend on the camera app you’re using, but in general you can tap on an area of the screen to focus and set the exposure, then use a slider to increase or reduce the exposure set by the camera.
If you want to get scientific about it and you have a more advanced camera, you can use manual exposure, try different metering modes and techniques or use the camera’s histogram display to get a technical readout of the distribution of tones ‘live’ as you compose the picture.
Can you fix underexposure in software?

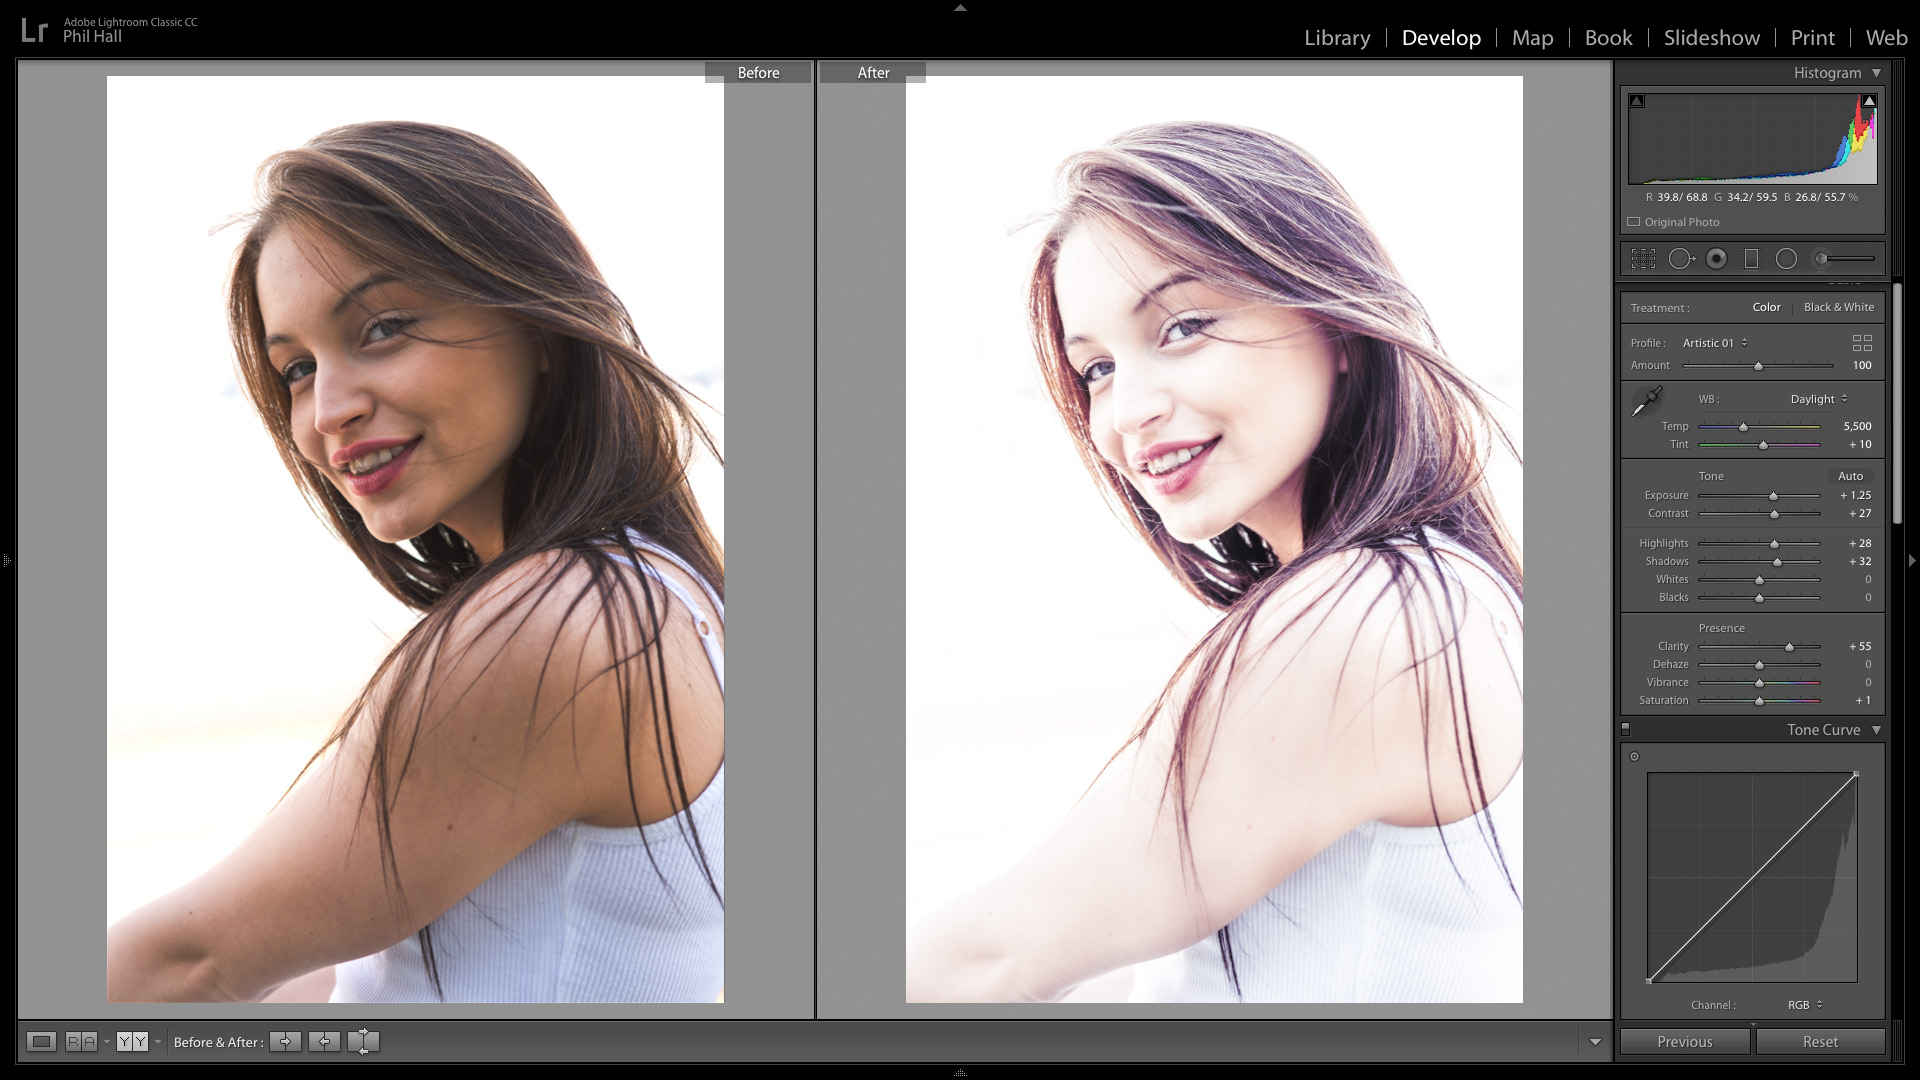
Image editing programs like Lightroom allow you to easily correct underexposed images
Yes and no. If it’s a small amount of underexposure then it’s easy to fix in almost any photo-editing app. But if a picture is seriously underexposed then it’s likely that some of the darker areas will be ‘clipped’. If you check the image histogram and see that it’s abruptly chopped off at the left-hand side, that’s what’s happened. When this happens, there’s just no detail available to bring out, and those darker areas are going to stay a solid black – or, if you push the image too far in software, they might turn into an even more unpleasant muddy grey.
That’s why it’s important to get the exposure as close as possible in-camera. The more you use your camera, the more you’ll get to spot those situations where it’s likely to underexpose.