Wouldn’t we all love to be the photographer for lavish, perfectly detailed weddings? It’s discouraging sometimes to follow the work of famous wedding photographers and feel like we’ll never measure up. The truth is that for most of us, we’re photographing weddings of average everyday people, who can’t afford those over-the-top perfect weddings.

That doesn’t mean that the wedding we’re photographing is any less special, or any less important. The bride and groom have put so much time, effort, and thought into every detail of their wedding. Even if their budget is a fraction of some of those perfect weddings, they’ve most likely spent what amounts to a small fortune for them.
When I am hired to photograph a wedding, I want to treat each wedding as if it were the glamorous wedding of royalty. Whether you are the hired wedding photographer, or just a friend of the bride with a camera, I have a few hints to help you photograph the decor details of any wedding, and make it look like everything the bride and groom hoped it would be.
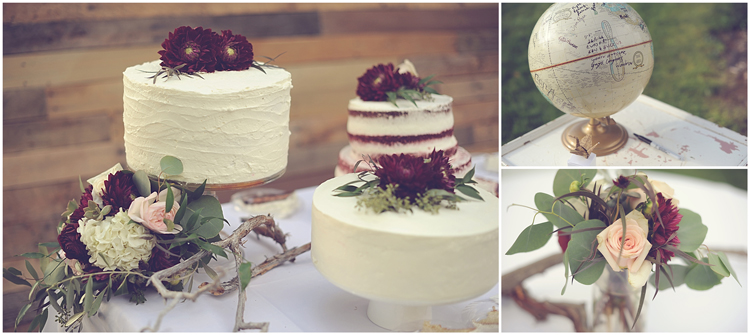
Get There Early
Arrive at the wedding or reception about half hour before it’s supposed to start. You will most likely have a small window of time where the decorations will be finished, but the guests have not arrived yet. You can photograph details with the guests there, but it’s harder to get clean photos without people in them, and sometimes the decorations have been moved or ruined later in the day. There are some things that you’ll need to photograph later, like if you want to show guest signatures on the guest book (or globe!), but try to get most of the details shots before the guests arrive.
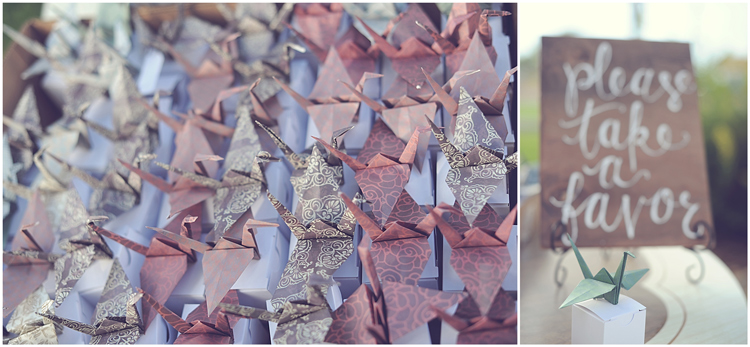
Arrange the Details
Sometimes you can move things around a little bit to get more of the story of the wedding theme. In the photo above I wanted to capture the mass amounts of origami cranes that the bride and groom had folded themselves, but I also wanted to pull one out to photograph with the sign telling the guests to “please take a favor”. Often I will open a favor box to photograph the contents inside, artfully arranged.
Sometimes you can photograph a centerpiece arrangement better if it’s moved slightly closer. You can borrow the bride’s bouquet if she has set it down for a bit (ask first), or borrow one of the bridesmaid’s bouquets to photograph. As long as you don’t do anything that can’t quickly be put back into place, you’ll be fine. Make sure to return everything how you found it when you’re done capturing that particular detail.
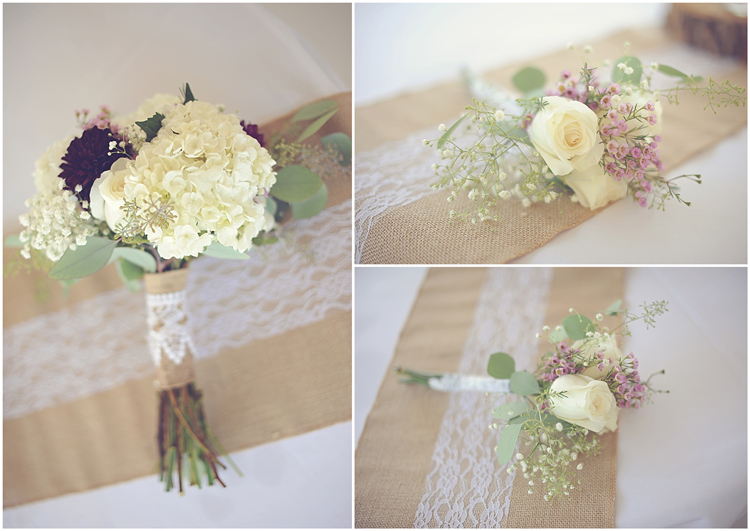
Shoot Wide Open
I like to photograph most wedding details with my lens almost wide open (with my aperture set between f/1.4 and f/2, usually). This can give the photograph more of an artistic feel, and help the focus be on exactly what you are photographing. If the wedding doesn’t have a lot of fancy details, or attention to perfection, you may want to blur out a lot of background.
I use a 50mm 1.4 lens, or an 85mm 1.4 lens, but most prime lenses will do. Be especially careful that your focus is exactly where you want it to be, and hold very steady. Your focus has to be tack sharp, or the whole thing will just look like a blurry mess. Shooting wide open is, of course, a matter of style and preference, and some may like an entirely different look.
Find Different Angles
I will often stand on a chair to get the angle I want when I’m photographing details. (This is where it’s definitely better to get there before the guests!) You have to get creative with your angles, so your photos don’t look like every other guest’s pics. (This is especially important if you are the hired photographer.) Pay attention to what you can see in the background, where the light is coming from, and which parts are the most important. Even a slightly different angle can transform a photo from “meh” to “wow”, so try lots of different angles to see which one looks the best.
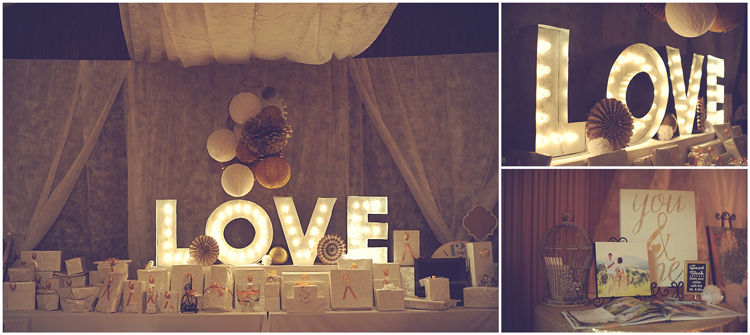
Work With Difficult Lighting
Many weddings and receptions are held indoors, and sometimes they’ve created a specific mood with low lights. This can be a challenge as a photographer, but it’s completely doable. I prefer not to use flash, because I very much prefer the look of no flash in this instance, so I’ll be sharing how I work in dim lighting without flash.
Remember how we are shooting wide open? Not only does this give us an artistic look, but it really helps when there isn’t much light. Sometimes I’ll photograph an entire reception with my aperture at f/1.4 to let in as much light as possible. You will also need to crank up your ISO; keep going higher until you can shoot with a shutter speed that can safely be handheld (for me, that’s about 1/80th, but you may have a steadier hand and be able to go even slower than that). You may have quite a bit of noise in your photos when your ISO is that high, but I like that look, especially when there’s a moody low-light ambience.
In a pinch, if the lighting is extremely low, try shooting in RAW, underexposing to allow your shutter speed to be as fast as you need it to be, and then bringing the exposure up in post-processing.
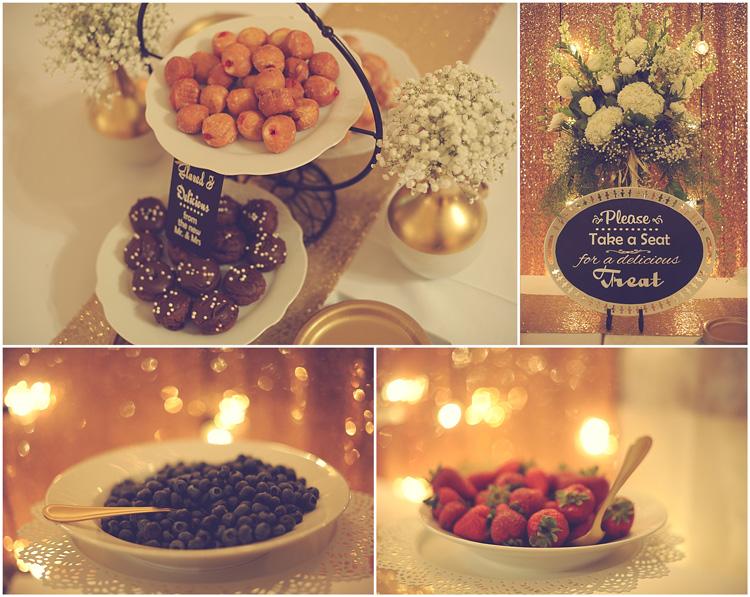
Photograph Everything
It’s guaranteed that there was a lot of thought, time, and money put into creating the bride and groom’s perfect wedding and reception. I want to capture every detail for them, because although all of the food and flowers will be gone a few days after the wedding, my photos will be there forever.
So I recommend that you photograph the food, the drinks, the centerpieces, the flowers, the favors, the guest book, and every single decor grouping around the room. It might seem silly to photograph a bowl of blueberries, but it will be so much fun for them to look back through the photos later, and remember all the little details of their wedding. If they want to make a book out of the photos, pretty detail photos can make the book have the same feel as the whole wedding did, and they really add to a collage. When in doubt, just take the photo. If their centerpieces are all the same, I’ll just photograph one of them, but if they are all different, I photograph most, or all of them.
Get the Whole Picture AND the Close-ups
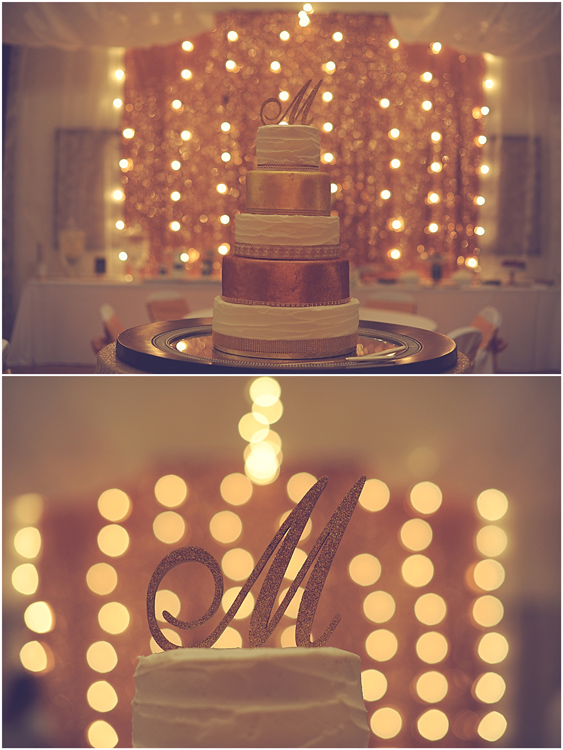
As you can see with the above photo, you can photograph the exact same thing, but get a whole different feel by stepping back, then getting in really close, focusing on one little detail. Get the surrounding setting, and then focus in on the parts that make it special.
If there’s a decor grouping in a corner, I’ll photograph the whole thing, and then pick parts of it to get in close. I’ll do the same thing with the centerpieces, floral arrangements, cake, food table, etc. This is a great way to really tell the story, and make your photos a lot more interesting.
Edit the Wedding Consistently
Make sure that all the photos from the same wedding or reception are edited consistently. My weddings each look different from each other, because every wedding is a different lighting and coloring situation, but each wedding is consistent with itself.
Batch editing can help with keeping things consistent, or using the same actions or presets on every photo can help too. Do not edit one photo with a “vintage” action, one photo with bright colors, and another matte. This will make them look unprofessional, and make it hard to put together a book or collage of their big day.
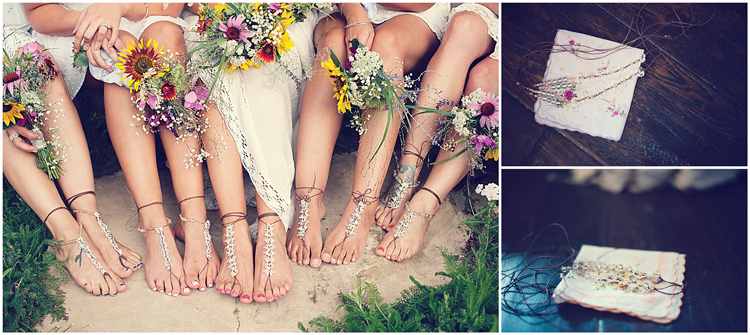
As you photograph any wedding or reception, remember that every little detail is important to the bride and the groom. They thought everything through from top to bottom, start to finish. Even if it’s not a picture perfect wedding, it still represents what they love, and everything is important to them. Help them remember their special day with photos that will last long after the last crumb of cake is eaten, and the final flower is withered.
The post Tips for Photographing Wedding Decor Details by Melinda Smith appeared first on Digital Photography School.