Mastering photography is like playing a musical instrument. Anyone can make noise on a piano, but to really make music, it is important to read music, learn proper fingering, and practice your scales. Learning how to control exposure is a similar discipline. It’s not exactly fun, but if you ever want to get beyond ‘click and hope for the best’ it is absolutely essential.
What is exposure?
The fundamentals of a camera are very simple: a box with a door (the shutter) that allows light in to burn an image on a light-sensitive surface. The term ‘exposure’ refers to the amount of light to which the film–or the sensor–is exposed.
The most basic photographic errors come down to allowing in too much light (over-exposure/too bright) or too little (under exposure/too dark).

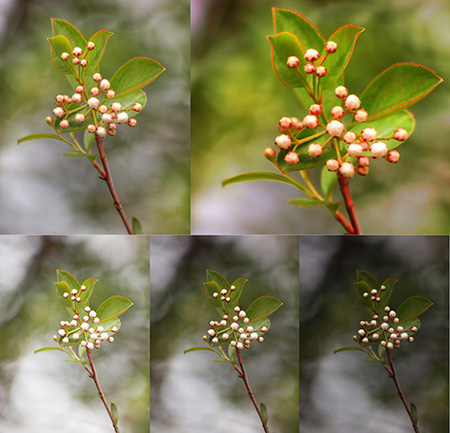
In the bottom row of the photo above, you can see the difference between an overexposed, a properly exposed, and an underexposed image. The top two frames are the same image after a little post production.
“Progression of an HDR” by Jim Bauer
A word about light
Understanding exposure makes one marvel at the human eye’s capacity to adjust to the huge differences in light we experience every day. There is around 1,000 times more light outdoors on a bright sunny day than in an averagely lit room indoors. Our eyes can simultaneously process a sunlit lawn and a log in the deep shade of a tree. Cameras are becoming better at this, but the light ‘latitude’ of a sensor is still nowhere near the capabilities of the human eye. To correctly expose the sunlit lawn (i.e. make it appear as it does to the naked eye), the log would be lost in blackness. Correctly exposing the log would leave the lawn a blaze of white.
Shutter speed, aperture, and ISO are the holy trinity of photography. They work in tandem, and to master them is half the battle of becoming a true photographer.
ISO
Don’t worry about what the acronym stands for (it’s ‘International Organization for Standardization’, if you must know). ISO refers to the ‘speed’ at which film–or a sensor–absorbs light. Outdoors on a bright sunny day you would use ISO 100. This is a ‘slow’ ISO but since there is so much light it can absorb it very easily. A ‘fast’ ISO (e.g. 1600) such as you might use at dusk, would be overwhelmed or ‘burnt out’ by so much light. Slow ISOs give minimal grain (for film) or noise (for digital). Generally, this is desirable. Shots taken in low light tend to be grainy or noisy–a trade-off for the ability to shoot when it’s so dark. ISO is the first thing I set on my camera when starting a shoot. Unless the light changes, I can forget about it and move on to aperture.

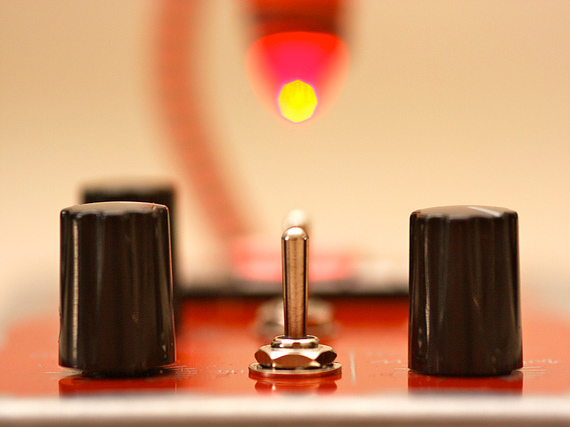
Using high ISO can cause digital noise in your images.”Thingamagoop 2 from Bleep Labs” by Kevin Dooley
Aperture
Put crudely, the aperture is the size of the hole through which the light passes on the way to the sensor. It belongs in the lens rather than the camera body. Making the aperture larger allows in more light; making it smaller allows in less light. Aperture is measured in ‘f stops’ with slightly odd numbers attached. F/2.8 is a relatively wide aperture size. If we halve the size and therefore the amount of light, we talk about ‘going down a stop’ to f/4. If we go down another stop, we’re at f/5.6, etc. The higher the f-stop number, the smaller the diameter of the aperture. Aperture not only controls exposure (how bright/dark an image is) but determines depth of focus—one of the most creative tools available to the photographer. But more on that in a later tutorial.
Shutter speed
The shutter is like a door. Most of the time it’s closed, but every now and then, when we press the shutter button, it opens. The longer it stays open, the more light it lets in. Shutter speeds vary greatly–for portraits, 1/125 of a second is fairly normal. Aside from exposure, shutter speed is important in allowing the photographer to blur or freeze movement. Again, that will be discussed in a later tutorial.

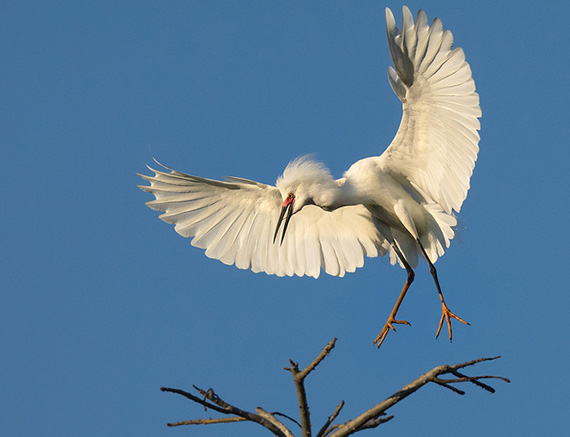
photo by Ingrid Taylar
Understanding stops
ISO, aperture, and shutter speeds all work on the principle of ‘stops’, a standard measure of light that is most easily tracked in half or double increments.
For ISO and shutter speed, this is fairly straightforward. ISO 400 (a good ISO for a heavily cloudy day) is a stop ‘faster’–or twice as light absorbent–as ISO 200.
A shutter speed of 1/250 is twice as fast 1/125 and therefore lets in half the amount of light.
For aperture, only the numbers are confusing–the principle remains the same. F/11 allows in half as much light as f/8 since it is one stop ‘smaller’.
If you take a shot that is too dark, you could try increasing the exposure (letting in more light) by a) opening up the aperture by a stop (say f/8 to f/5.6) or, b) slowing the shutter speed by one stop (e.g. from 1/500 to 1/250). This way you double the amount of light entering the camera. Either adjustment will result in the same exposure.
If all that has left you a little befuddled, fear not. In the next tutorial, I’ll take another look at exposure—this time how it can be applied in a more practical sense using the different camera modes (M, TV and AV).
About the Author
I’m a photographer based in Sydney’s Inner West (http://www.sydneyportraits.com.au/). While I have always loved portraits, it was the arrival of my son that made me appreciate just how fun and rewarding family photography could be. He’s now five and, along with his younger sister, remains my favorite—and at times most challenging—subject. Besides my work as a family photographer, I shoot plenty of weddings as well as documentary work for the likes of the BBC, Marie Claire, The Weekend Australian Magazine, UNICEF, Oxfam and Save the Children.
Go to full article: Understanding Exposure: An Introduction to Photography
What are your thoughts on this article? Join the discussion on Facebook
PictureCorrect subscribers can also learn more today with our #1 bestseller: The Photography Tutorial eBook
The post Understanding Exposure: An Introduction to Photography appeared first on PictureCorrect.