Before explaining Exposure Value (EV for short), it helps to know what Light Value (LV, for short) means. When you find something (whether it’s a person, a landscape, or even a ninja), there are (generally speaking) two main levels of light you need to deal with. The first is the average amount of light in the area (we call this luminance or brightness), and the second is the amount of light bouncing off of the subject (also known as Light Value, or LV for short).

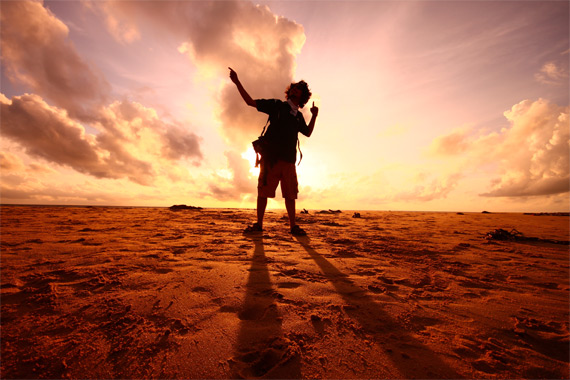
Photo captured by zuhair sait
When you want to take a picture, the different things in your scene will absorb light, reflect light, or even block it and cause shadows. This will cause some things to appear brighter than others. This is what we call contrast. For example, imagine a person standing on a sandy beach. The water will be one level of brightness, the sand will be brighter, and the sky will be even brighter. The shadow from the person will be darker. This represents a higher-than-normal contrast scene.
There is a common standard we use to measure light in a given situation. We use a scale ranging from 0 (a dim interior) to 18 or so (a super bright interior). Many professional photographers will go into a given location and think, “This is a night club, so it’s around LV-5,” or, “It’s sunset outside, so it’s LV-10ish,” or even, “It’s a bright, sunny, cloudless day, so it’s LV-16ish.” Like measuring temperature, LV levels are a standard. Try freaking out a photographer (the guy with the big lens at the wedding) by saying, “Hey, it’s LV-16 outside, but there are clouds coming so it’s going to drop to LV-14 by noon!” For more info, google “Light Value Chart” for a list of examples where you may encounter different LV levels.
Now that we understand LV, let’s focus on the camera (nice pun, right?). When your camera takes a picture (let’s assume you are in automatic mode and shooting at ISO-100), it goes through a series of calculations to determine what the aperture and speed should be in order for the main subject in that picture to be reproduced as a middle tone of gray.

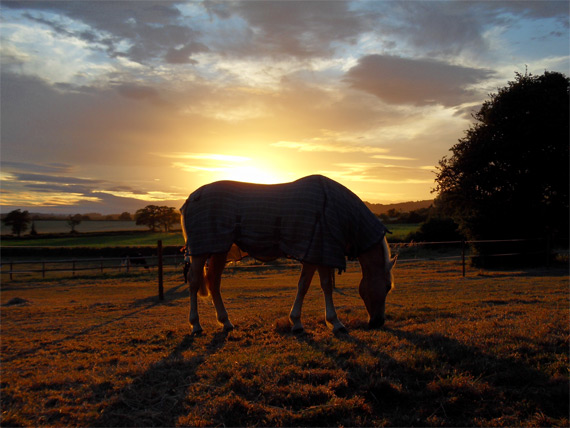
Photo captured by caroline jones
These settings are known as Exposure Value. It uses middle gray because it allows the camera to get as much of the dark and light tones as possible while keeping the subject visible in the picture. It’s like shooting a dart as a bulls-eye and aiming for the center: The camera can only allow so much light and dark in at the same time (in relation, the edges of the dart board), so it aims to make sure the subject is at the center of that light scale.
Another example: If you are at the beach and it’s LV-15 outside and you whip out your camera to take a picture of a absolutely nothing, the camera says to itself, “Oh my gosh, it’s bright out here. I mean, it’s a whopping LV-15! I am going to increase my shutter speed (let less light ina) and shrink my aperture (also letting less light in) to a certain setting to make sure that I capture all the range of light in this picture.” Those settings (aperture, shutter speed, and ISO) combined are called the Exposure Value for the overall picture. It will probably assume the sand is gray, and as such, because the sun is so much brighter than the sand, the sun appears completely white as well as most of the sky (vs. blue). Whereas if you took a picture of the sun, it would appear as gray and the sand would appear as black because it’s no longer in the range allowed by the camera. (P.S. Don’t aim at the sun or you will zap your eye and render it useless).
Now, let’s say you are outside taking a picture at sunset. The camera then says, “Hey, it’s darker out here, so I’m going to reduce my shutter speed and open up the aperture allowing for more light.” It recalculates a new Exposure Value, but it’s doing so with the primary intention of making the subject a middle level of gray.
Finally, let’s say that it is still sunset, but a Ninja (not one ones in black, but the ones in white) comes running at you… Of course you want to document this, so you snap a picture. Here something different happens. The camera says, “Hey, it’s kinda’ dark outside, but that ninja is wearing all white. I am going to adjust my exposure again.” Here is where you have to be sneaky (like the Ninja). The auto-exposure on a camera ALWAYS wants to make sure that your subject is a middle-level of lightness. In this case, because the sneaky Ninja is in all white and you want to see white, not gray, you have to override your camera and say, “Hey, you need to allow for MORE LIGHT because I want that ninja to be reproduced accurately, and in order to do that, he needs to be white and not gray.”

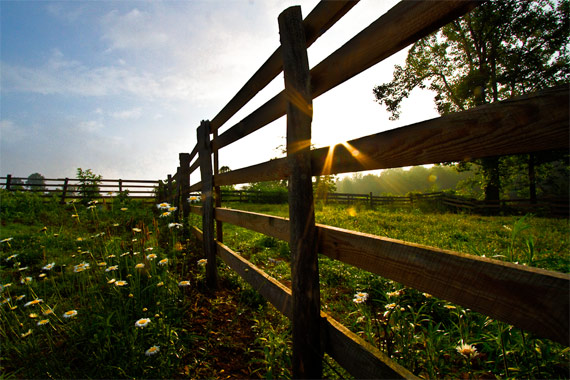
“Vineyard Sunrise” captured by Debra Vanderlaan
This is where you’d take your camera and use the feature called “Exposure Adjustment” (which can force it to allow more light in). Exposure Adjustment (EA, for short) will be the topic for another article.
About The Author
Shane Messer is a successful entrepreneur and professional photographer based out of Nashville, TN, Louisville, KY and Costa Rica. He has won numerous national and state awards for his business and philanthropic work.
Go to full article: Understanding Exposure Value in Photography
What are your thoughts on this article? Join the discussion on Facebook
Article from: PictureCorrect